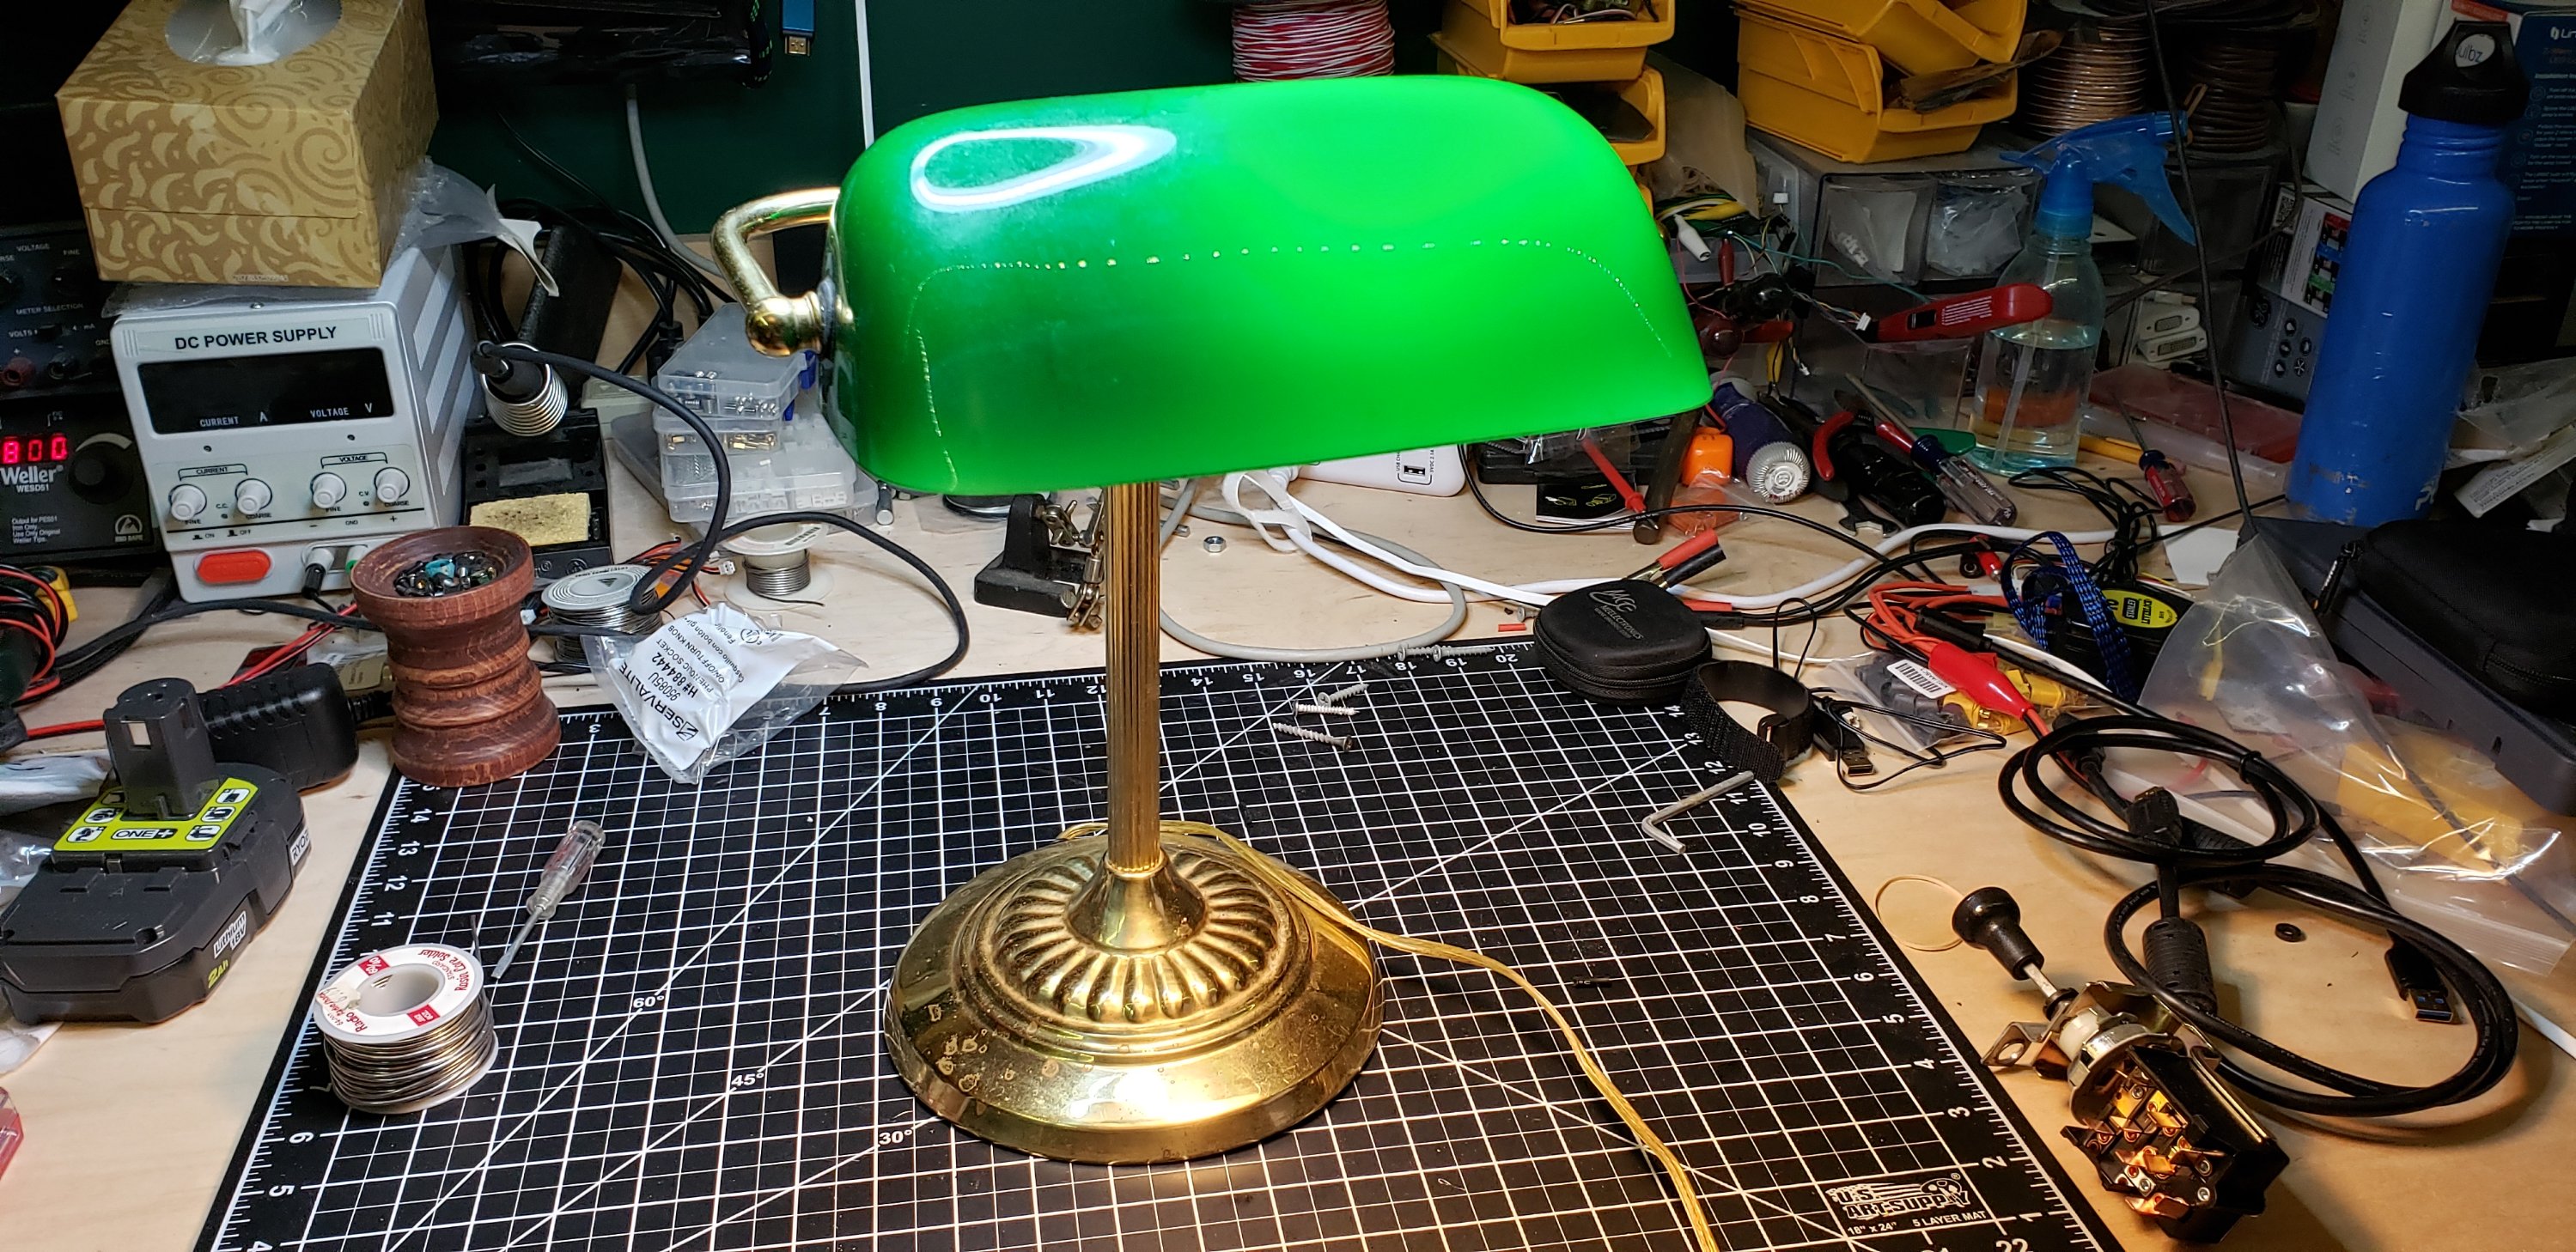
Is it weird that I feel relaxed and accomplished after repairing a desklamp at the end of a day of super geeking?
Never done this before. The pullchain socket had disintegrated. So a quick stop in Lowe’s, and $4 later (with some soldering and fiddling) I have a repaired desk lamp.
My employer does a ‘shutdown’ twice a year; once over Christmas break, and once around July 4th. This year has been great schedule wise because of what days Christmas and New Years fall on, so there’s a lot of free time.
I decided that it was time to move forward on a project I’ve been thinking about for months. Building a workbench in my office. The goal is to be able to work on electronics, drones, and other stuff without crufting up the kitchen table.
I live in a relatively small 2br house. By US standards, it’s very small (about 900sq ft). Since I’m working from home full time, I’ve been using the second bedroom as an office – it had previously been set up as a guest / kid sleeping room with a loft bed that’s out of the way when I’m officing. I decided to use a similar design approach to building out the workbench. The room is only 11’x7′, so fitting in a spare bed, my standup desk, a workbench, bookshelves, and some storage required some creative thinking.
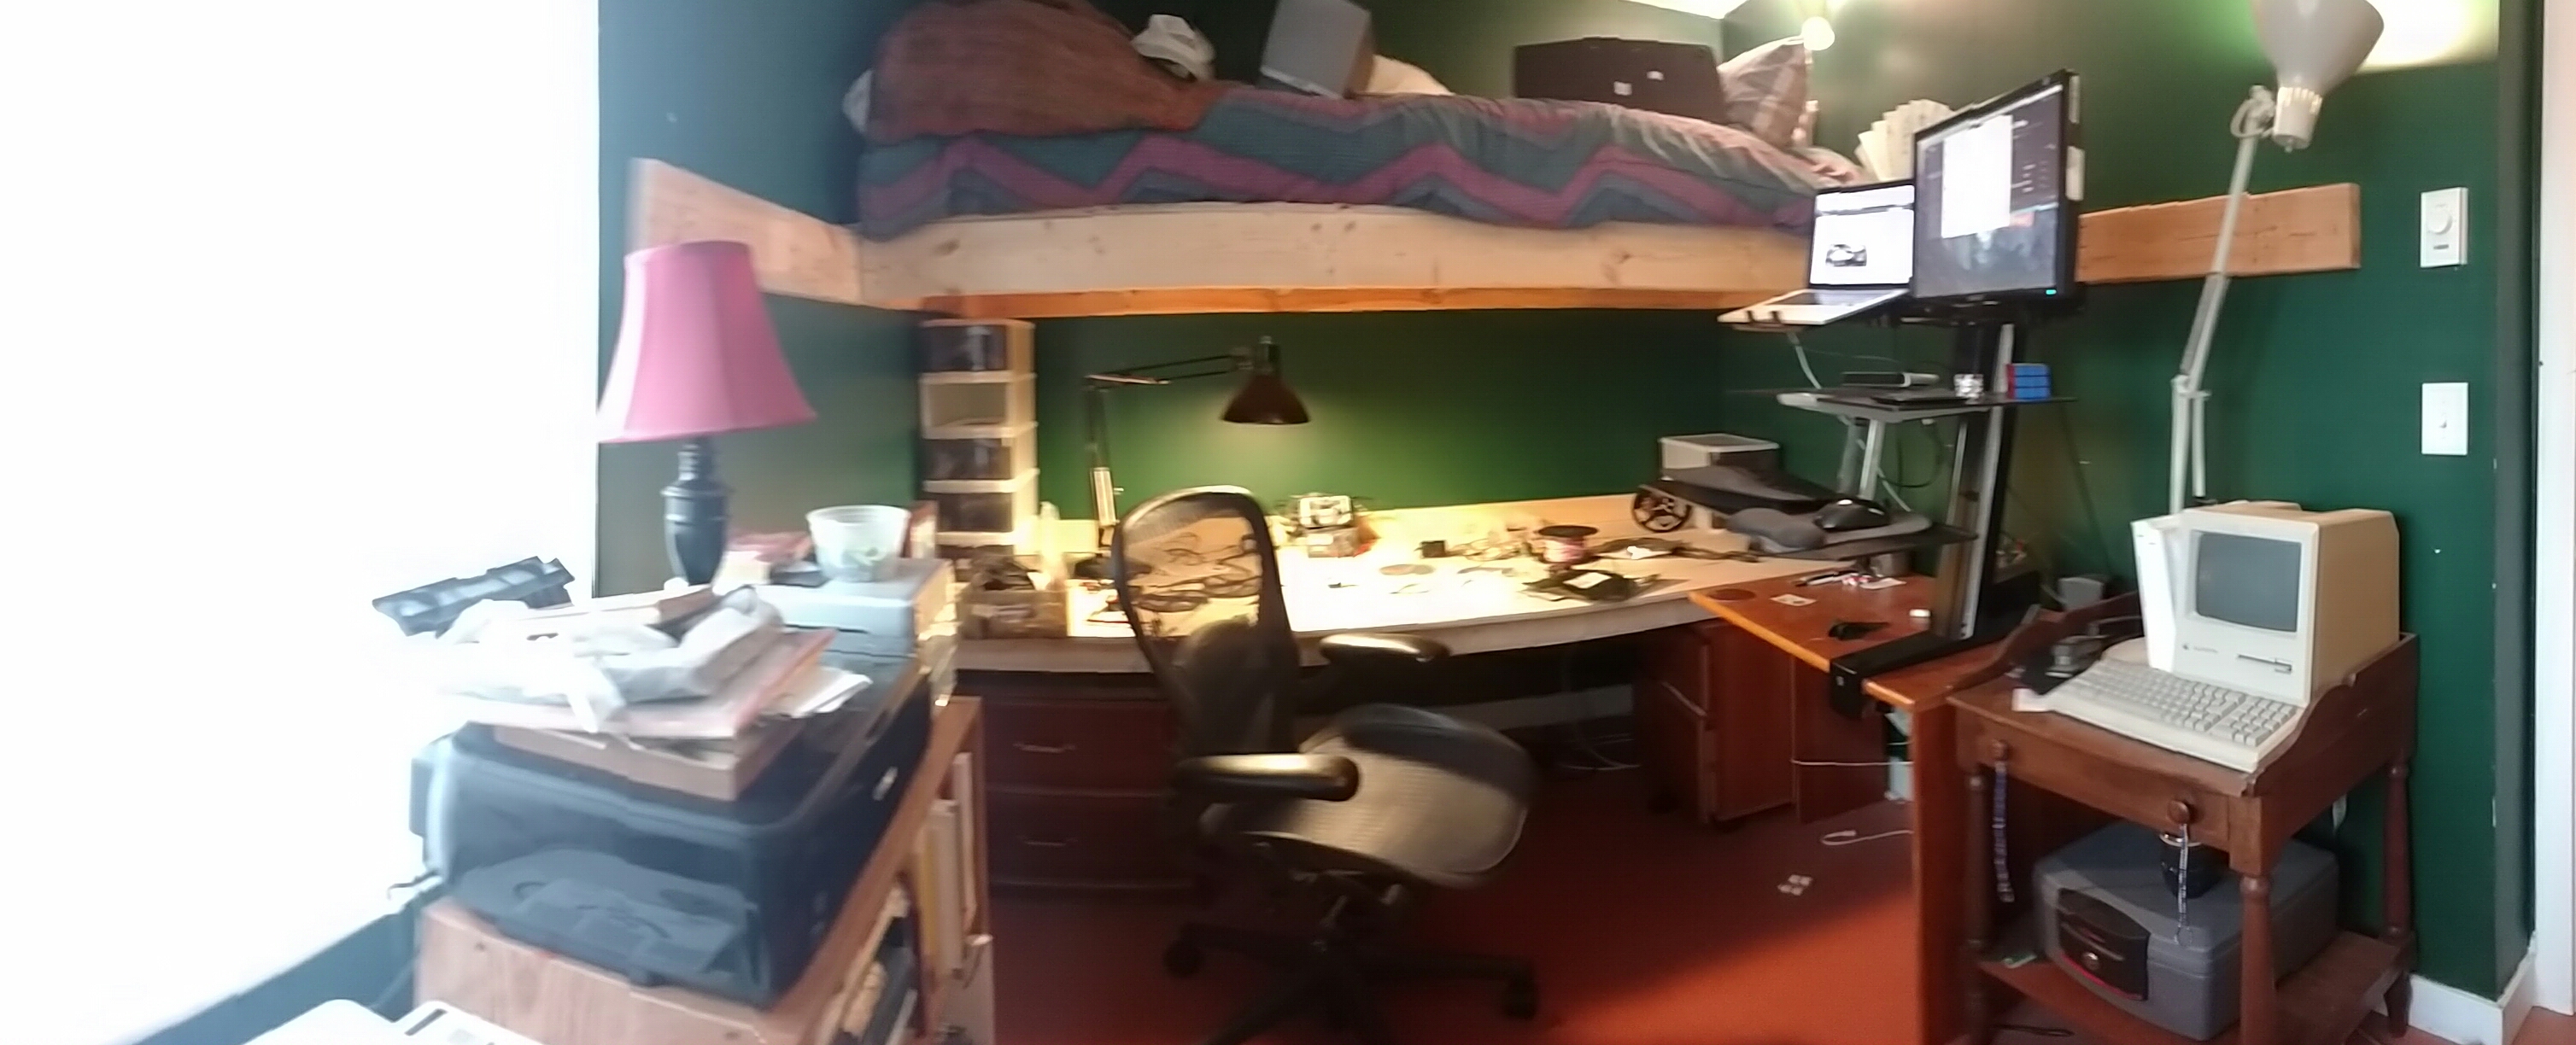
Office before work started on the new desk.
The first step natch was clearing out my working desk and hardware so I had space to work. Fortunately I keep my bedroom pretty clutter free, so it was just a matter of moving things down the hall. Then construction began.
I used a similar design to the loft bed, just not quite as hefty. On the loft I used 2×6 boards, but for the desk, I just used 2×4’s. Using a magnetic stud locator, I found the wooden studs in the walls, cut the boards to length, and used 3.5″ deck screws to attach the supporting studs to the walls. I guess the best term for these are ledger boards, since they’ll be supporting the ends of the joists. Anyway, the idea is the desk it attached directly to the wall studs, so no legs needed. It’s custom fit to the room.
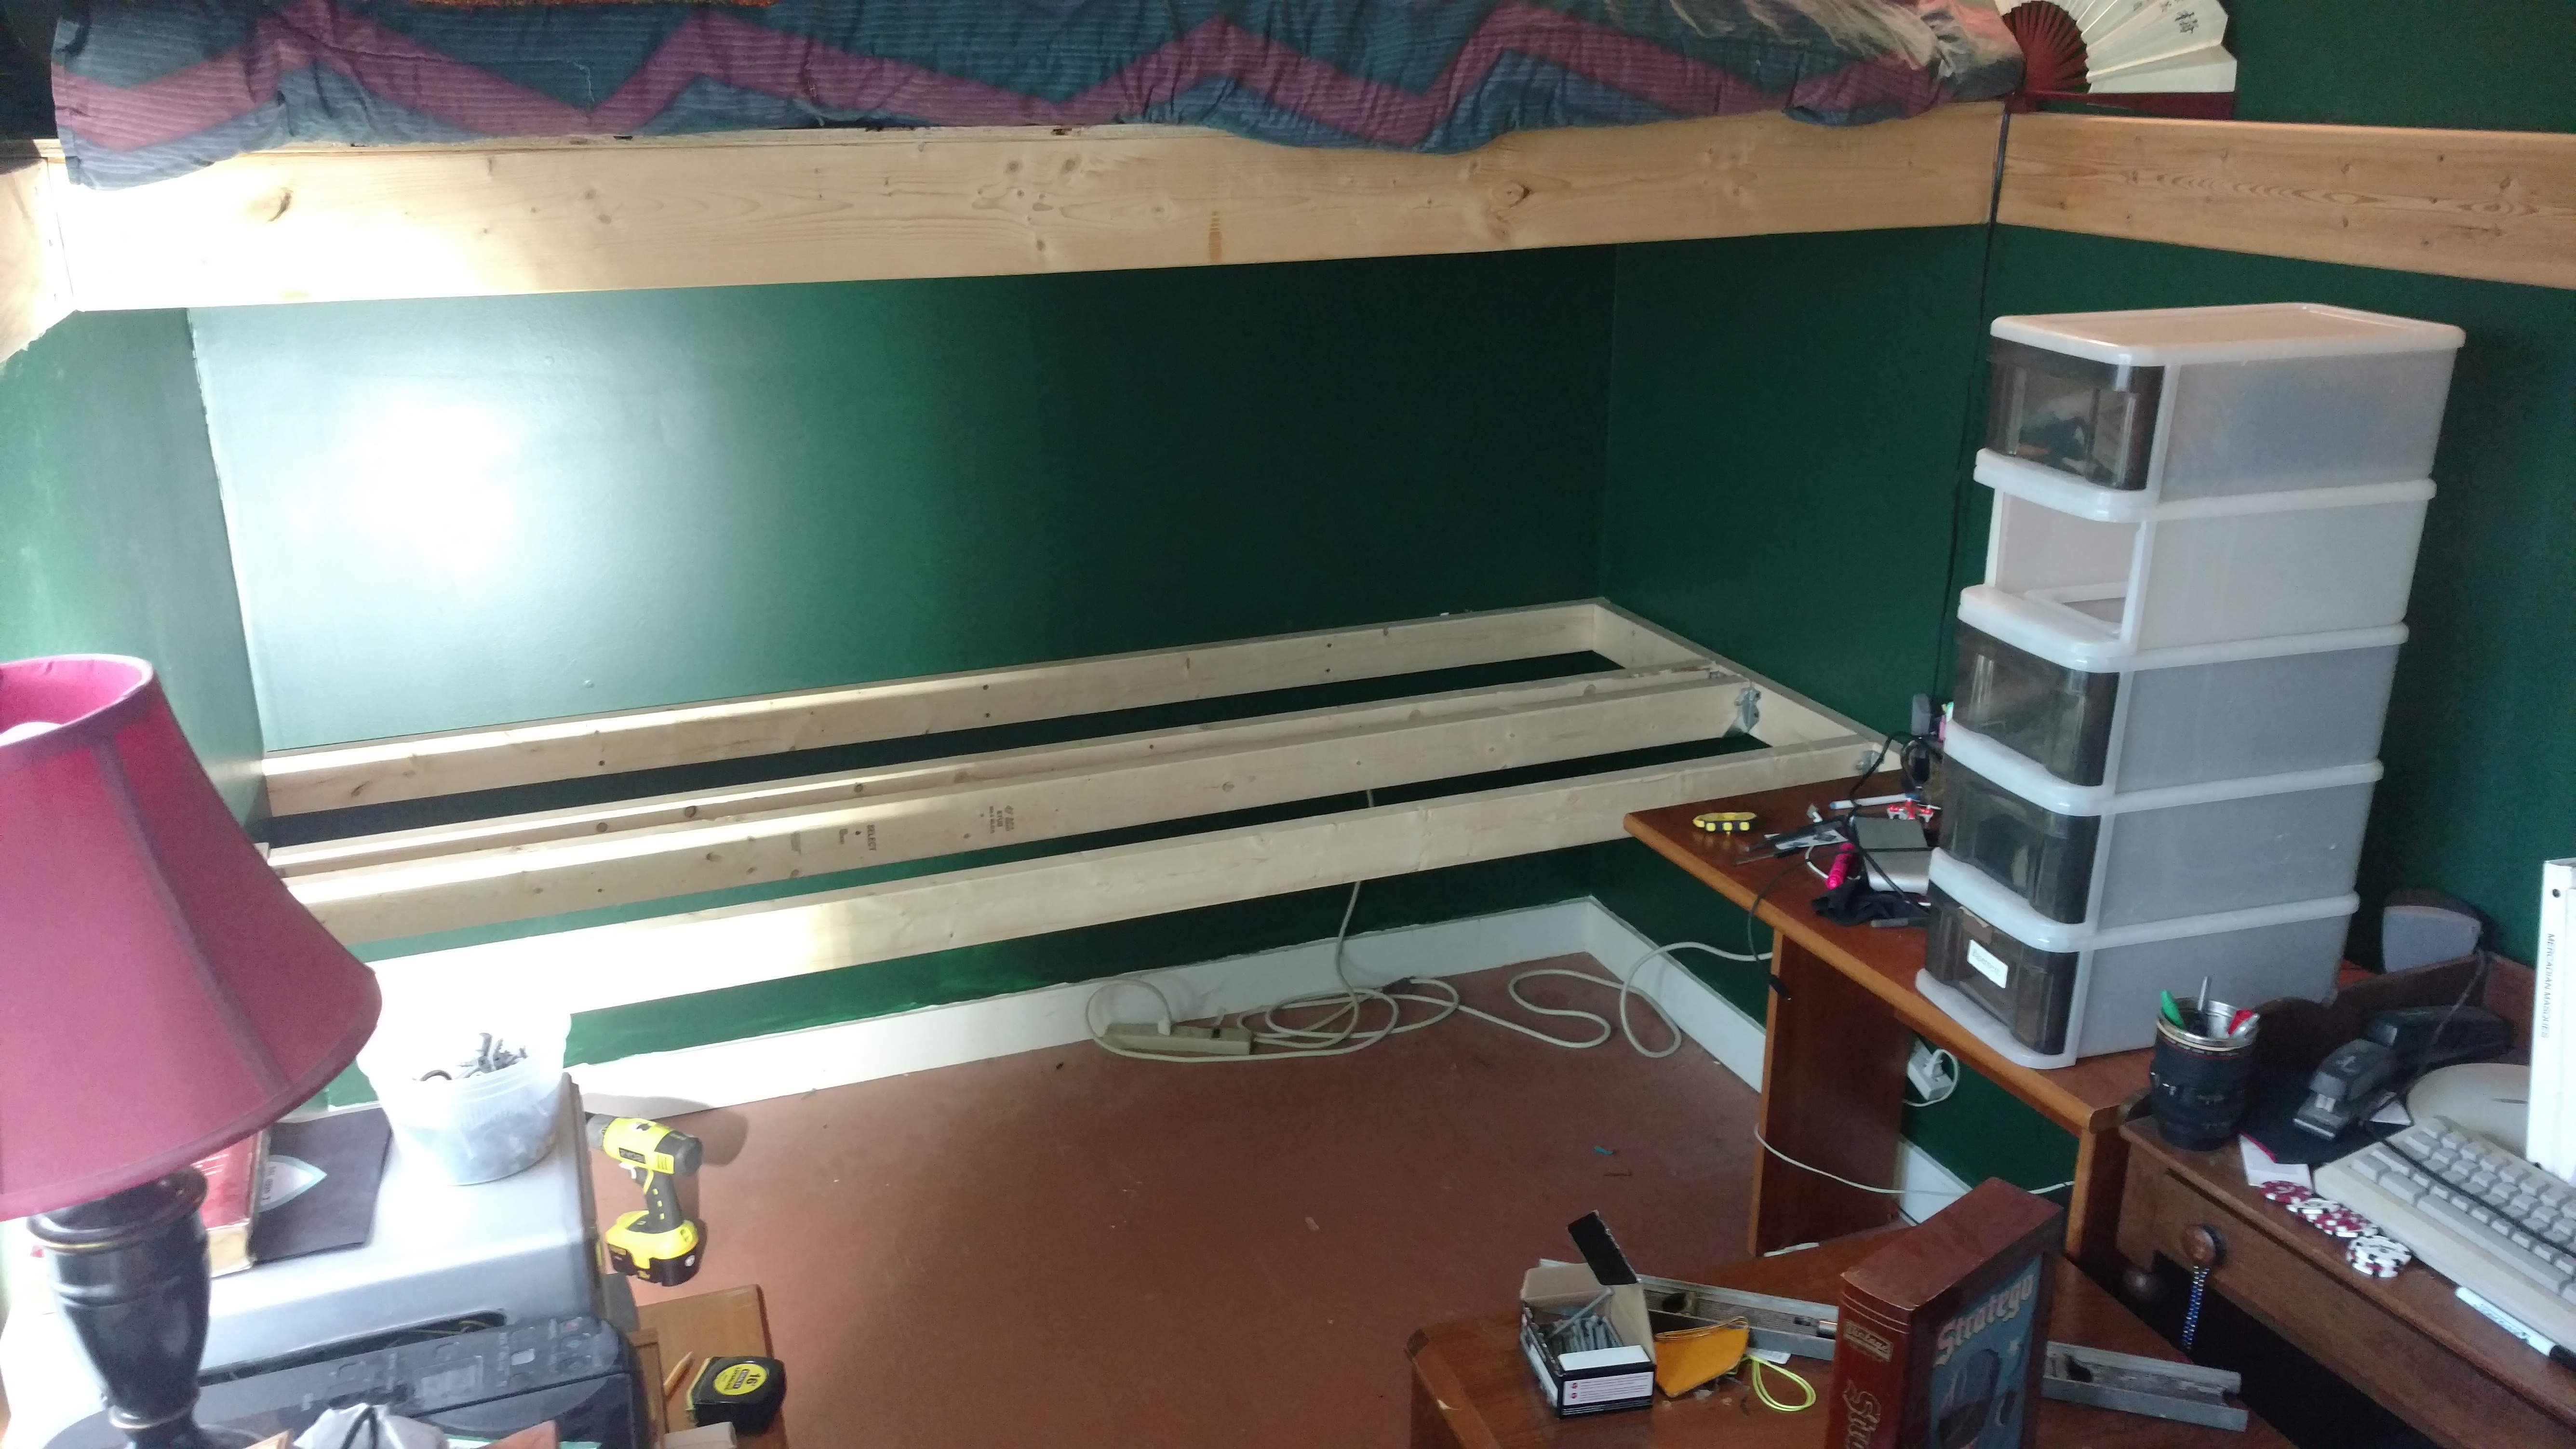
Halfway through the build
Once the ledger boards were screwed in place (14 screws went in, and I hit the studs on every try. Booyah), I used aluminum hangers to put the joists in. These attached directly to the ledger boards and gave good support to the 2×4’s under the surface of the desk. I had to be careful about spacing due to where the ledger boards were attached to the studs. I needed at least 2 2×4’s under each ‘slice’ of 18″ plywood to support it cleanly.
Once all the joists and ledger boards were done, I laid down 2 strips of sanded plywood, and screwed them down with normal 2″ drywall screws. These are not load bearing, so using the weaker screws was fine – it was just to keep the boards flat and not move around.
The finished project
The last touch was adding a kickboard around the top of the desk so things weren’t banging against the painted walls. I also drilled 3 2″ holes in the back of the surface to allow power cords to come up for equipment.
Heightwise, it’s 29″, which matches the older wooden desk I have. I’ll be able to put a plate in to join the two surfaces (I left a 3″ lip under the front)
Some quick lessons learned…
Magnetic Stud Finder – I can’t recommend these things enough. They’re dirt simple, inexpensive, and work great for finding nails in walls. Just a big powerful magnet.
LED Worklight – I have a set of old halogen lights roughly the same size. I won’t be using them anymore, as these LED lights are very bright, use much less power, and aren’t nearly as hot / dangerous. Really useful to have around.
I still love my Ryobi One+ power tools. They’re aging to be sure, and I’ll be replacing my battery packs from NiCd to Li-Ion shortly. I’ve already upgraded the basic drill/driver from the old yellow tool to the new green one, but I’m still using the older jigsaw and circular saw, which were wonderful for this project.
I’ve already used it to work on some home automation equipment, and it’s the right height, setting, and size to make things totally comfortable and useful. I’m looking forward to ramping my projects up again!
On September 1st, I started what I was calling “my great experiment“. Altering my diet in a significant way to make me more aware of what I was eating, how I was eating, and where my food came from was a huge step for me. So now it’s a week and a half later, how has it worked out?
6-8 months ago I participated in a kickstarter for Soylent – an artificial food mix that is compact, nutritionally complete and storeable. I received my 2 weeks of food on Friday. The cup in this picture contains an entire meal – all the nutrients a body needs to function well.
There are people who have switched to 100% soylent meals, 3 times a day. I probably won’t go that route, at least initially, but this morning’s breakfast consisted of blending the mix, pouring it over ice, and sitting down to write this post. The rest of the blend (I made half a batch) is in the fridge for lunch.
I’m attracted to a bunch of aspects of Soylent. I like that an entire weeks worth of food is $65. I like that it doesn’t go bad (2 year shelf life). I like that prep and cleanup time is almost non existent.
On a social scale, it’s making me look at the food and food delivery industry very closely. Thousands of gallons of fuel burned so I can have a head of lettuce in january? Huge resources burned so I can enjoy a cheeseburger? This seems silly. Is it possible to feed humanity without burning the planet in the process?
Lets find out.
Some notes:
The website for Soylent is http://soylent.me – note that the ‘recipe’ for soylent is open and documented, and there are hordes of people who have made their own soylent mix (DIY). (Best name I’ve heard – People Chow).
What does it taste like? Slightly gritty milk shake. Has a muffin-y smell to it.
Aren’t you going to miss the social / enjoyable experience of eating meals? Dunno. I like gaining another hour or three a day.
Are you going to stop eating ‘normal’ food? Not at all, I’ll enjoy grillings, dinners out, common meals, whatever. But that dosn’t mean I need to do that every day.