We had a great time, and Ralph was as always a wonderful skipper. We had a crew of 6 total, which was just the right number of people, with skills ranging from newbie on up.
I ended up being completely wiped out by the trip, and once I got home, fell into a zombie-like sleep. I’m still sore and worn from 5+ hours on the water, but it was a great day out.
When I started doing semi-professional photography a few years ago, I knew that I’d need to step up my game when it comes to photo management, processing, long term archiving, and, of course, the ever neglected marketing. Some of these I had a CLOO about, others were rocky roads of experimentation, research, and late night frustrations.
After a lot of research, blog-reading, chatting, and hard decision making, I think I’ve boiled things down to a workable, relatively elegant, yet flexible environment. I present here the results of two years of “How the HECK am I going to do this???”
The Players
This article is primarily about my infrastructure, e.g. the components I’m using, how they interact with each other, and some of the lessons I’ve learned. A full walkthrough of my actual photo process will come in a later post, so for this installment, lets look at the players…
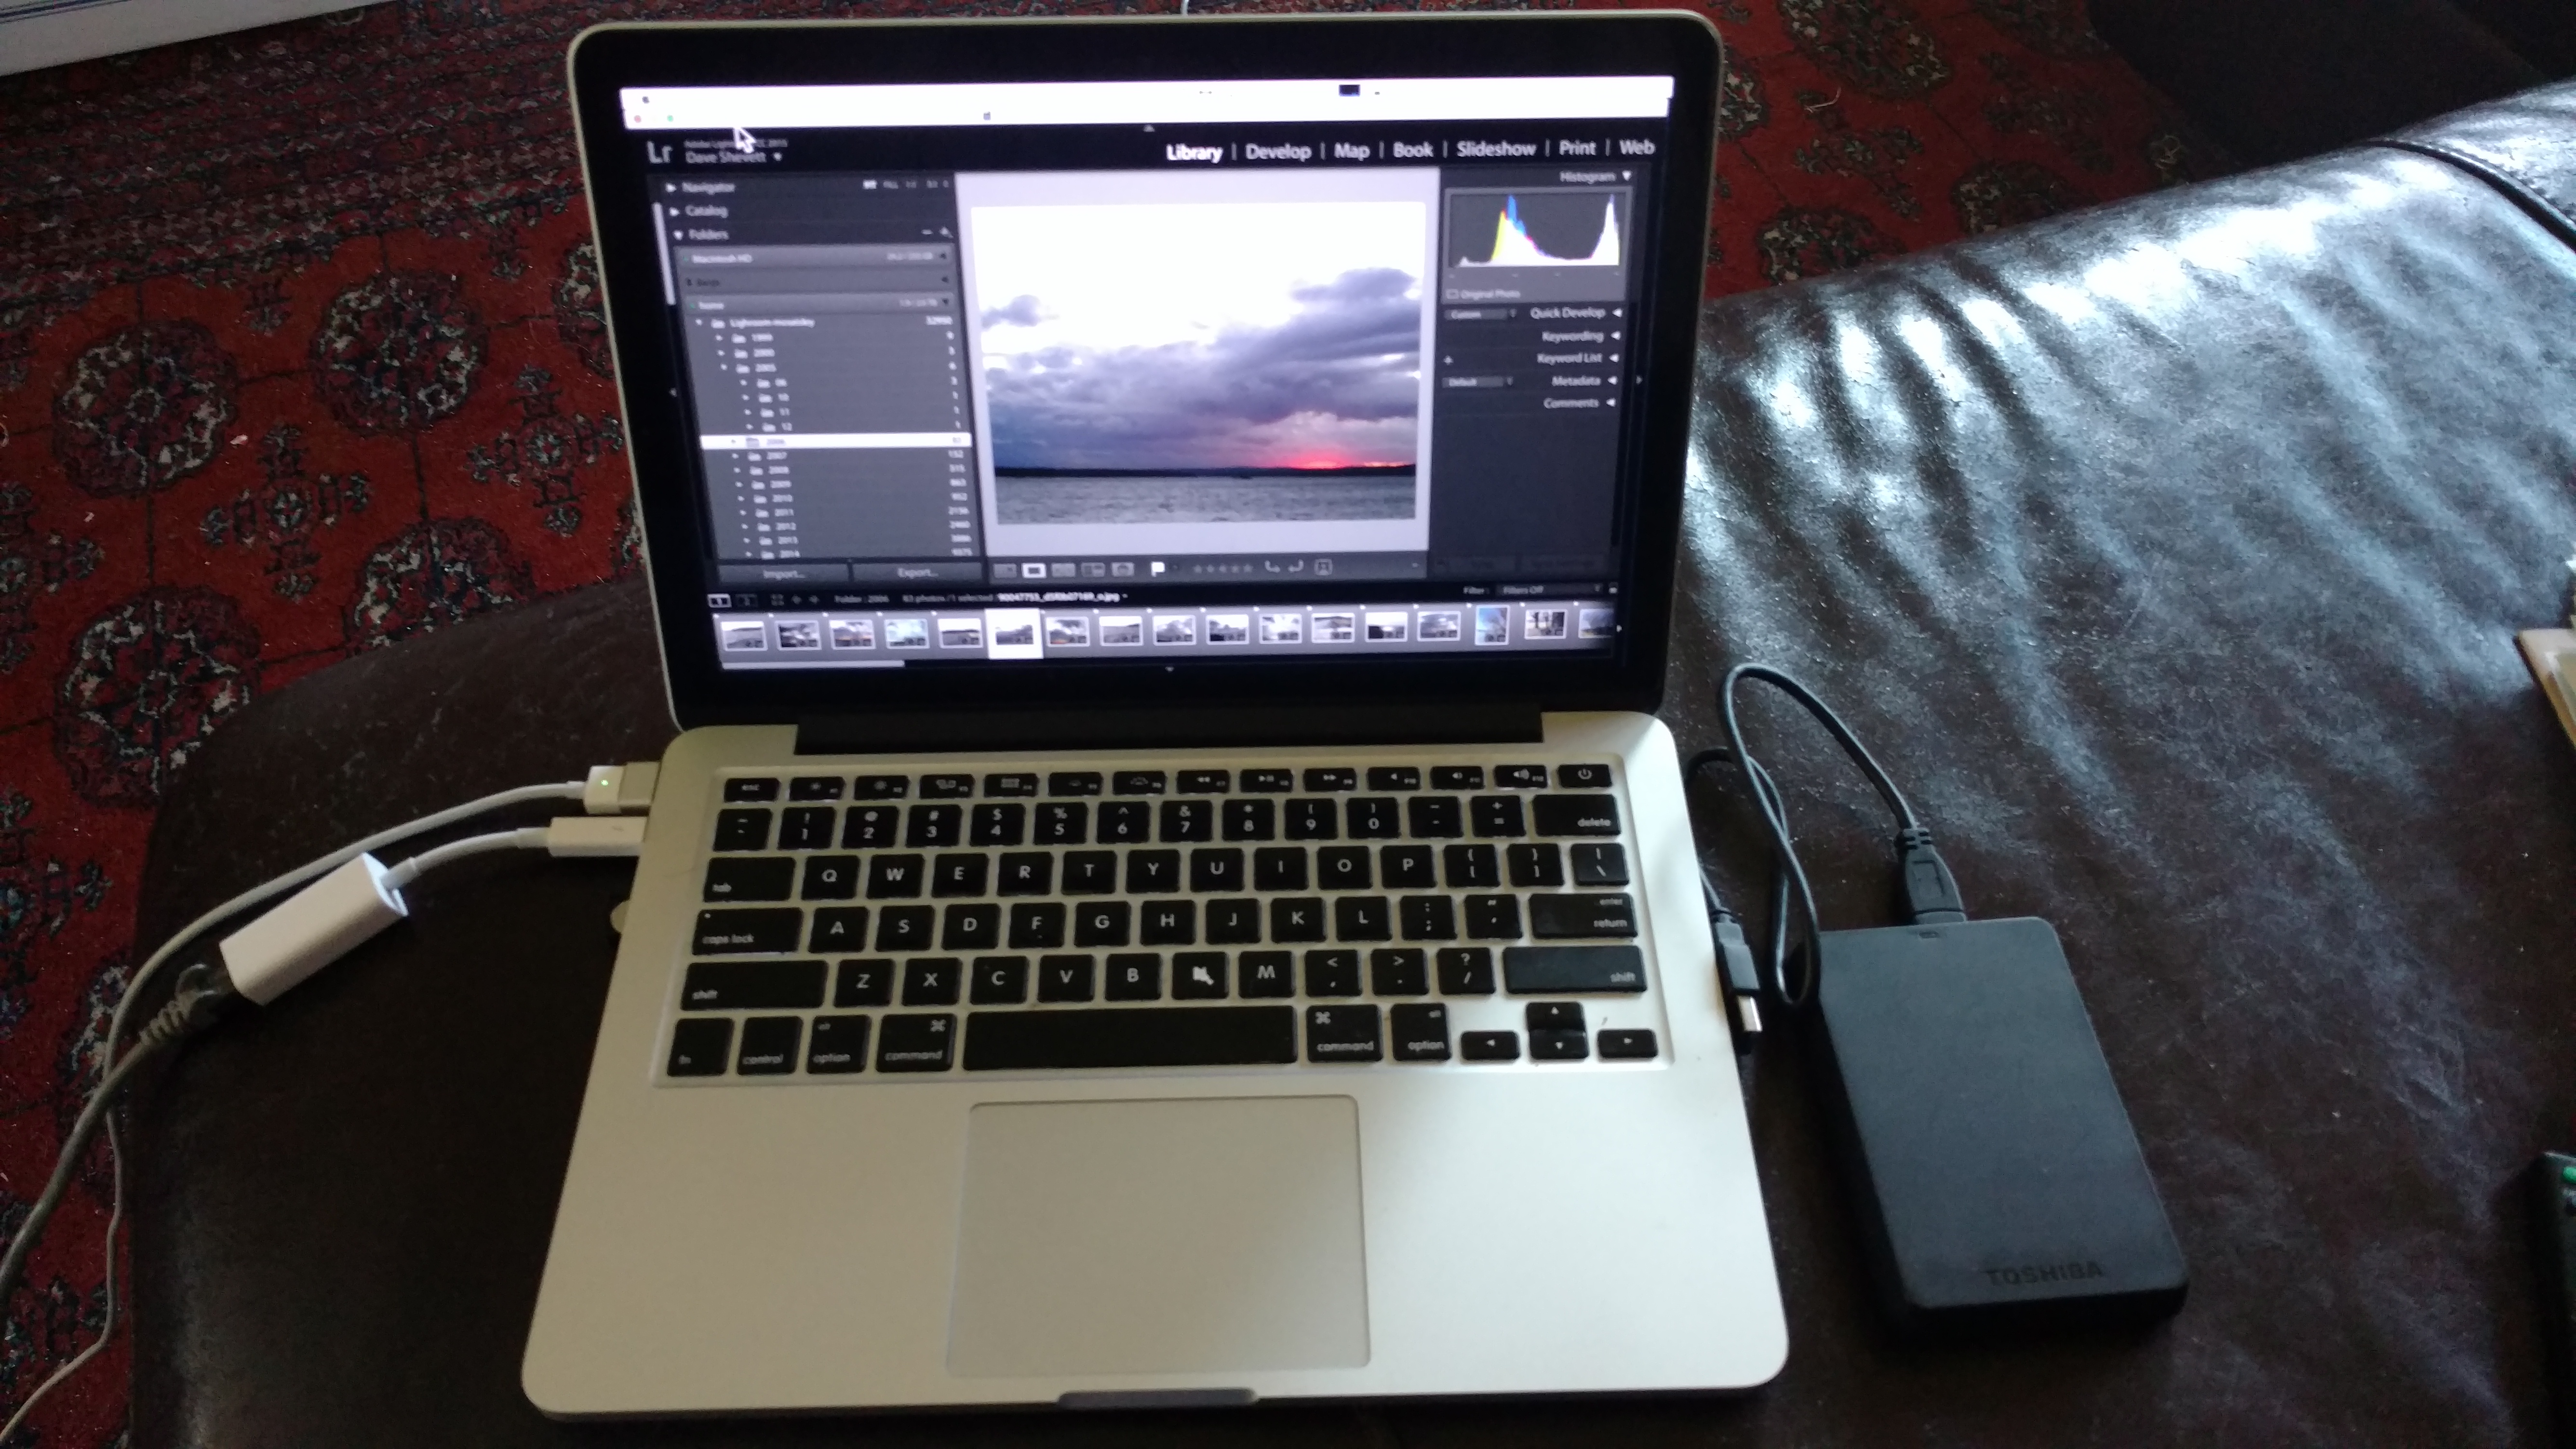
Adobe Lightroom CC
Love it or hate it, Lightroom is the undisputed champeen in the photo management world. People can argue one way or another about whether Lightroom is One True Photo Tool, but lets face facts. They own the space right now. Sure there are issues with speed, and Adobe isn’t exactly the warmest and fuzziest company on the planet, but Lightroom is the best supported, most actively used, and best known of all the options. Coupled with Photoshop and other toolsets, it’s hard to make an argument against it.
Apple Macbook Pro
I love my Mac. You hear that a lot, and you’ll also hear the detractors going on about Mac Fanbois and Macbook Pro 13″ Retina (Early 2013)all that hoohah. When it comes down to brass tacks, you can’t beat a Mac for fostering the kind of creative environment needed for artistic work. And let’s not beat around the bush. Photographers are artists. Our tools should enable us to create and share images we see through our viewfinders and in our minds. You can’t do that when you’re dealing with crapola environments like Windows or spending all your days tinkering with configurations in Linux just to get a youtube video to play. (Full disclosure here – I LOVE linux. I work on it every day. But it can’t hold a candle to a Mac for the fit and polish of it’s desktop environment. Srsly.)
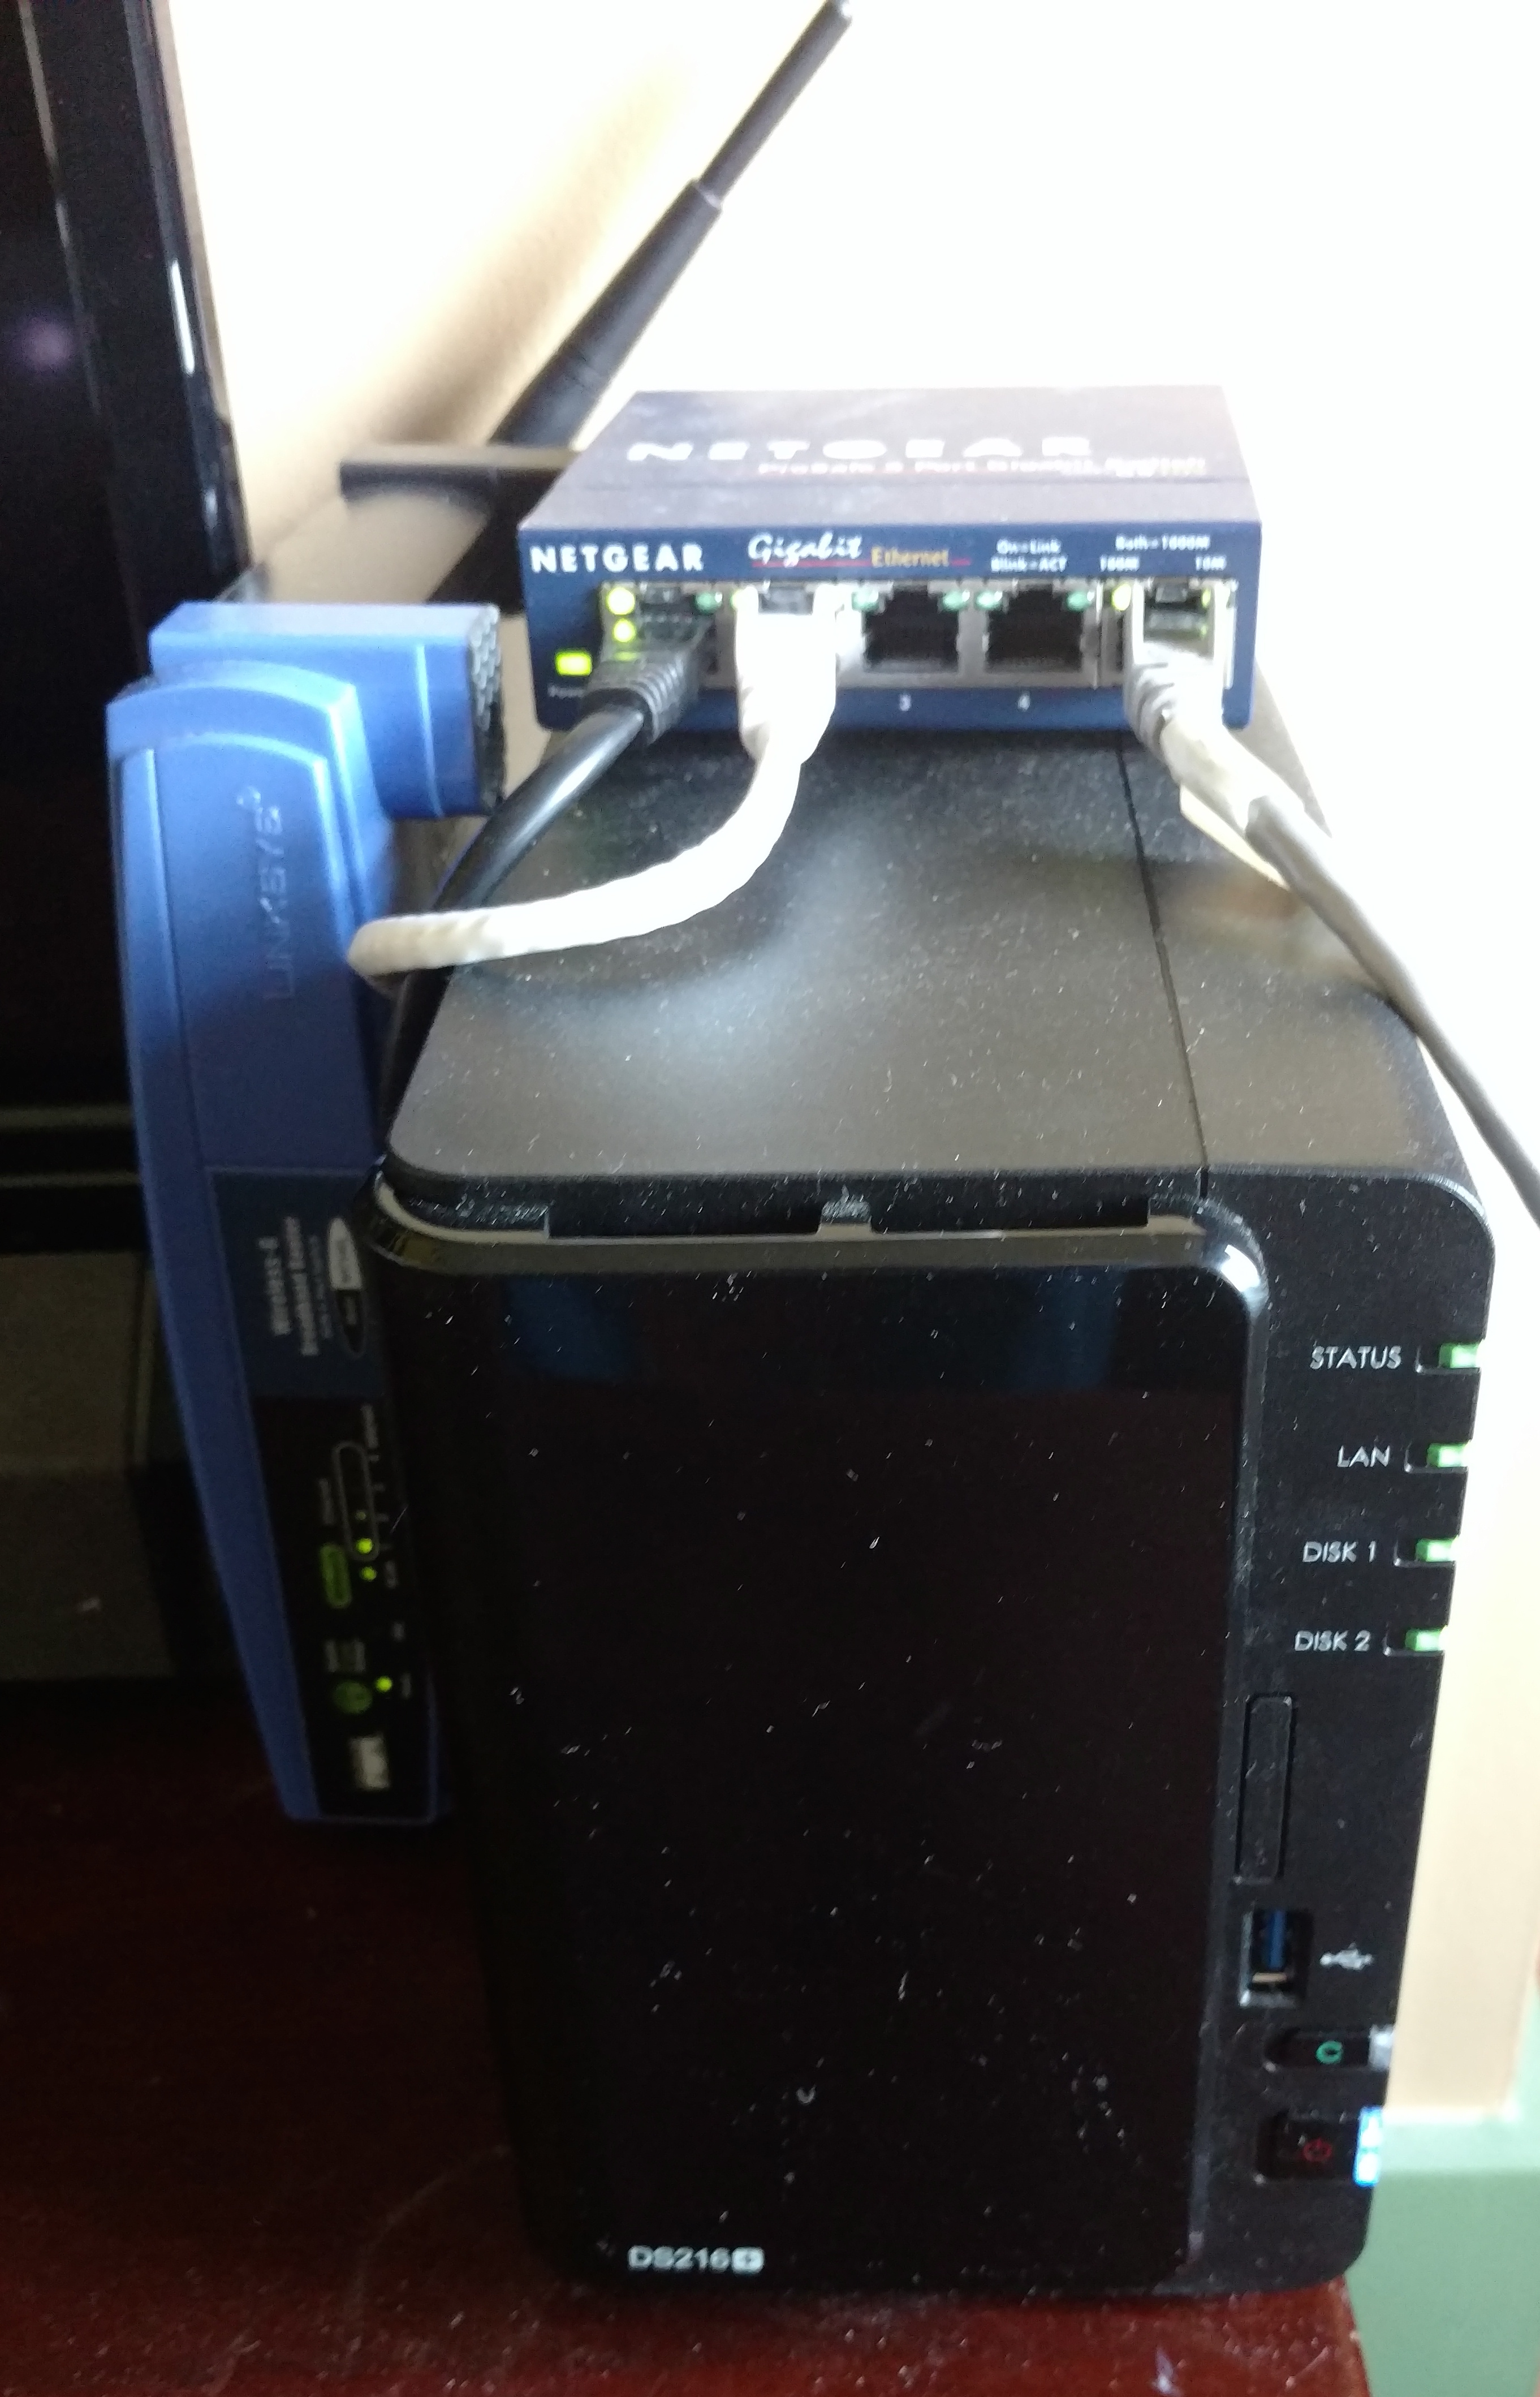
Synology DS216+ NAS (Network Attached Storage)
Now we’re getting down to it. You can’t take take pictures in the digital age without a safe place to Synology DS216+ NASstore them. My Mac can only hold so much data, and there’s something very iffy about storing unique, critical files on a device that you frequently toss around your living room, sling on your back, or carry on the bus. One thing I’ve always said is consider your laptop as expendable. No critical information should be on it that you absolutely cannot afford to lose permanently on a moments notice. Cuz every laptop is one “oops!” away from being run over by a car, falling in the sink, or getting stepped on. My NAS is 3 terabytes of mirrored storage (6TB total) that stays on the shelf at home. I don’t carry it on the bus, and it’s unlikely to get run over by a car. It’s fast, easy to work with, and relatively affordable.
Amazon S3 Glacier Storage
Even with a home NAS, you still need backups. And I want to underline something here. “Backups” are not just cloud-based ‘PC backups’. Many services are simply copies of your local hard drives in the cloud. If you mistakenly overwrite a local file with something wrong, or delete a local file, and your backup system runs, congratulations! You now have a backup… OF YOUR MISTAKE. The original file is now gone in both locations! Many services do allow for ‘historical’ archives, where you can retrieve a previous version of a file from the cloud, but be very careful when choosing your offsite storage environment. I use Amazon Glacier, but I understand this may not be for everyone. Glacier is a service built on top of Amazon S3, which is part of AWS. Glacier a simple upload service where files ‘settle’ into long term storage, meaning that once they’re copied to S3, they’re available immediately, but I’ve set it up so that after a month, the files are ‘archived’ into Glacier. They’re still retrievable, but it may take a few hours to get them back. Why do this? Because Glacier storage is 1/10th the price of standard S3. As of this writing, Glacier is $0.007 per GB / month. My entire photo archive is approximately 400GB, so storing this in Glacier costs me $2.80/month. If I were to use S3 in ‘standard’ mode, it would be $0.03 per GB / month, or about $12. (There’s a middle tier called ‘infrequent access’ that is $0.125 per GB / month, which works out to $5.) Regardless, these prices are VERY low, and are easily within reach of a humble photographer. My NAS allows for easy synchronizing of my raw photos directly to S3 and Glacier, so I always have an off-site copy of my photos.
Sandisk 128GB USB3 Thumbdrive
When I first got my Mac (now over 3 years ago), it came with an internal SSD drive with a whopping 250gig of storage. “PLENTY OF ROOM!” – haha. I laugh now. That’s not enough to do all the other things I do on the Mac, and also do my photos. It’s very difficult to upgrade these machines, so I had to look around for options. Initially I was carting around an external 1TB Toshiba USB3 drive, which was… ‘fine’, for a while, but extremely fragile. If the USB cable came out while working, I immediately had to do a rebuild of my Lightroom catalog, and things went pretty squirrely. Since this is, after all, a laptop, that drive was always dangling off the edge of the couch or in other precarious positions. With thumb drives getting larger (storage wise), 128gig in something literally the size of my thumbnail, that could live in the USB slot full time seemed like a good answer. So now my catalog and working photos live on the thumb drive… bye bye 1TB external!
Pulling it all Together
Now, those who have gone down this road, if you’re still reading, have probably already seen problems with how all this is supposed to work. “Nice NAS, Dave, would.. be a shame if.. you couldn’t access it all the time!” – This is, alas, a true problem.
Having oodles of disk storage at home is all fine and dandy, but that doesn’t help when you’re parked at your local Starbucks, jammin to some tunes, and want to get all creative while slurping that double-mocha latte grande moobah moobah drink thing. (Okay, I don’t spend a lot of time at Starbucks. Sue me). But the problem still stands. If you don’t have access to your photos while away from home, how can you get things done when the muse strikes?
My solution was to split my photos into “Things I’m working on now” and “Things I’m pretty much done with”. The latter lives on the NAS, and when I’m home, I plug in an ethernet cable to my Mac, and voila! High speed access to the NAS! (Note for the geeks – Yes, you can access a NAS over wifi, or even remotely over the internet. But this is not a speedy process, in particular when working with Lightroom, really large photo libraries, and photos that are 26meg a pop. Go hardwire or go home).
Initially I was concerned this approach would cause Lightroom to have kittens. It would mean a large portion of my photos would not be available when I was on the road. But I’ll give Adobe credit. They did things right.
Lightroom is essentially a database. It indexes the ‘raw’ photo files, and keeps track of all the changes that have been applied to them. If the raw files are not available, Lightroom basically goes ¯\_(ツ)_/¯ and just shows you a low resolution preview of the last time it worked with that photo. You obviously can’t do much with that, but Lightroom doesn’t seem to care that the source file is unavailable. When I get home, plug in the cable and remount the NAS, ding! I have a high resolution image to work with again.
The next good thing is that Lightroom has a decent file manager. Moving files from my Mac (which is where I import raws from SD cards) to the NAS is simply a matter of dragging and dropping the directories in the Navigator. Lightroom updates the local database to keep track of where the files are. Badabing, badaboom, the files get moved, Lightroom updates it’s database, and I’m all done.
The Workflow
So what actually constitutes a workflow? Well, as I said earlier, I’ll detail my post-processing steps in another article, but here’s the steps from a pure photo management perspective:
Shoot using the Canon cameras, storing RAWs on SD cards
When ready to load the photos from the shoot into Lightroom, import the photos from the SD card (using the Mac SD slot) into Lightroom, storing the photos on the 128G thumb drive.
Do whatever post-processing is needed. Photographers know this process can take a while. With the 128gig drive, I can have many sessions stored locally on the mac, and work through whatever is needed without worrying about space.
Eventually, after photos are delivered or published, I don’t need them locally anymore, so I use the Navigator to move the raw import folders over to the NAS. The files are copied over, the local database is updated automatically, and I free up a couple gig for the next shoot
The NAS, sometime in the next few hours, automatically backs up the photos up into Glacier
Does it work?
After all that, how well does it work? Turns out, pretty durned well.
It took me about 2 months to put all this together, involving a bit of trial and error. There were some tricks with network configurations that won’t affect most users, so that complicated things. I tried working with pure wifi service to the NAS, but that was too slow for words. Installing a small dedicated gigabit ethernet switch was the final step that made the whole thing useable.
I find performance with the NAS to be quite good. It’s on a par with working with a local USB3 drive. I don’t feel having my files “over there” has any real impact (other than mobility) on things. Admittedly, there’s a comfort factor knowing my files are stored on a relatively stable, mirrored server, as well as being backed up into the cloud, and the convenience factor of just plugging in my cable at home to gain full access to them really can’t be downplayed. I CAN get to my files remotely over wifi, or, if I do enough juggling, even reach them over the internet. But for sit-down, true post work, this configuration is stable, fast, and useable. I’m a fan.