Even though I’m not working on CONGO as much anymore, I’m still helping out with registration at a couple events, and I’m always looking for better tools and gear to use. I originally designed registration to use cheap, network bootable PC’s, but that was so 15 years ago. The new hotness are small, inexpensive tablets. So could you put together a registration environment using some cheap tablets? Sure.
I’m helping an event that’s using EventBrite for registration services. I’d helped out at a different event about a year ago, and was impressed with the tools Eventbrite offered. The best part was the Eventbrite Organizer, a mobile app for IOS and Android that basically gave you a live dashboard, but also allowed super-fast checkins using a QR code scan. Think of scanning a boarding pass when boarding an airplane. The process is very similar.
The only drawback was, I needed a series of tablets that were roughly the same (bringing batches of workstations that are all different is a sure way to headaches). I didn’t think buying a stack of iPads was going to make sense, and el cheapo tablets from ebay and amazon are sketchy.
I ordered 3 of the tablets, and they arrived a few days later.
First impressions – these are really nice. The design and polish is excellent, they fit well in the hand, and have exceptional screens. They have excellent battery life, and front and rear facing cameras. For $33, there’s not much to go wrong with here.
Here’s the steps I went through to get them up to ‘useable’ status.
- First, charge them up, natch. They have great batteries, and the entire upgrade process and installation can happen on battery, but really, just get ’em charged.
- Next, power up and log into your Amazon account. All the Fires have to be tied to an amazon login. Using the same one on each is fine (Amazon supports many Kindles per account).
- Continuously go into the System settings (swipe down from the top) and select Device Information -> System Update. There’s a good 6 full OS updates that have to happen to bring your device up to FireOS 5.3.x or later. This can take upwards of an hour and a lot of reboots, but at the end, you’ll have a fully upgraded device.
- Next, we’re going need to install APK’s that are not ‘blessed’, so you have to tell the Fire to accept them. Go into settings -> Security settings and check the switch that says “Allow third party apps”
- Download and install a file manager. I used ES-File Explorer, which is very popular, but I’ve seen others say “don’t use this it doesn’t work”. I suspect the ‘not working’ has since been fixed. It’s worked fine on 3 devices so far.
- Next, pull down the APK’s via the Fire’s Silk Browser. Go to this thread on the XDA Developers forum and click on each of the APK links, and download the files, in order, from top to bottom.
- Once they’re downloaded, start up the ES File Explorer, and navigate to the Downloads folder. You’ll see 4 APK’s there. Click on the them from RIGHT TO LEFT (which will install the ‘oldest’ one first, and the Play store last.
- After each of the APK’s is installed, launch the Play store, log in with your Google account, and you are all set.
Now that the Fire can install third party apps via the Play store, all we needed to do is install Eventbrite Manager, and log into it with an access-limited login we created just for this event (we’re going to allow general joe schmoes to check people in, and having access to refunds, people’s personal infromation, etc – didn’t seem like a good idea. So a generic Eventbrite login that ONLY allows for checkins was created, and that’s what we logged the tablets into.
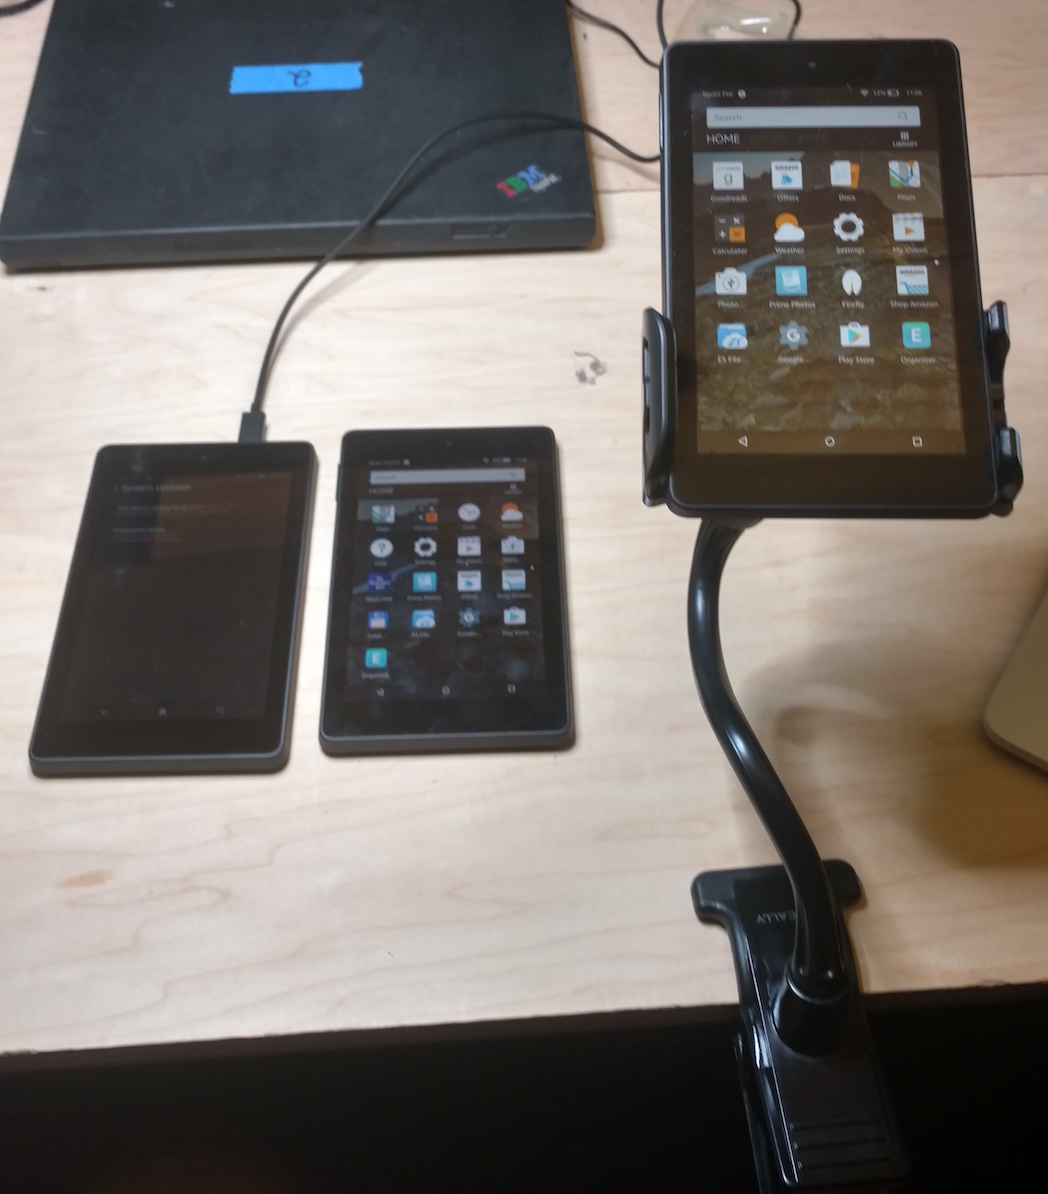
I also picked up a handful of desk mounts with really strong gooseneck stalks. Because we’re going to be scanning receipts via the rear camera, the tablet needs to be held off the desk easily.
And we’re done! The Eventbrite Manager app syncs the attendee list whenever it’s connected to the internet. So we can go ahead and check in people super-fast (with a very satisfying BADEEP whenever a successful scan happens), and not have to rely on hotel internet connectivity (which can be notoriously sketchy). At the end of the day, we have a full record of everyone who has checked in and when.
Thanks for sharing Dave!
Did you try to use one of those Eventbrite credit card readers with the amazon fire tablet?
I did not! The events I was using this for were not using point of sale in any way – it was just checking folks in. I would have liked to expand the functionality though, just wasn’t needed for this particular setup.
This worked perfectly! Thanks so much