Tonight I returned the Chevy Volt I leased three years ago. In the intervening time I drove 54,000 miles, at an average of 98mpg, using 550 gallons of gas. Had I continued with the Passat wagon I had before that, which got about 28mpg, I would have burned 1928 gallons. That 1400 gallons saved 28,000lb (14 tons) of CO2 from being emitted. That’s about a years worth of emissions for a fairly efficient house.
Nowadays I work full time from home, so my daily mileage has gone from 70-75 miles a day down to about 6. In a sort of weird reversal of history, where in the above article I lamented trading in my Jeep for the Volt, I now have a 2000 Jeep TJ as my only personal vehicle. Of course Mrs. Geek has a Subaru wagon, which we use for most errands, trips, etc, but the Jeep is mine, and I adore it.
I did have a reservation in to buy a Tesla Model 3 when they were available (which is now), but given the low miles I’m driving, and that I’m spending more and more time out of the country, it doesn’t make sense to have an expensive electric vehicle just sitting at home.
So here I am in mid-life with “nothing but an 18 year old manual truck in the garage”.
Over the last year or two I’ve taken time off building and flying quadcopters. Life and other things has been taking up my brain, so some hobbies took a back seat.
Up at the lab, an event was coming up that would bring in some other pilots from New Hampshire and do a race day. I decided it was time to build a new quad, and get some race time in.
The last big event I went to was NAFPV 2017. It was great fun, and I ended up winning a 220mm carbon fiber frame. With that in hand, I began building up a new quad.
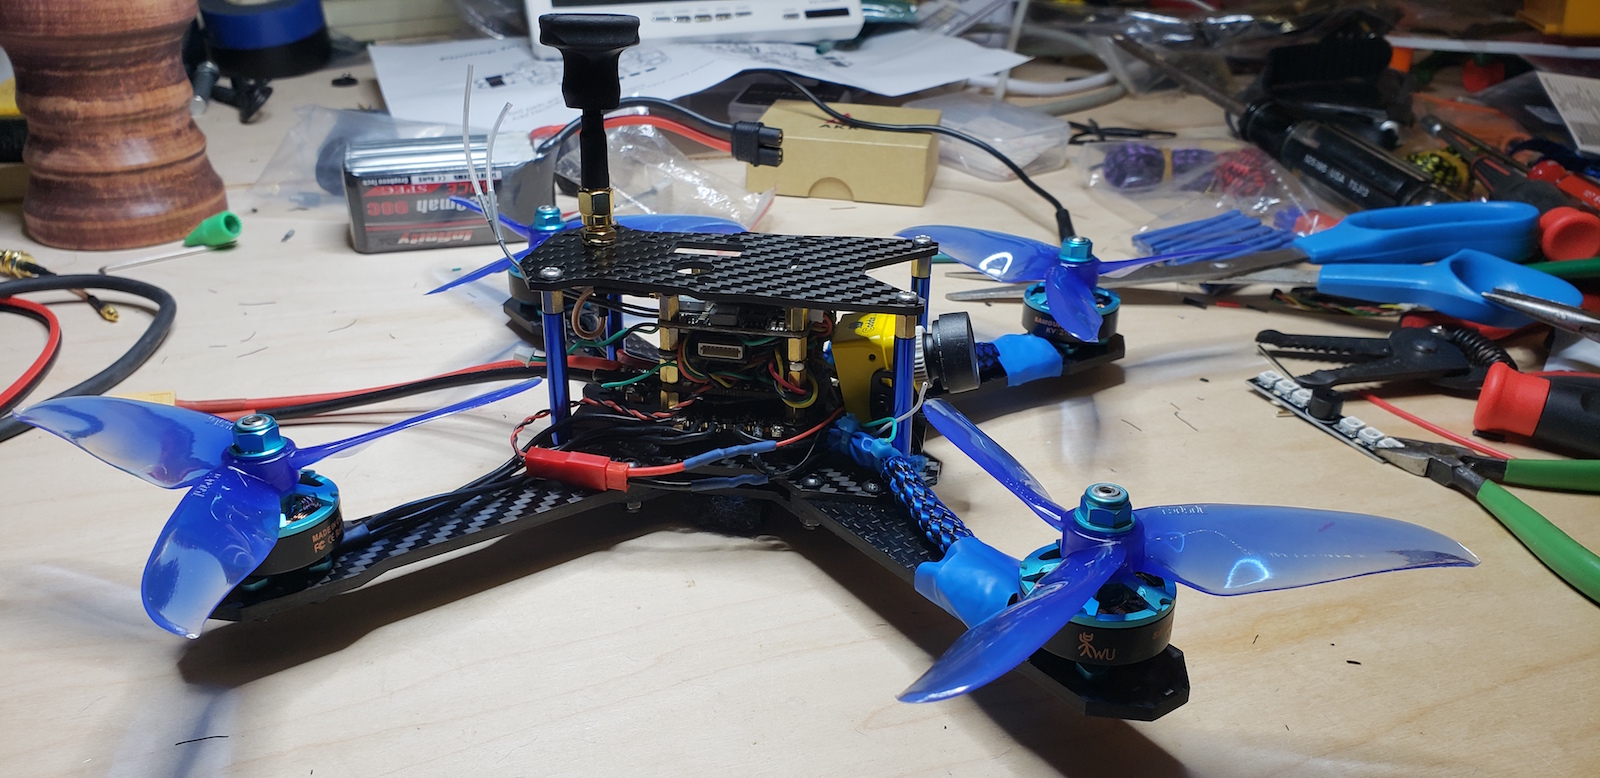
The technology has changed dramatically since my first builds. All in one components, ‘stacks’, and other tech has made the builds both more complicated (lots of tiny wire soldering), and easier (most boards are the same size, and can be stacked on top of one another). Turns out pretty much none of the components I had on hand would work on the new quad, so I had to purchase all new pieces. Here’s what I ended up with:
Wolfwhoop TX1912 5.8 video transmitter – I chose this board for the MMCX small antenna connection, and the ability to select bands and channels easily via a button and an LED display on the top. Super handy.
CrazyPony 4in1 ESC This is probably the biggest change for me. Originally I built quads using separate discrete ESC’s. This board puts all 4 ESC’s on a single board. It definitely makes the wiring cleaner, but a little denser on the stack.
Betaflight F4 flight controller Betaflight is certainly the star as far as flight controllers and software goes right now. Their configuration tool is excellent, and the board is very good. I was slightly concerened about working with a board that had no header pins, but decided to roll up my sleeves and get experience in very tight soldering setups.
FS-X6B Flysky receiver – Yeah, I’m still rocking the FlySky setup. It’s still working well for me. I like this receiver because it can mount on the component stack (even though it’s a half-board).
QuadzillaThe build went off without too much trouble. I found all the missing tiny bits I needed, did lots of very small soldering, and over the space of 3 weeks, got everything assembled and tested. It worked! All the components were talking to each other properly, and I even have a fully function OSD (on screen display) showing stats from the batteries, flight controller, and receiver. Even got the LED strip showing the arming state and a set of ‘tail lights’. Hurray!
I did a very quick flight test to check stability, then went up to the lab to put the final touches on things. This is where I made my first mistake.
Kids, don’t do this.I decided to take Quadzilla outside for a quick LOS test fly. My FPV gear wasn’t ready for flight testing, but I wanted to see the LED’s and play around. I put the quad on the ground, armed it (which spin the props slowly), stepped back, and gave it a little throttle. The quad lifted, started to move backwards, and basically… fell into my hands… still throttled and running. Those props HURT. I scraped up my hands a bit before I was able to disarm.
So what did I do wrong? Pretty easy actually.
I flew Line of Sight at night. LOS requires visibility on the yaw, pitch, and roll of your craft. I coudln’t see it, it was too dark.
The rear LEDs were pointing at me, which made it even harder to see.
I was in Air mode, not Angle mode, which means there was no flight stabilization. Quad did what I told it to, which in this case was to fly right at me.
Embarrassing, slightly painful, but no major harm done. Bleeding stopped within 10 minutes.
Chagrined, I took the quad home, cleaned up, and started prepping for the race, which would be in 3 days. The quad was pretty much ready to fly, I needed to set the mode selector properly, and tweak the LEDs. I also decided to move the battery from underneath the frame to on top of the top deck. Plenty of room there, and the quad would sit on the ground when taking off or landing, not on the battery. Win!
Turns out my batteries needed some love. The 1300mah 90C batteries i got last summer had been sitting idle for a year. Of the 8 batteries I had, one melted while charging, another was puffy so I decided not to use it. That left 6, which charged okay, but my parallel charger has seen better days. A new gang charging situation is needed, more on this in another post.
I charged all my other gear, including a nifty little all in one 9″ monitor with build in 5.8 receiver I carry with me. Great for checking video and watching other pilots fly. I packed up everything into the Jeep and on Sunday, headed up to the lab for race day.
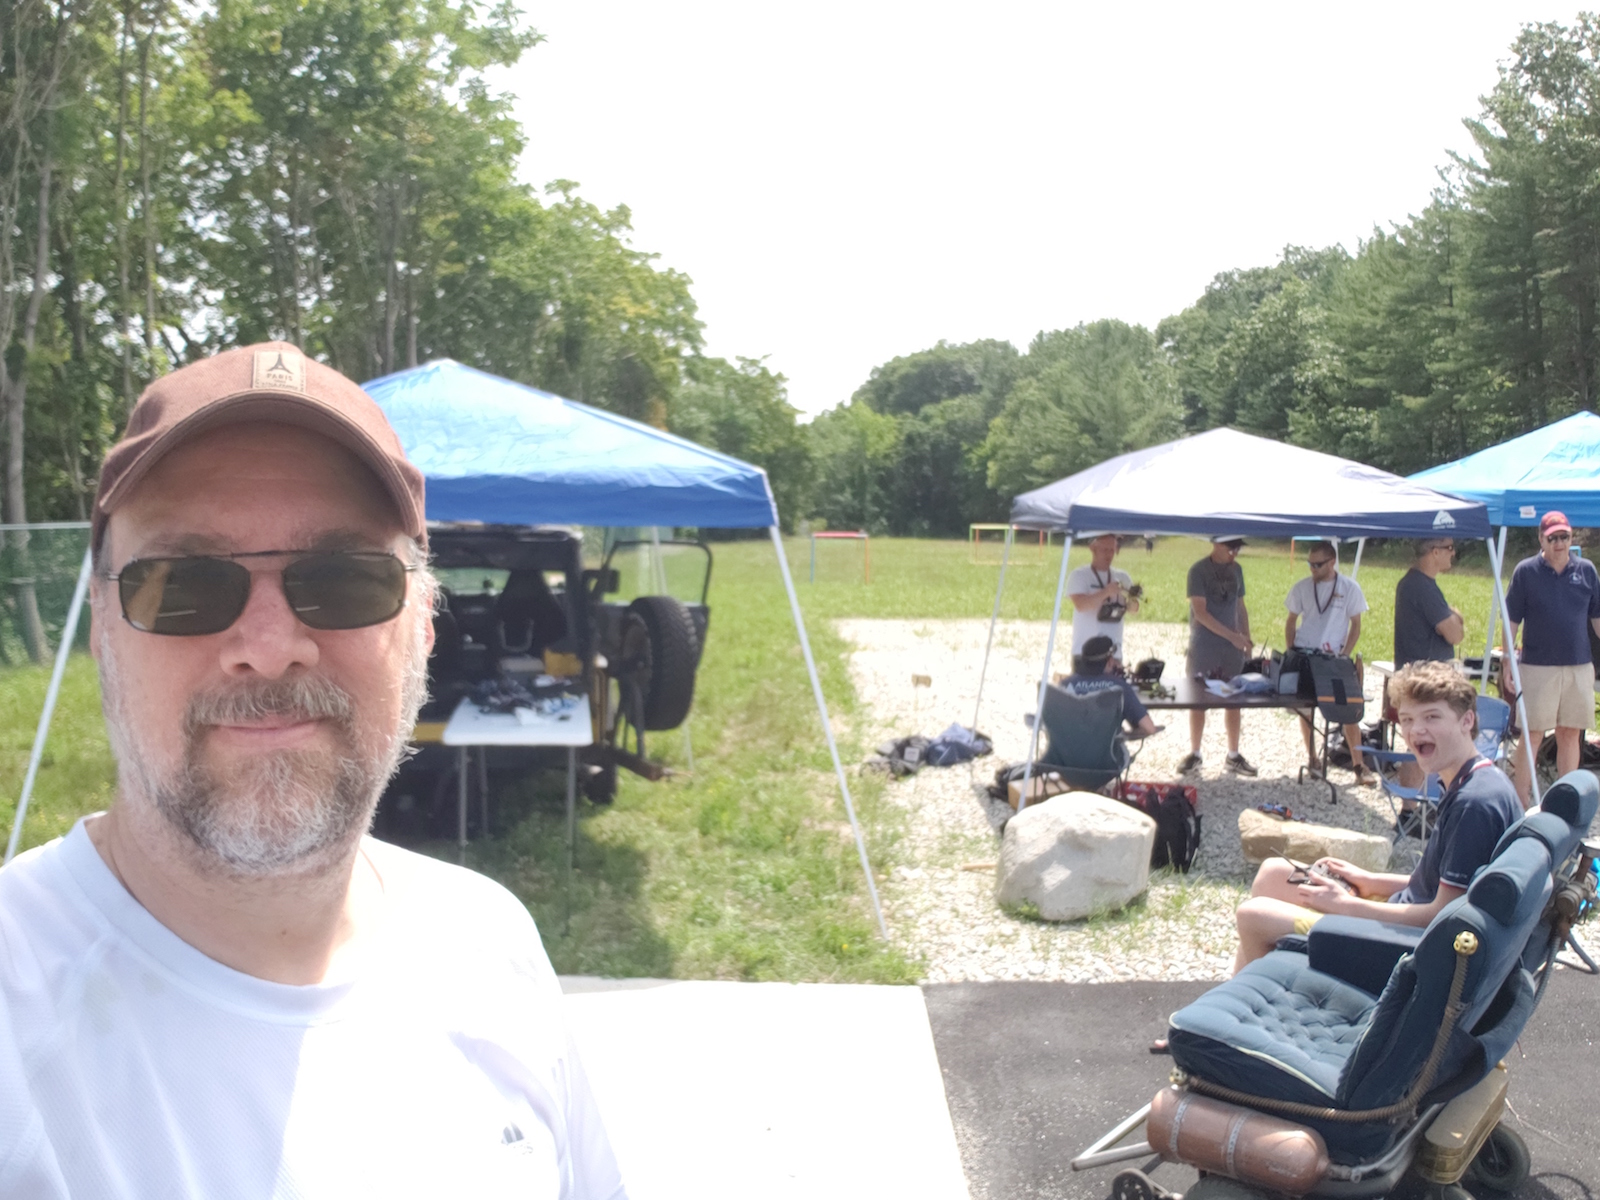
The folks from the 603 Southern New Hampshire Drone Pilots group showed up, bringing our total pilots to about 10. We ran a couple heats with 4-5 craft in the air at once, on a short ‘H’ shaped course that had several gates and a ‘turnaround’ cube in the middle. The course was off the end of the back parking lot, so there was plenty of room to drive up, park, set up your tables, and get flying without fear of getting hit or getting in anyone’s way.
I flew 3 batteries. First flight was a very basic FPV test (as really this was my first FPV time on the new quad this year, and things went fine. Video was strong and clear, and the quad was very responsive. I flew completely in Angle mode, which is a VERY simple flight mode. I wasn’t comfortable enough yet to go into anything that would let me go more crazy. This was a first time out, I didn’t want to shatter anything.
Second battery apparently was in bad shape. No strong thrust, just running limp. I figured out later the 4S pack had a dead cell, and was functioning as a 3S. That explains that.
Last battery was in good shape, and I was feeling the power of that 4S setup. Unfrotunately, because I was in angle mode, I couldn’t pitch forward enough to get decent speed out of it (I’d just climb), so I was taking it pretty easy. I flew a gate or two, then went through the last one on the course – I caught a motor on that, which spun me out into the trees. The damage to Quadzilla is pretty minor, but I did rip out my VTX antenna, so that ended me for the day. I’m not complaining, I flew, I had a great time with the other pilots, and you’ll be damned sure to see me flying again soon.
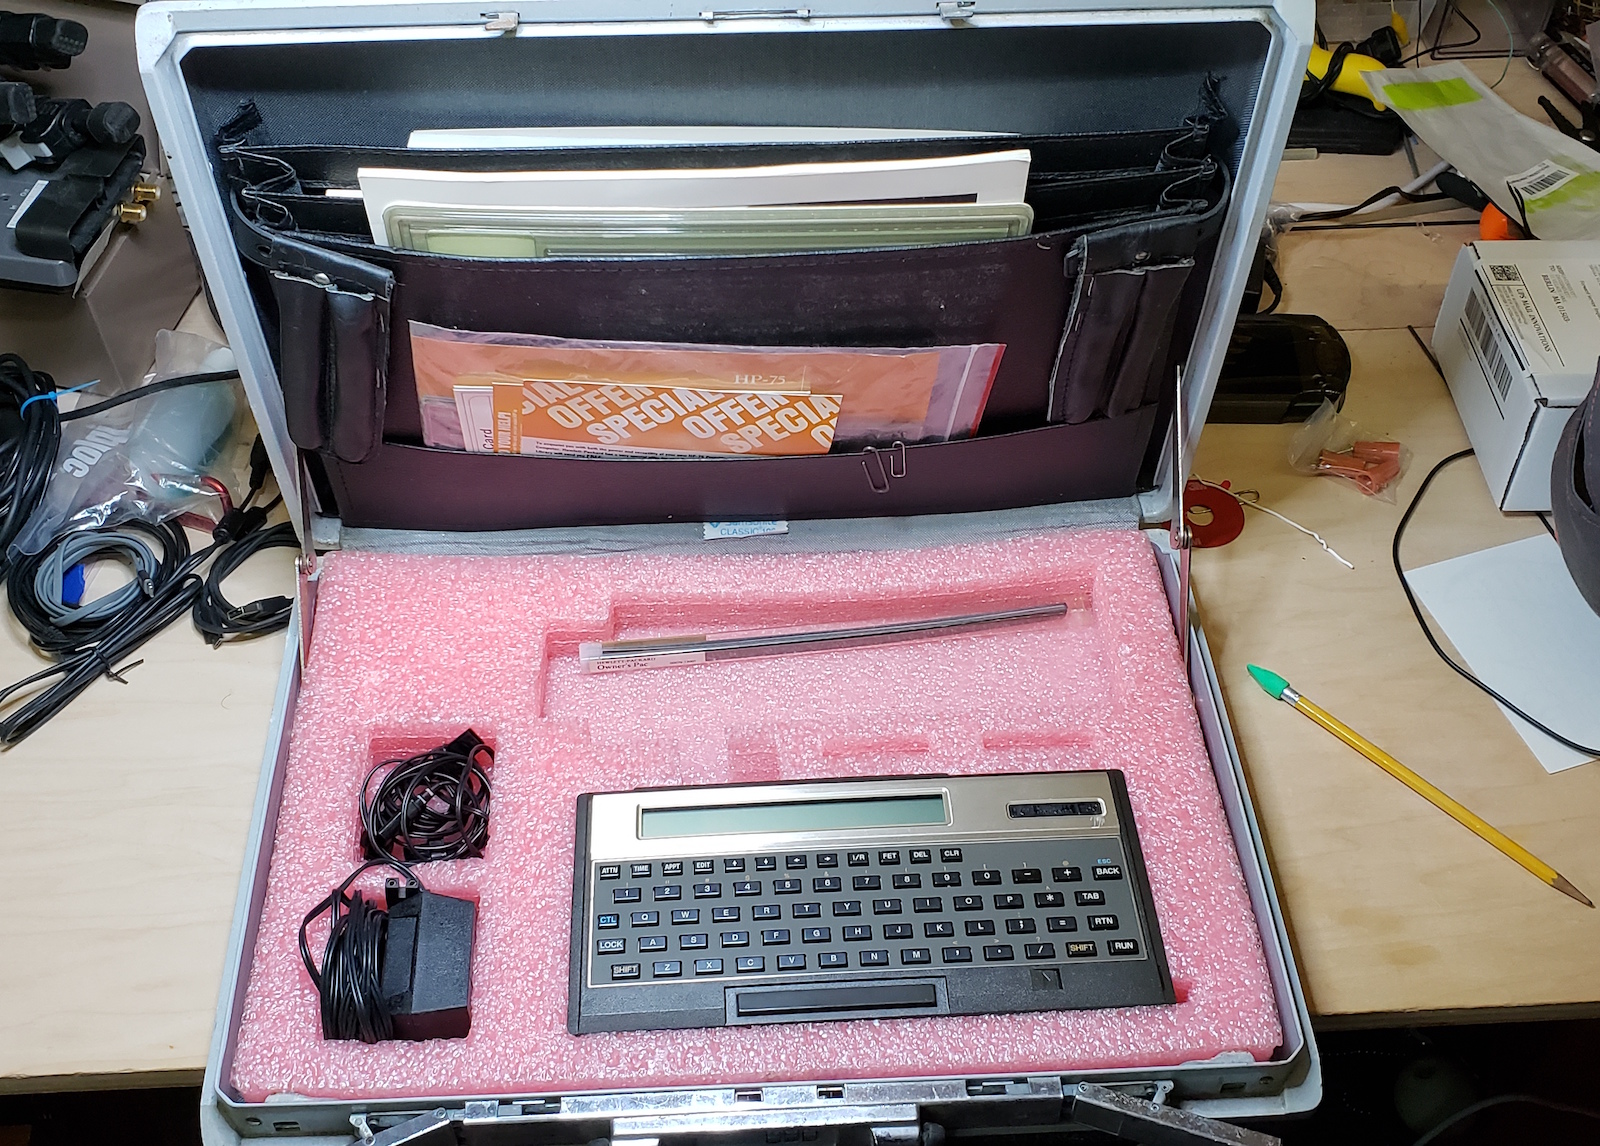
While up at MakeIt a few weeks ago, a fellow maker came up to me and handed me a Samsonite briefcase. With a wink and a smile, he said “Take this. You’ll like it.”
Ohhhkay, I’ll bite. Lets check this out.HP-75C Handheld Computer
Opening up the case revealed… an HP 75C handheld computer, made by Hewlett Packard in the early 80s. This machine has some pretty nifty functionality. A built in BASIC, expandability, magnetic card reader for loading / saving programs, a full QWERTY keyboard, and rechargeable batteries.
Writing code on it is remarkably easy, with a clear easy to read screen and nice tactile feel to the keyboard.