I don’t do much home finishing work, but I’m sort of proud that I got this thing done myself.
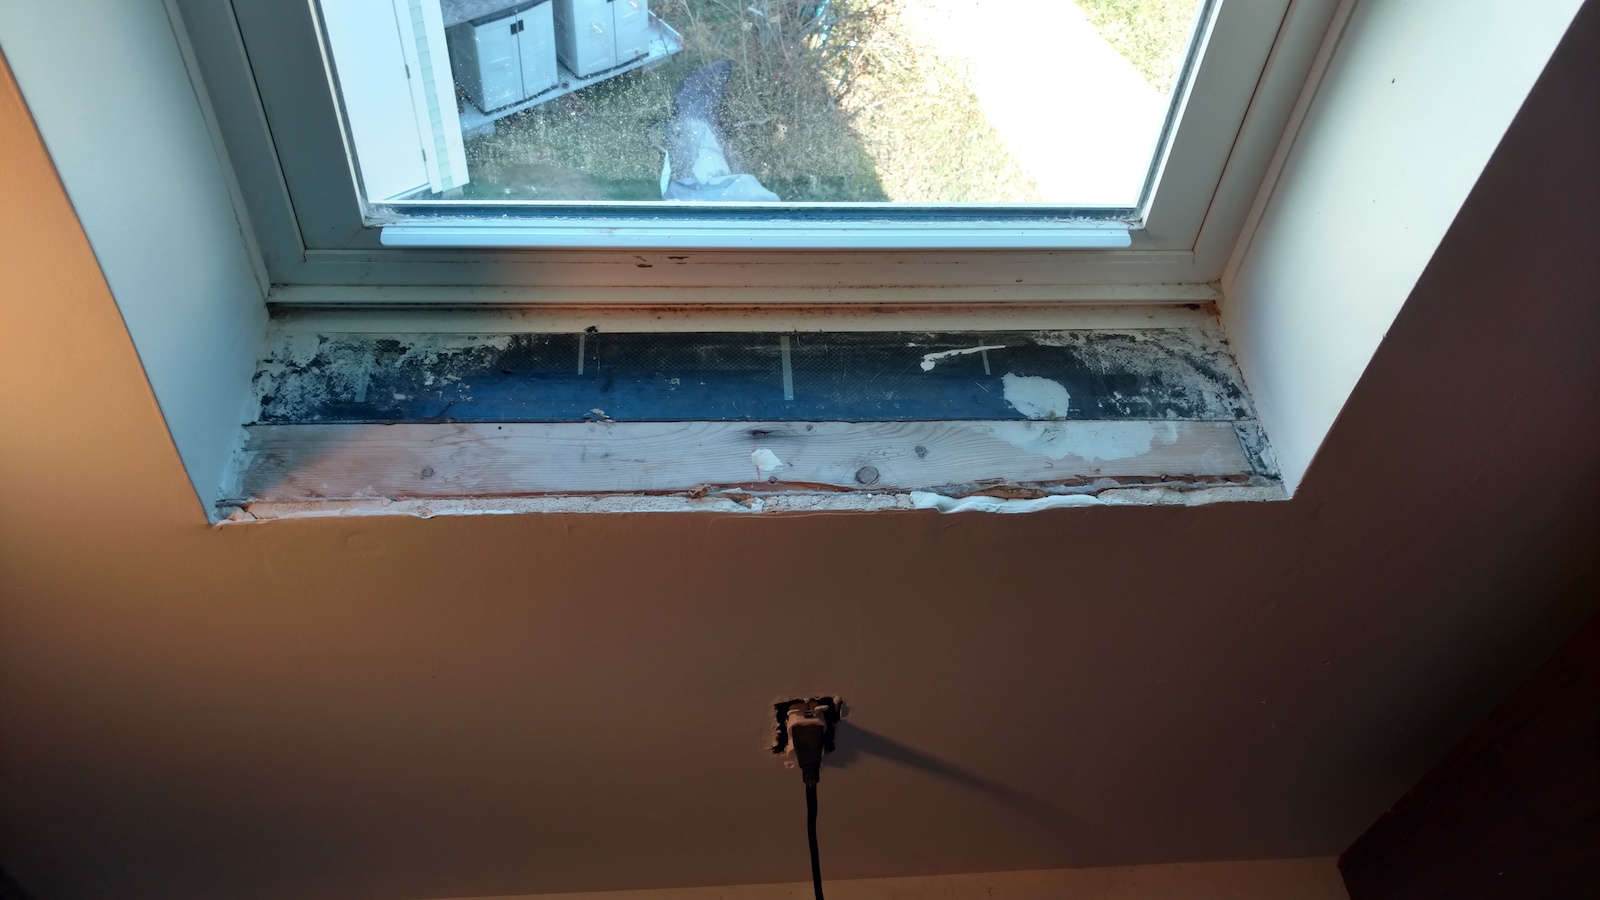 After finishing the attic, the windowsill on the one window was unfinished. I decided to do the work myself. It was an ugly and glaring flaw in the otherwise well finished space, it was time to fix it.
The first step was picking up some wood of the appropriate thickness from Lowes, and cutting it to shape in the sill.
I wanted a bit of a lip over the front of it, so I ‘notched’ the side of the front board (it required two pieces because of the depth of the sill) and fit it into place. I was working with relatively rudimentary woodcutting tools (skilsaw and jigsaw), so the fit wasn’t perfect. If I had a chopsaw and/or a scrollsaw, this would be much easier, but there’s only so many tools I can fit in my house. 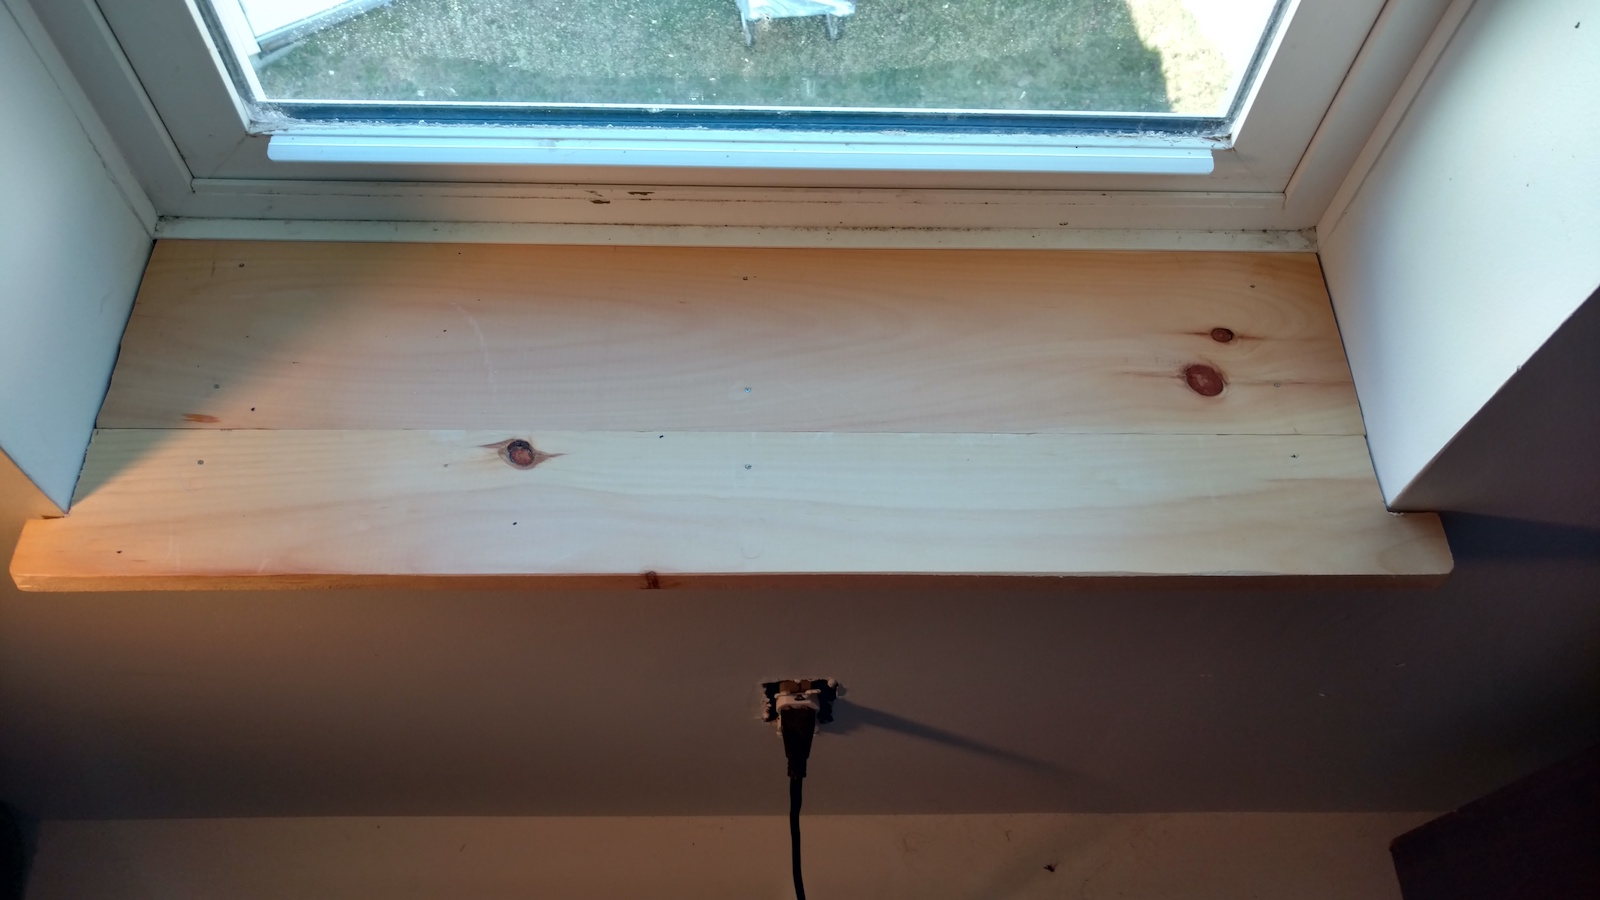 I used my belt sander to smooth / round off the edges of the lip and the nailed the pieces in place with finishing nails, using a small punch to countersink the nails so they wouldn’t stick up.
 Because the fit wasn’t perfect, and I hadn’t cut into the drywall to fit the pieces in snugly, I used some silicone to fill in the gaps and seal the wood against the wall. After that, it was just a matter of using some leftover paint I had from when the room was painted, and voila! I had a lovely new windowsill.
Is it perfect? Not even remotely, but it’s a damned sight better than the raw unfinished sill. Onward!