It’s no secret I’m a huge fan of Warner Brothers cartoons. My sister and I were basically raised on this stuff, and so much of our cultural reference points (and humor) comes from watching Bugs Bunny when we were growing up.

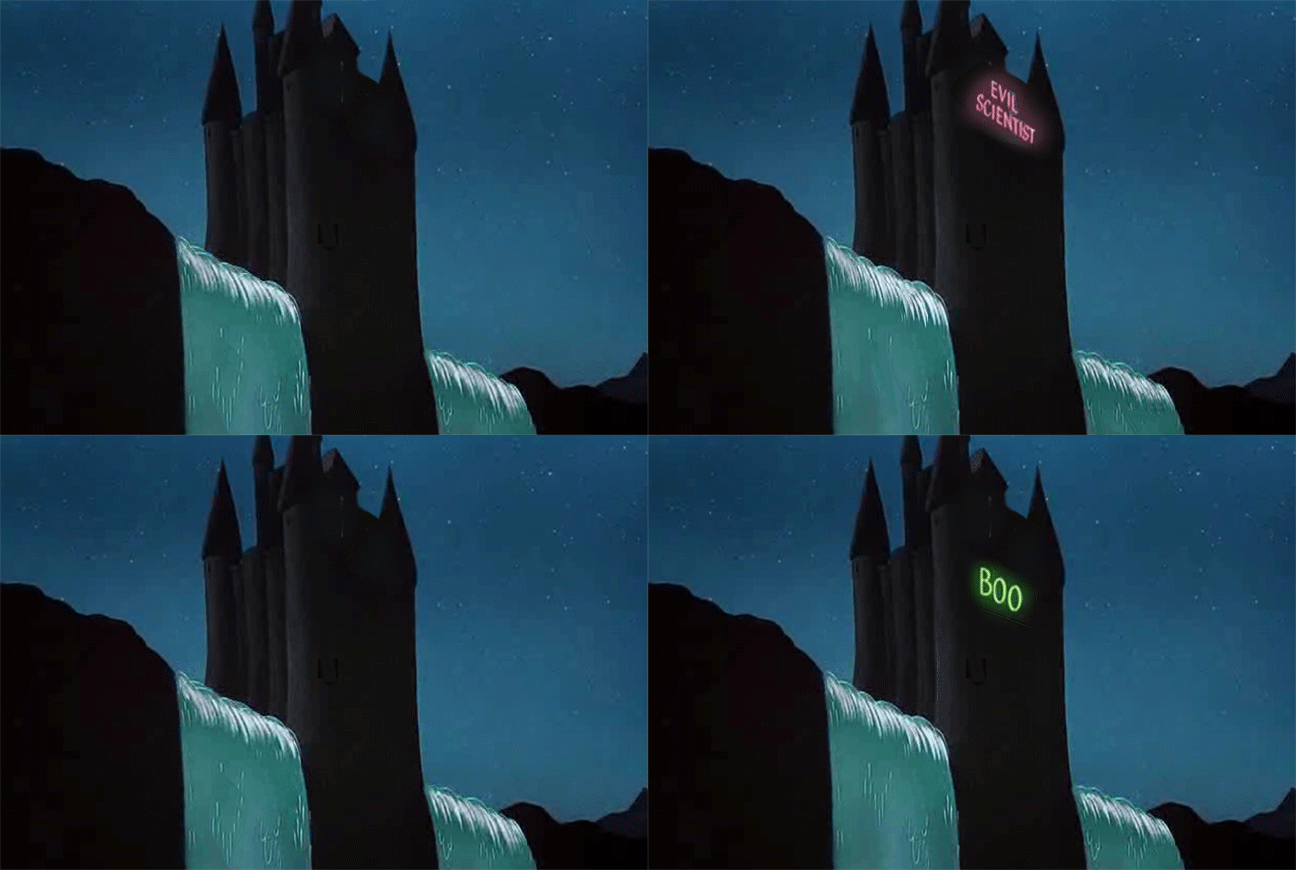
So, as Halloween approached, I thought it might be cool to recreate an iconic image from the 1952 cartoon “Water Water Every Hare”, where Bugs is taken to a big scary castle on the edge of a waterfall. The castle is inhabited by, naturally, an Evil Scientist, who advertises the fact with a blinking sign on the towers of his castle.
Okay, I’m not really a scientist, I’m an engineer, but I figure I could apply a little artistic license and make a sign like that for my house for Halloween.
I wanted it big enough so I could put it in an upstairs window and have it visible from the pathway. We get a LOT of kids through our community over Halloween, and tons of parents as well (since mostly the parents would get the reference), so it needed to be visible. In order to constrain the glare, I decided to put it in basically a shadowbox configuration. An enclosed box, LED lighting inside, with a cutout pattern on front that would show the text.

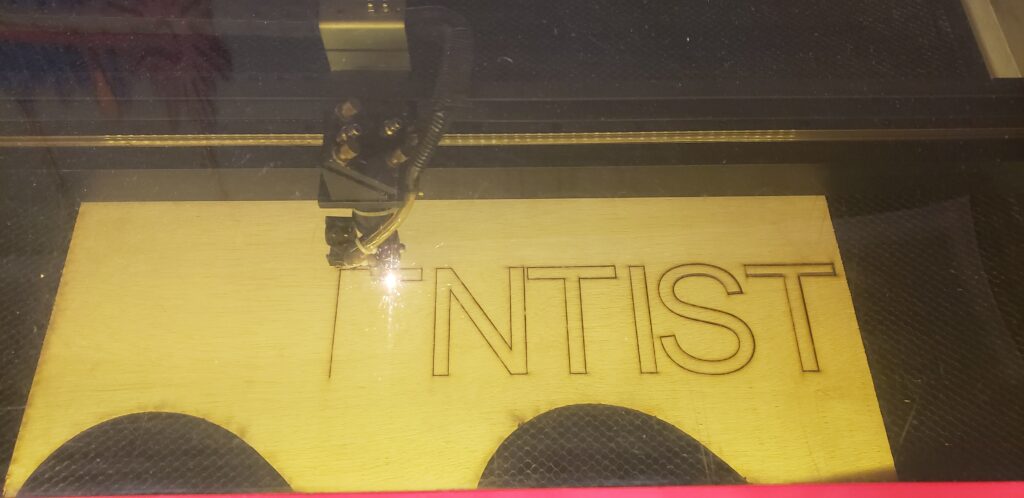
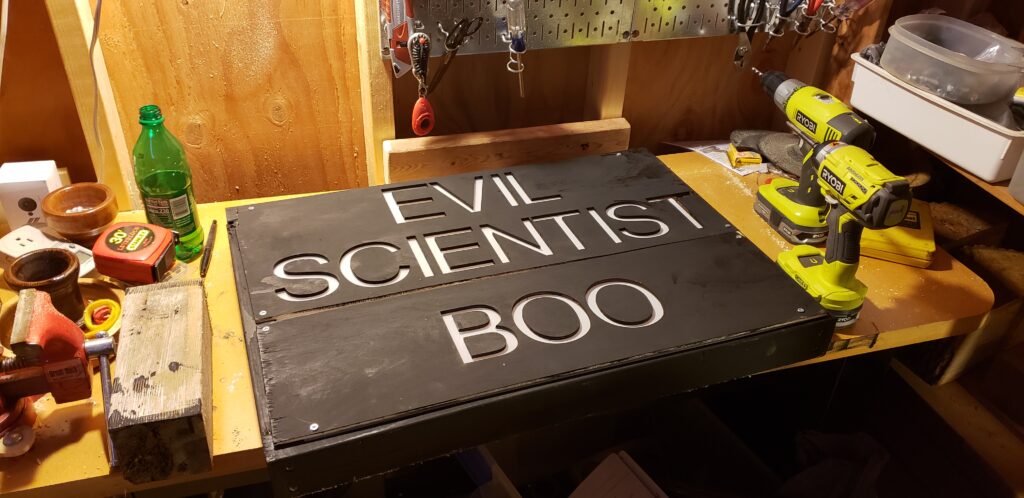
First step was to use the laser cutter at the Makerspace to cut out the lettering. As anyone who does stencils will recognize, the second line (“BOO”) would have floating elements in it, and would have to be glued down after the box was made.
I found some old acrylic sheeting that still had one strip of white backing on that, and that made a dandy diffuser, as well as a place to mount the center parts of the lettering.

Next, based on the size of the lettering, I whipped up a box out of some scrap wood, and painted it black. I also painted the letter stencils so the shadowmask wouldn’t show up at night, but the lettering shining through would.
The colored lighting was done with some LED strips and an arduino. The sketch was painfully simple. Just first row on, wait a second, off, wait a half second, second row on, wait a half second, off, then wait a half second and then repeat. The most challenging part was soldering up the strips (I needed 3 rows), and mounting the arduino.

The only thing I had to go ‘buy’ was the backing board. A quick trip to Michaels got me a sheet of the plastic corrugated ‘cardboard’ for $4. This stuff is awesome, and I think I’m going to use it more in future projects. I mounted the LED strips and the arduino to it initially using hot glue, but while that’s the default ‘go to’ for DIY projects, I ended up ziptying the strips to the backing board, and doing the same for the arduino. Since the board is flexible, hot glue just didn’t make sense.
Once everything was screwed together, it was just a matter of putting it in the window and plugging it in. Yay! It worked!
I slightly misjudged the width of the window, so it doesn’t quite have the margins I had hoped, but when it got dark, it looked great. Very happy with the end result!
I love your “Evil Scientist…Boo” sign. Would you consider making any for sale?
Maybe? I’m super duper swamped with work, so if you’re looking for something by next weekend for halloween, definitely not. Honestly, the build is pretty slapped together, anyone with a saw and a little bit of wiring can build one. If you need details, feel free to ask!