In this day and age, it’s pretty common for folks to consider replacing their phone, laptop, desktop computer every 3-5 years. It’s a terrible model, because it just adds waste and churn, when in many cases, it’s not even necessary.
I’d been hunting around for a Linux laptop to use for a variety of projects. A fellow up at our makerspace sold me a 2013 Lenovo Thinkpad T440s for $80. At it’s root, it was fine. 4gig RAM, a good keyboard and touchpad – it was missing a hard drive, but otherwise the battery was good and was the right size.
I tested out the unit with a USB-booted version of Ubuntu, and that worked just fine. A little sluggish, both because of the USB drive, but also I suspected I was running into memory limitations. 4gig of RAM in a modern OS with a full desktop really isn’t enough.
I decided to invest in upgrading the machine.
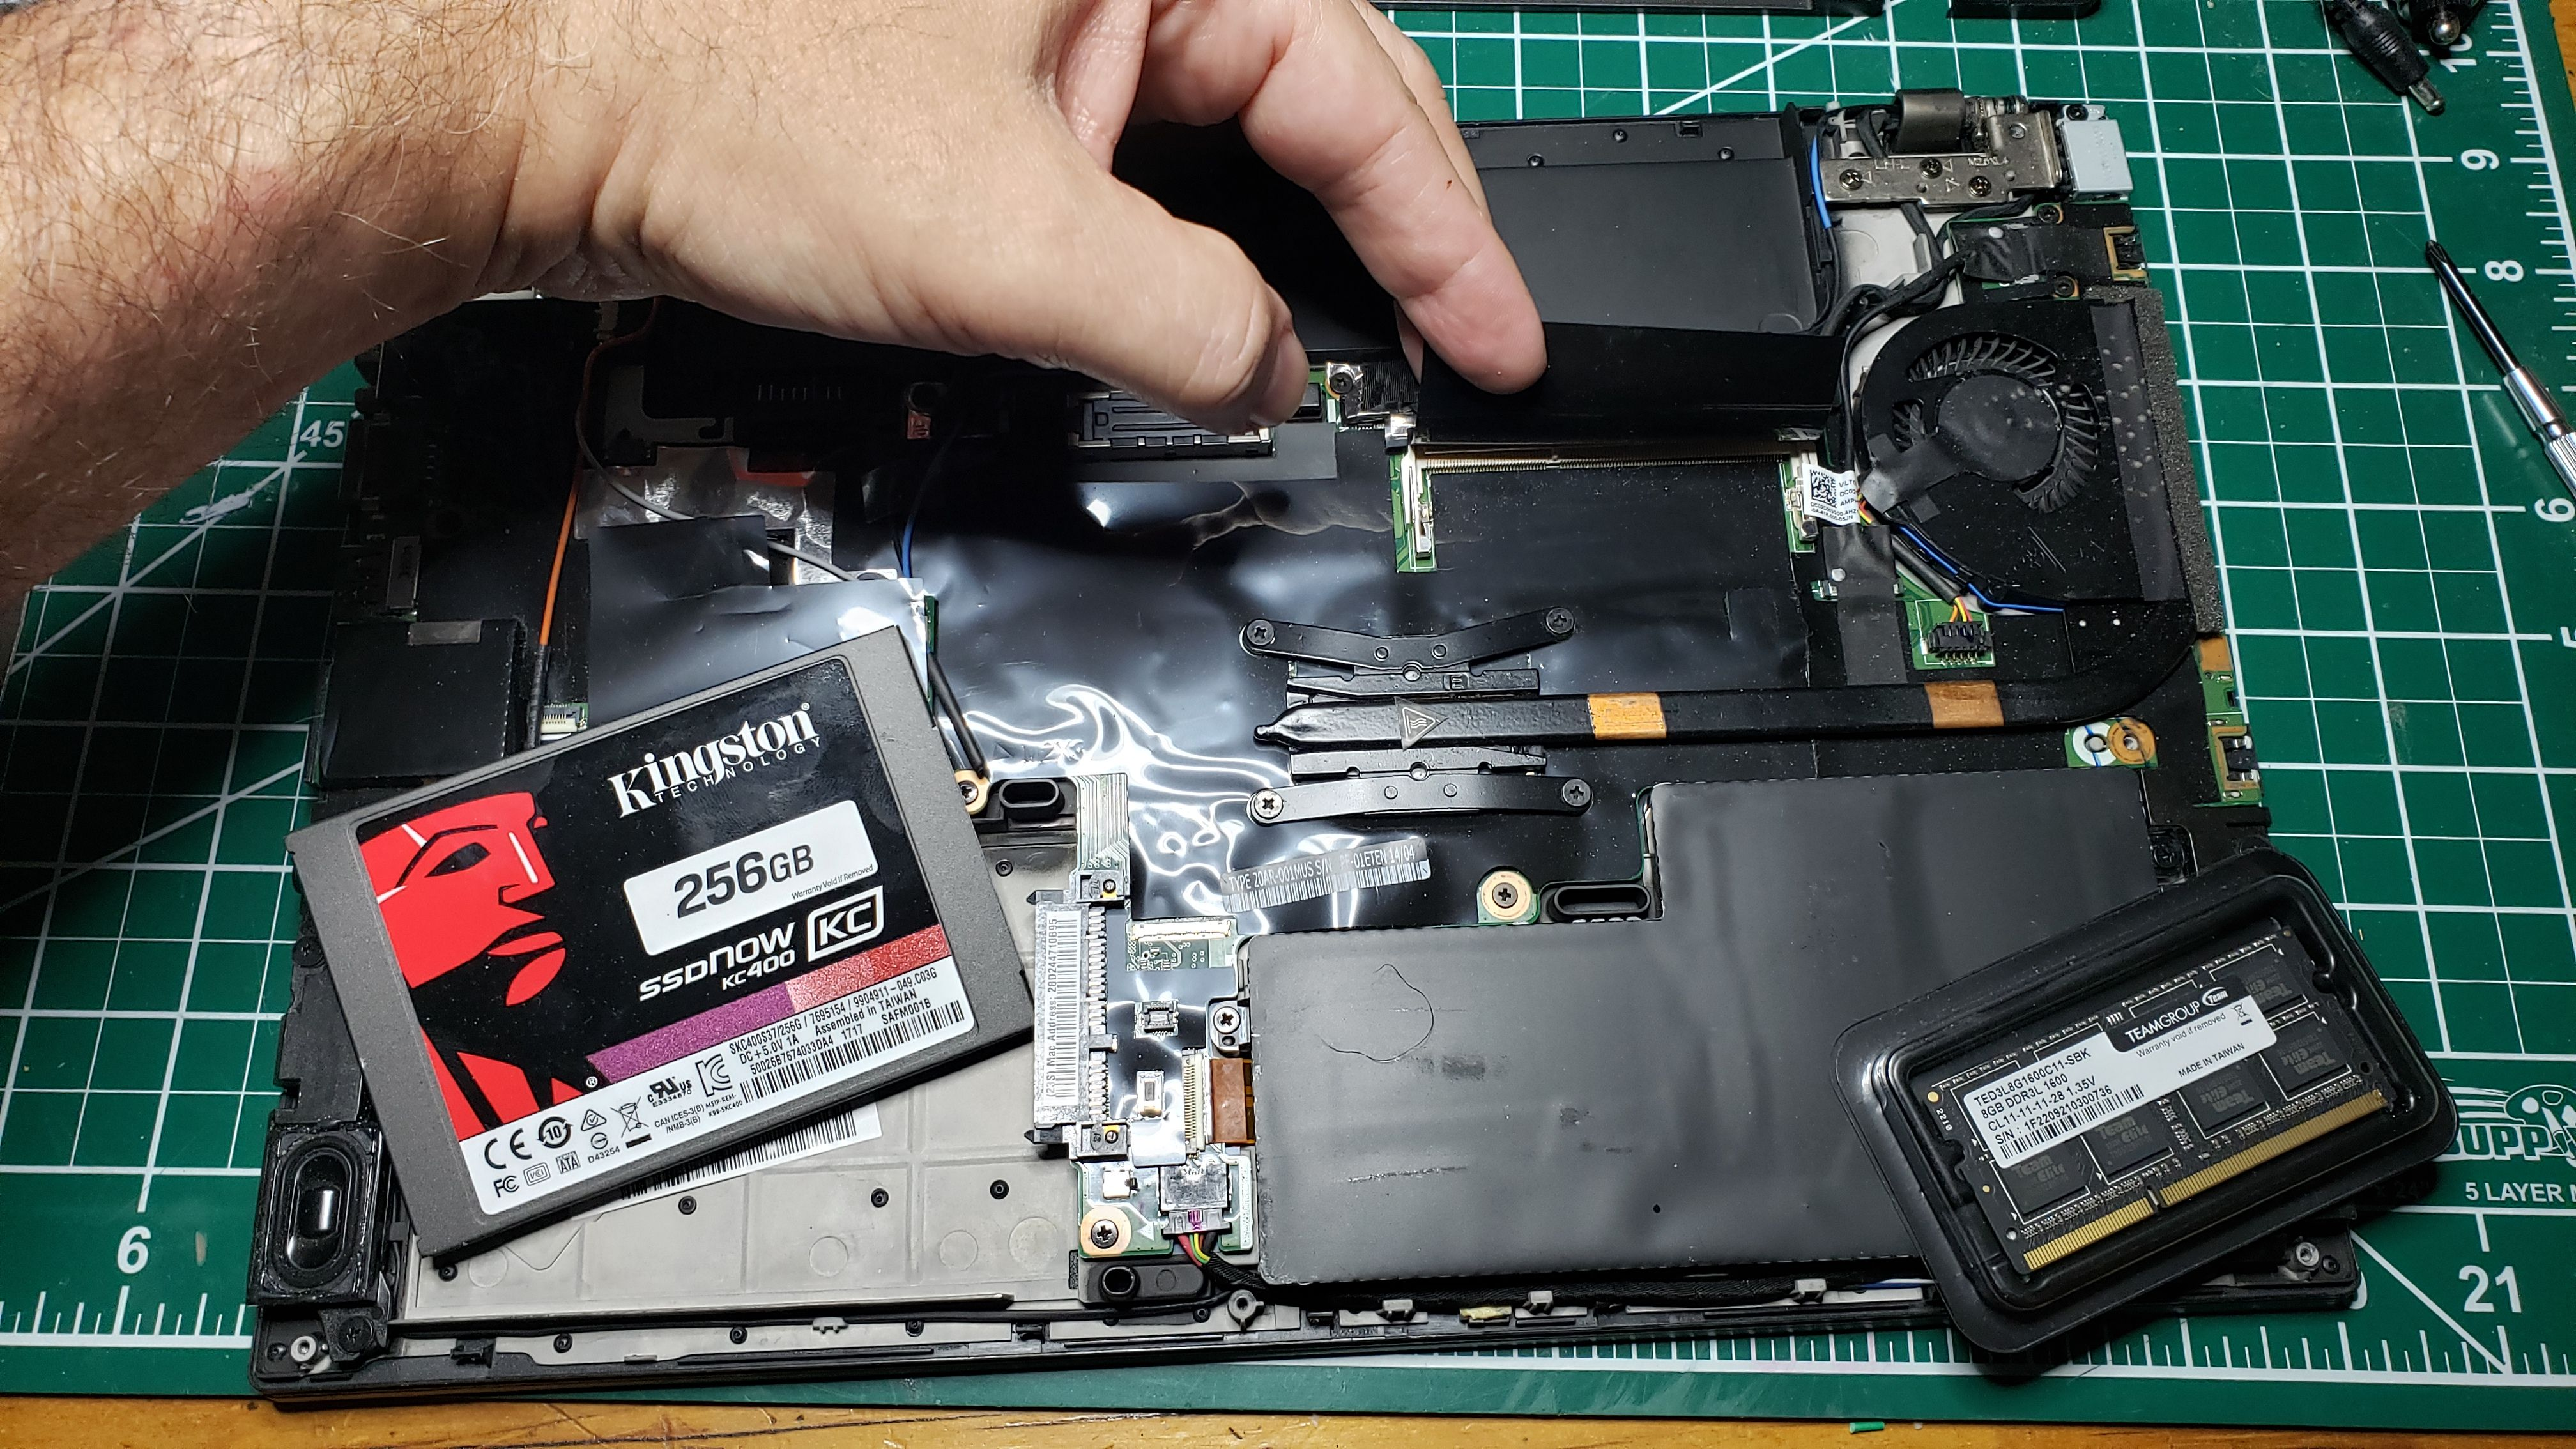
First, I picked up a Kingston 256gig 2″ SSD drive for about $20. It’s pretty well known that replacing ‘spinning rust’ drives with SSD’s is a surefire way to speed up a machine tremendously. I was a little startled by how low the prices had gotten, but who am I to argue.
Next, RAM. This laptop has 4gig of RAM on the motherboard, but has a SODIMM slot as well. I was pretty sure this slot was empty, so I bought an 8gig SODIMM DDR3 module for $12.
As far as hardware goes, that covered the bases.
Thinkpad T440s internals
Installation of the drive and RAM was a piece o cake. The Thinkpad has an internal battery (which is interesting), which needs to be disabled in the BIOS. Once that was done, I was able to just pop the back off, and install the drive and RAM. The entire operation took a whopping 15m.
Powering back on, the machine was like new. Fast, responsive, and Just Plain Worked.
Considering I’ve spent a grand total of like $115 on this, and I’m able to run Slack, Chrome, discord, various other applications, and it’s not even skipping a beat, that’s fantastic. I’m happy.
Up and running!
Now I have to, after many years of not using Linux as a full time desktop, slowly learn the ins and outs of how the Gnome Desktop has changed and how modern stuff work with it. Exciting!
Somewhere in the 2nd year of the pandemic, I stumbled across a posting on Hackster.io about a design for a ‘Cyberdeck’.
A what now?
For those who don’t know, the term Cyberdeck was coined by William Gibson (the inventor of the terms “Cyberpunk” and “Cyberspace” by the way) to describe a piece of computing equipment used to to jack into the net in the future. These fictional machines were basically the hot rods of the grunge tech and hacker scene, able to do anything from simple education stuff all the way to allowing a talented hacker to penetrate the most well protected systems out in cyberspace. They were fast, personalized tech that marked the owner as someone serious about hacking.
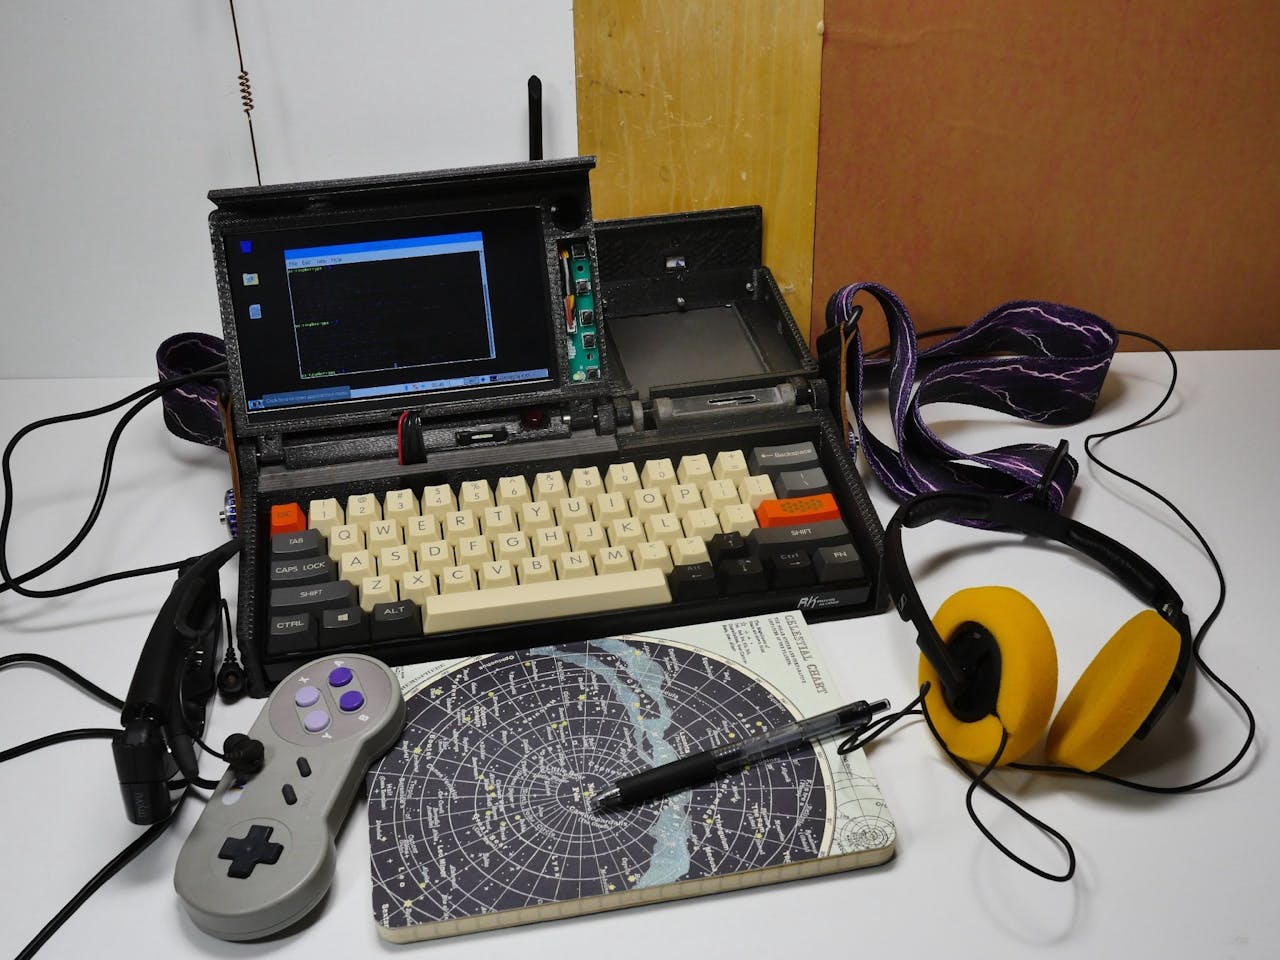
BootDSC’s Original Cyberdeck Design
I’ll admit, I’ve read everything by William Gibson, Neal Stephenson (you know, the guy who actually invented the term ‘metaverse’?), Bruce Sterling, and Philip K Dick. In particular, Gibson’s portrayal of Ono-Sendai decks that could jack into and surf cyberspace are well wedged in my psyche. The idea of building and customizing my own ‘deck was too good a concept to pass up, so I took the plunge.
The Printer
There are basically 3 major components to a build like this. The case, the keyboard, and the computer. While it’s possible to build your own keyboard and computer, I wasn’t ready for all that, so I used off the shelf parts for that. The case, however, I’d manufacture myself.
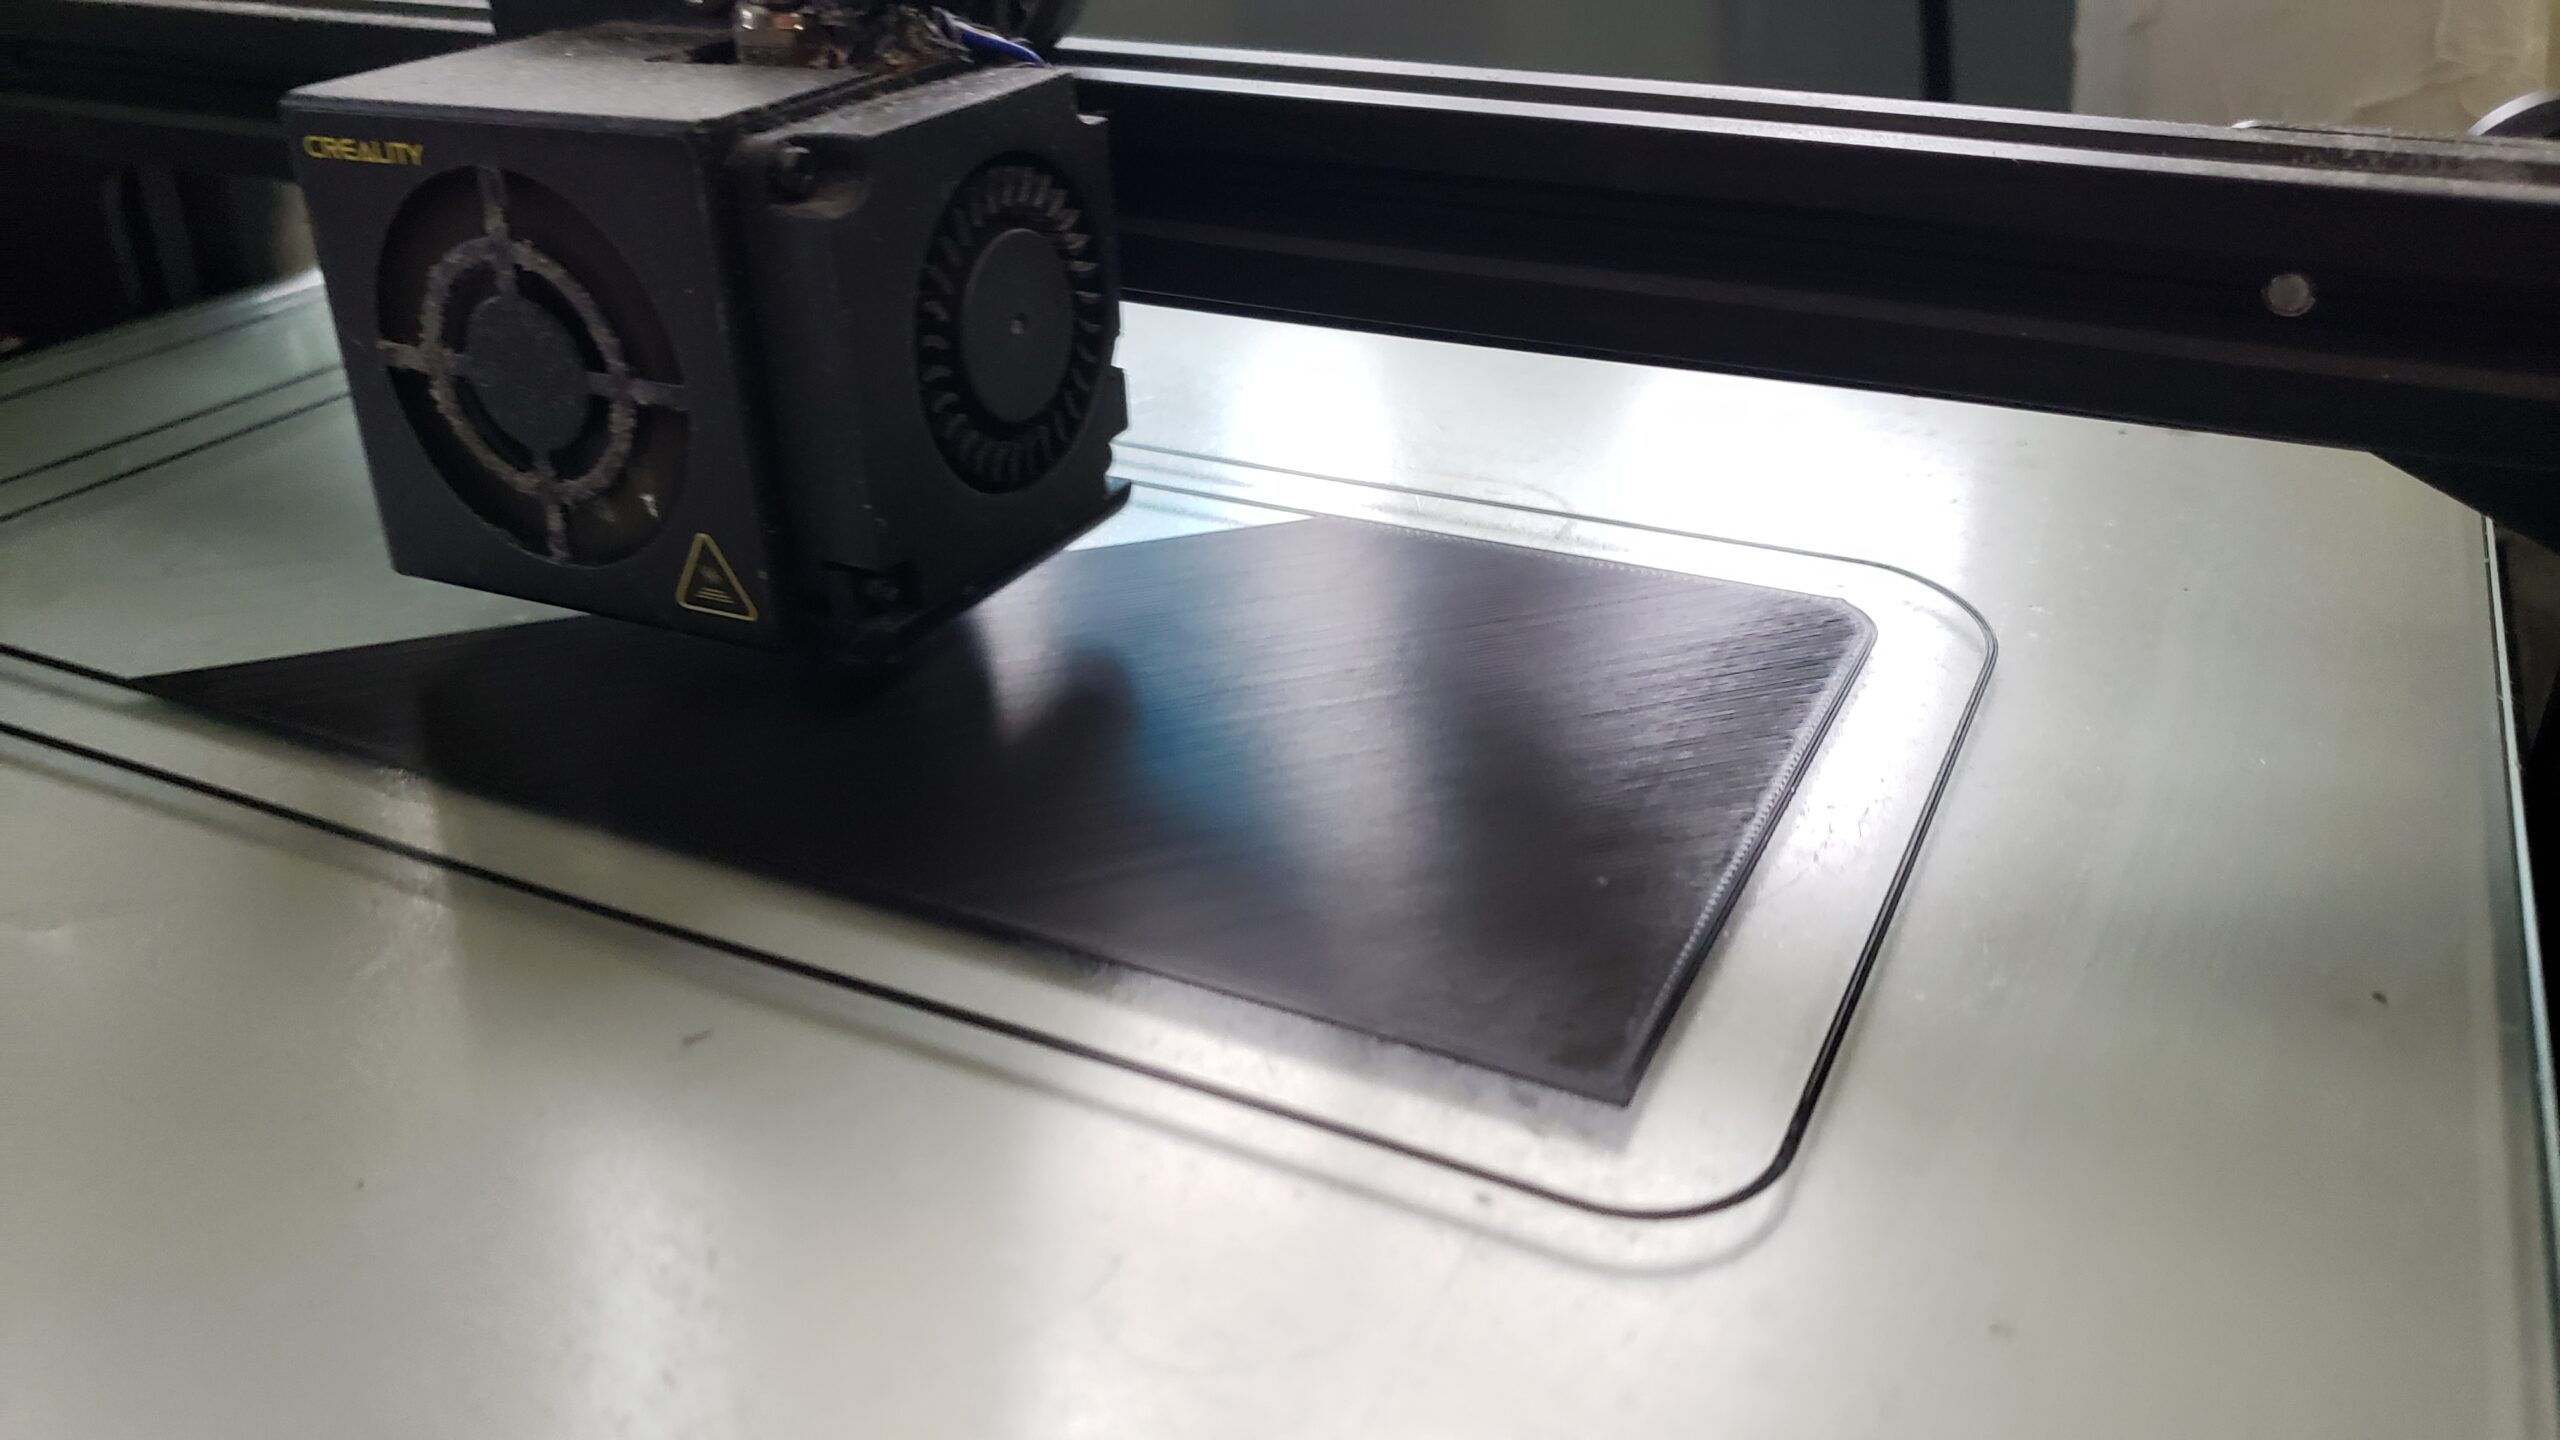
The first phase of this was to get my 3d printer up and running again. I’d been doing a bunch of printing, learning the ropes as it were on how to use TinkerCAD and Cura to take a shape and turn it into a Real Live Thing. I built a healthy respect for people who operated industrial equipment. 3d printing isn’t a push a button, get an object system. It requires constant tinkering, adjusting, repair, and fiddling to keep it all working, and there’s a million small ‘tricks’ you learn in the process to keep a 3d printer running smoothly. It’s a good feeling when you can get your system dialed into the point where you can just power it up, prep the surface, and say “PRINT THIS”, and it works.
Some smooth first layer porn.
My printer (a Creality CR10) had been acting twitchy for a while. I’ve used it for a couple projects in the past, but nothing serious in the last year or two. The problem(s) turned out to be a combination of bad bed levelling, bad bed prep, and a completely horked print nozzle. Once I got those straightened out, I was printing clean, flat prints without any fiddling. I was ready!
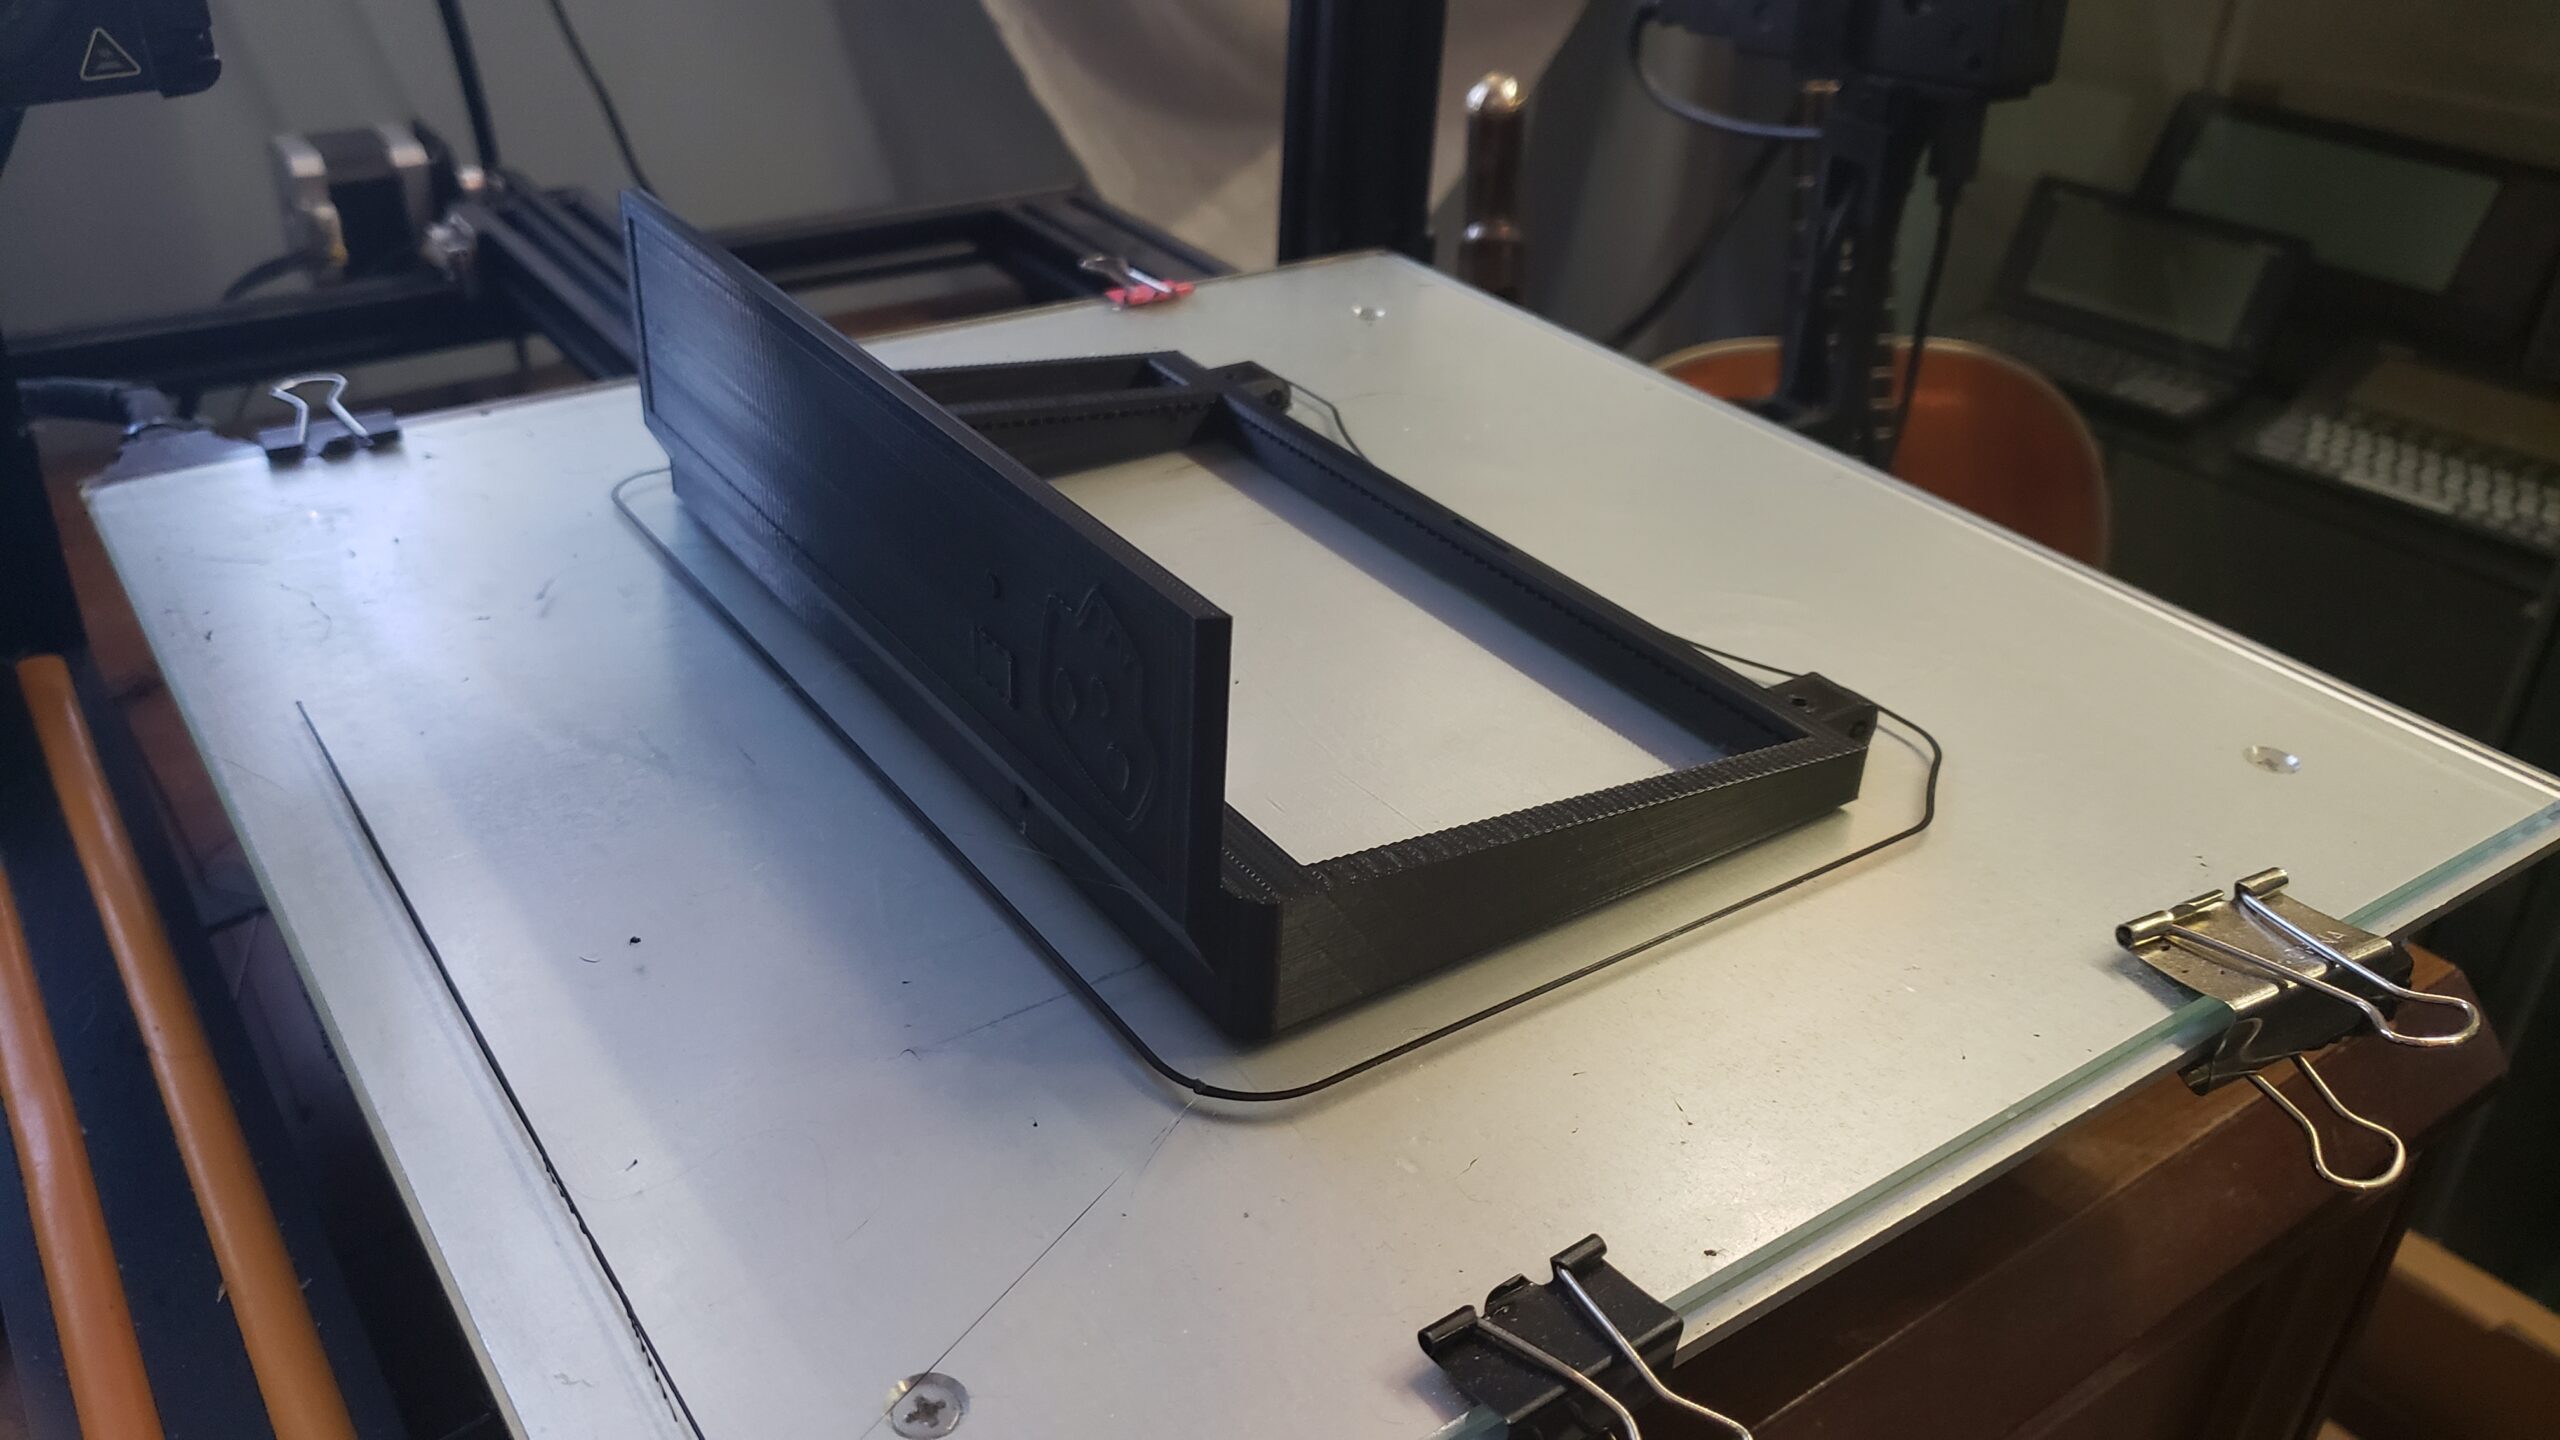
Printing the frame, hinges, panels, and other components took about a week. In that time, some of my components had started to arrive, most importantly the Raspberry Pi 4 that was to be the heart of the system, as well as a Geekworm X728 LIPO battery/power module. Nowadays the Pi4 is sometimes hard to get – as of posting this article, the link above had them in stock. Screen, keyboard, and other componentry arrived over the next few days.
Display portion of the lid
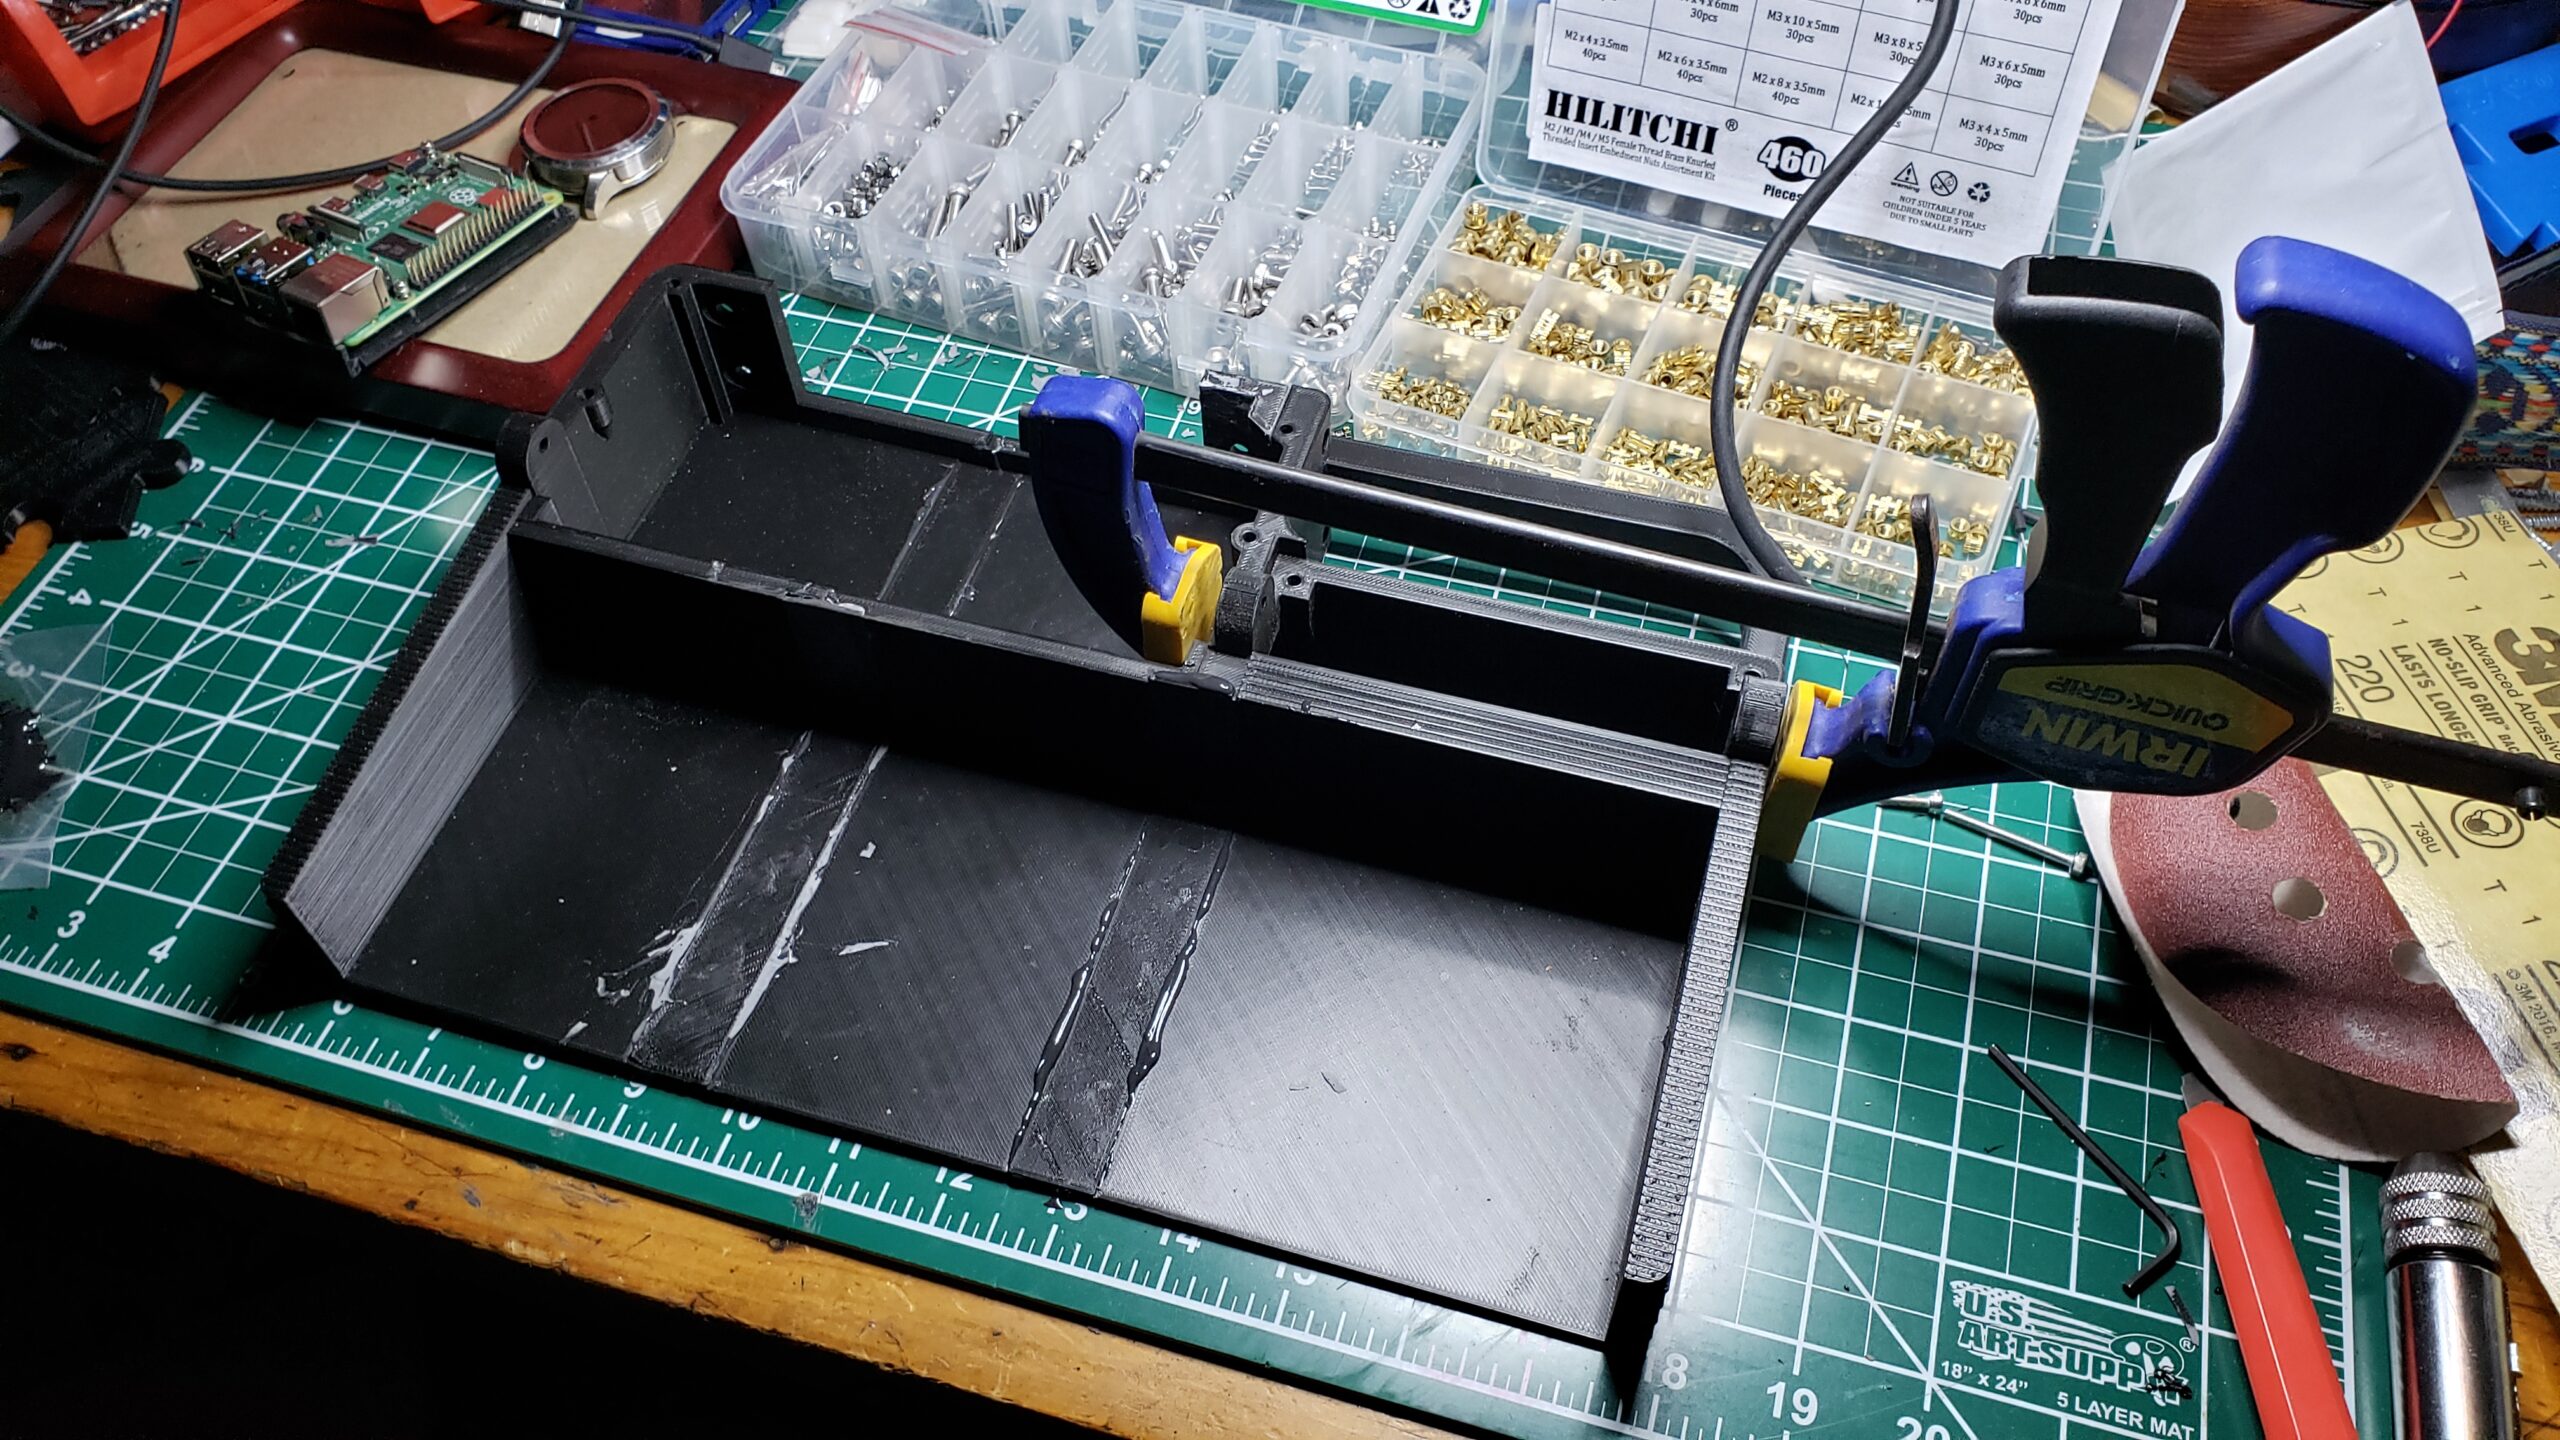
Gluing the base panels together
This was my first decent ‘build from scratch’ project, and I learned early on I was missing a lot of build supplies. M3 screws and nuts, bolts, a good rotary tool (I had been using an old Craftsman tool I bought 30 years ago? But it died a horrible death partway through the build. The Ryobi rotary tool is excellent, though it really does sound like a dentist drill while in operation).
When doing this sort of build, you really need an entire inventory of tools and accessories. Some items I found extremely useful:
T-type tap set – for setting machine threaded holes in the printed plastic. I was skeptical this would work, but it did.
Eventually I had all the pieces I needed, and I could get on with the build.
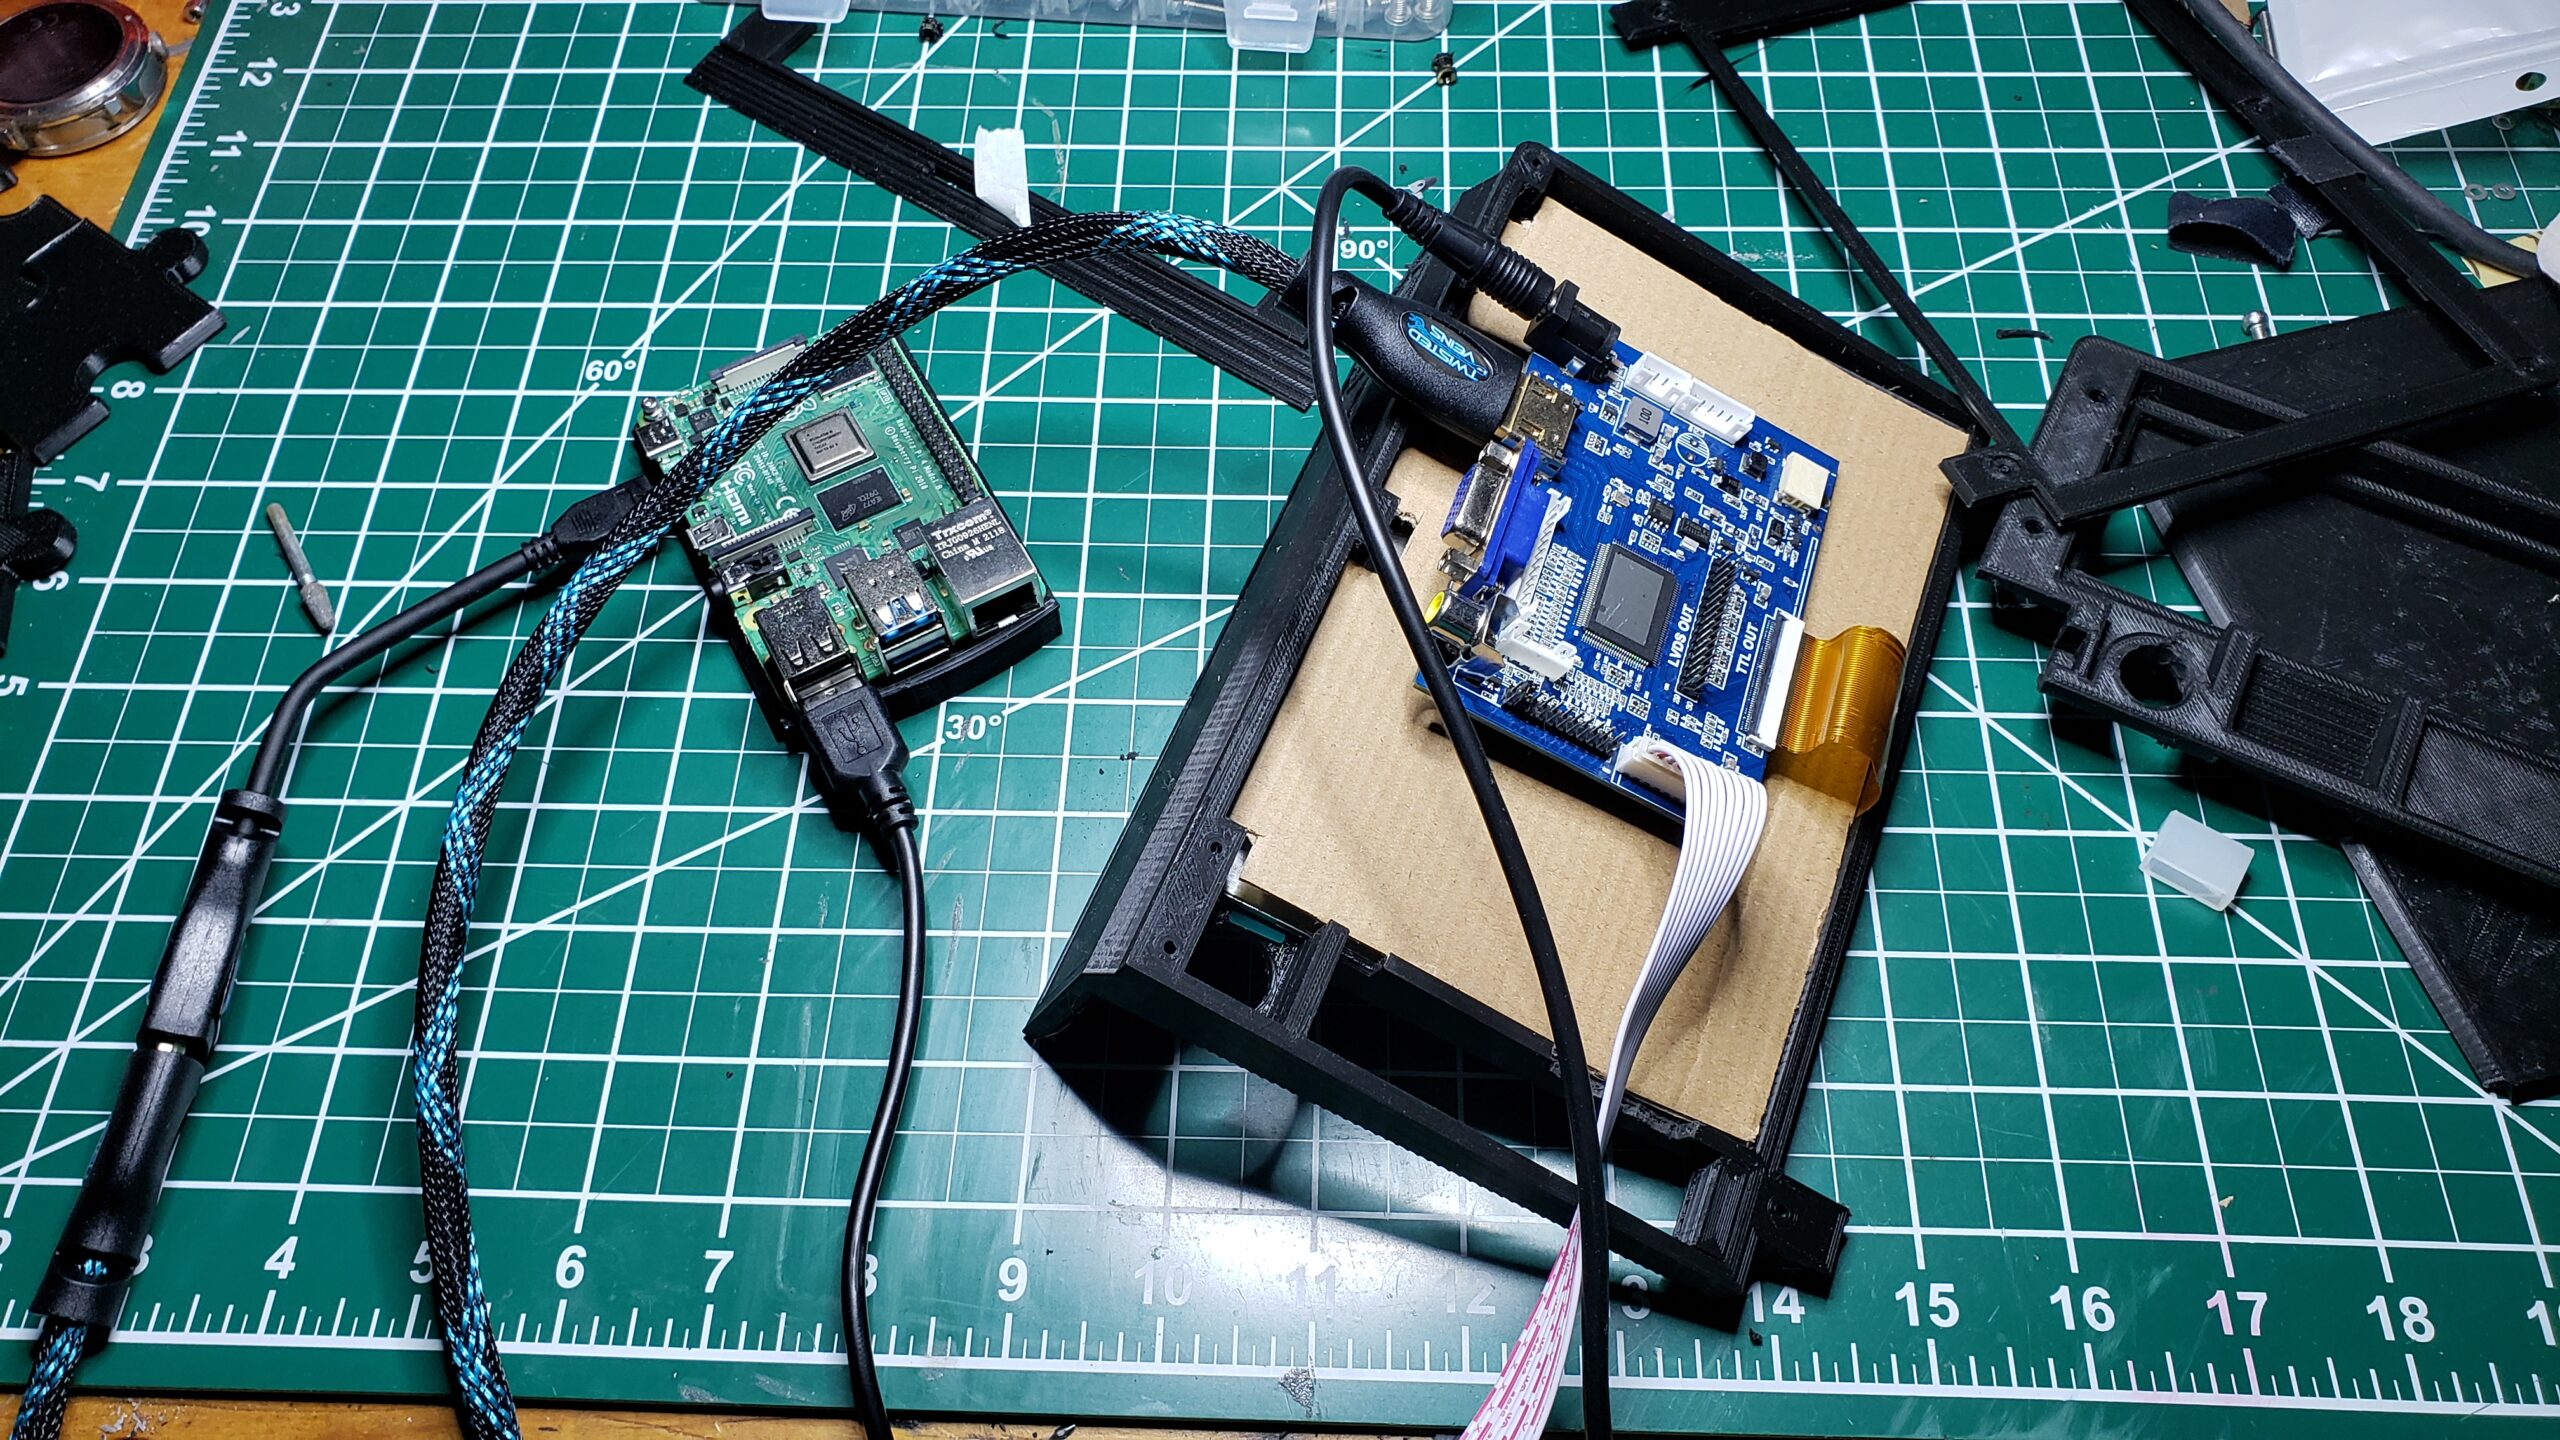
I wanted to make one relatively large change – I wanted to use a touchscreen. The 7″ HDMI display I used has a ‘mouse’ function in it that connects to the Pi via USB cable. The problem though is fitting it into the lid of the deck was problematic. I ended up redesigning the lid to give it more ‘depth’ to allow the driver board and cabling to fit. Probably my first real 3d design project – I also had to redesign the component bay lid to make room for the new larger lid and hinge. Multiple prints later, it all fit together the way I wanted it to.
Bench testing the display and controller and realizing the lid needed to be deeper.
This is one of those projects that will really never end. I’m constantly modifying the design, adding new components, removing others. I found that the power connection setup on the back was really awkward, so I designed and printed a USB-C port to go in the opening. This means the whole thing can be recharged via USBC cable, or just run off a power adapter. Win!
I also ran into a problem with the touchscreen USB cable, which, as it came from the supplier, had a 6′ long cable with a ferrite core on it. I picked up a kit to allow me to truncate the cable and put a new end on it, but it turns out I got the wrong connectors. So I ended up just chopping the cable in half and soldering it into an older USB-A jack. I only need about a foot of cable, so that worked great.
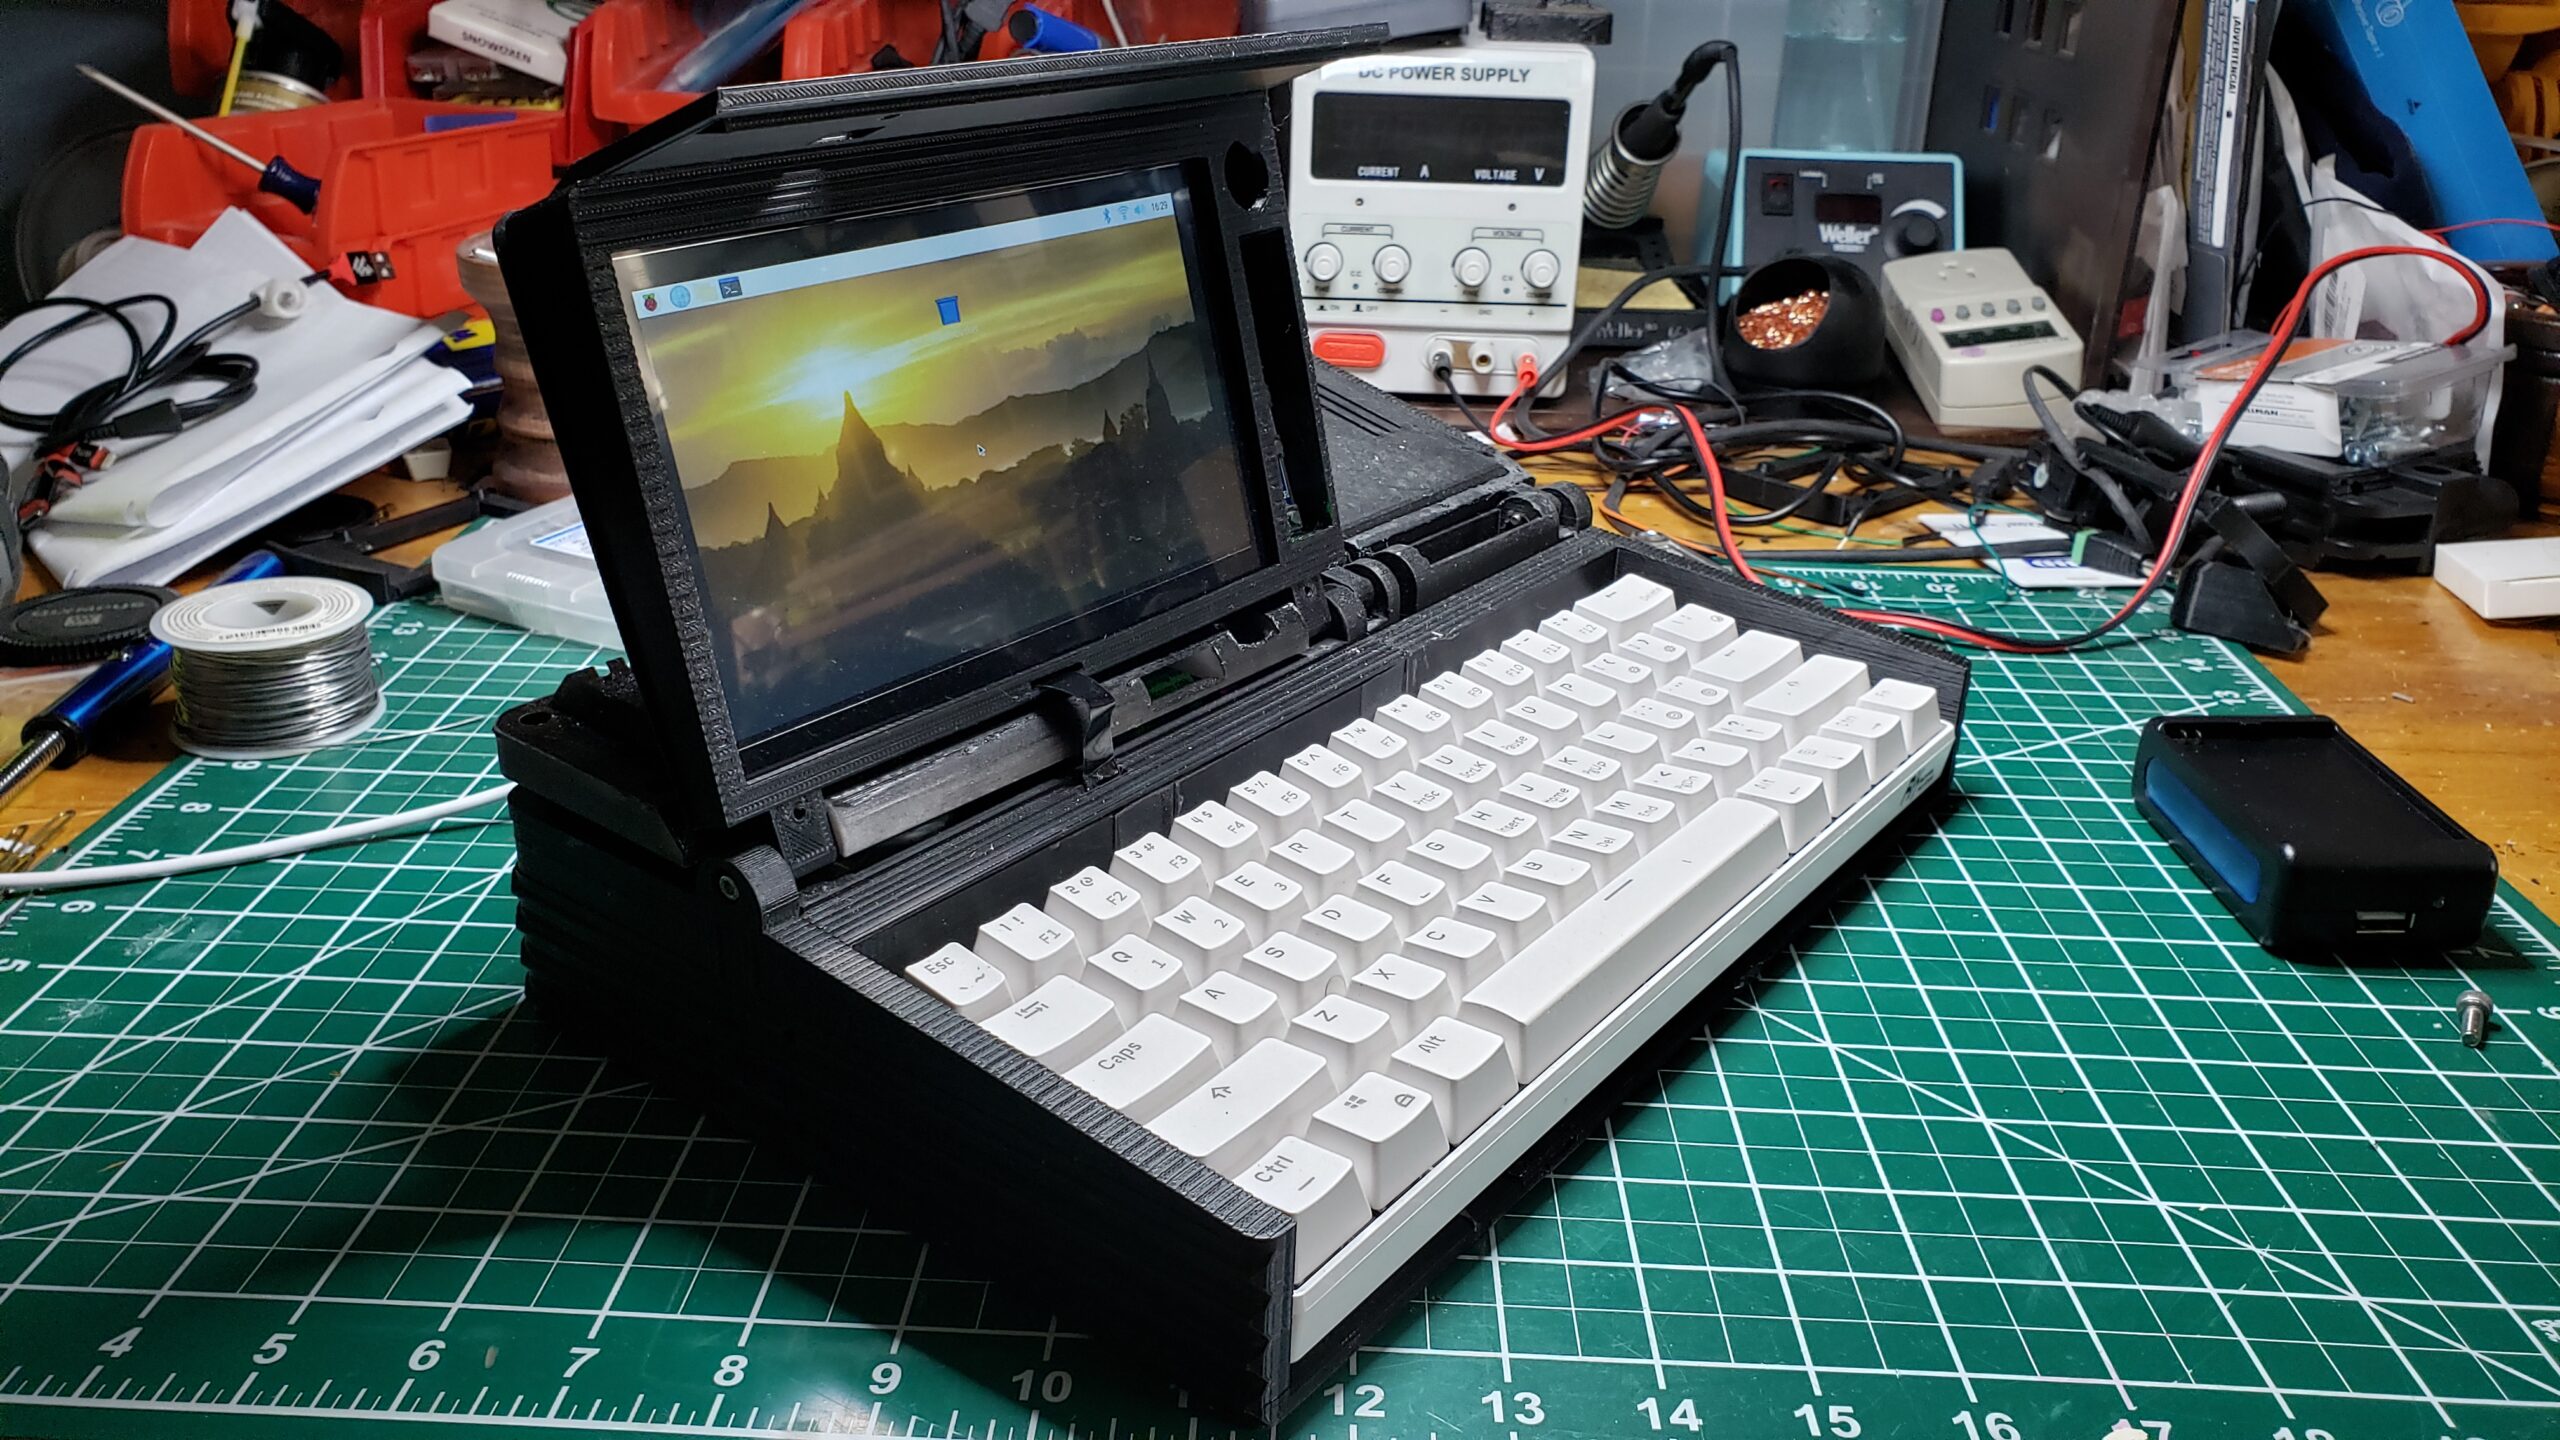
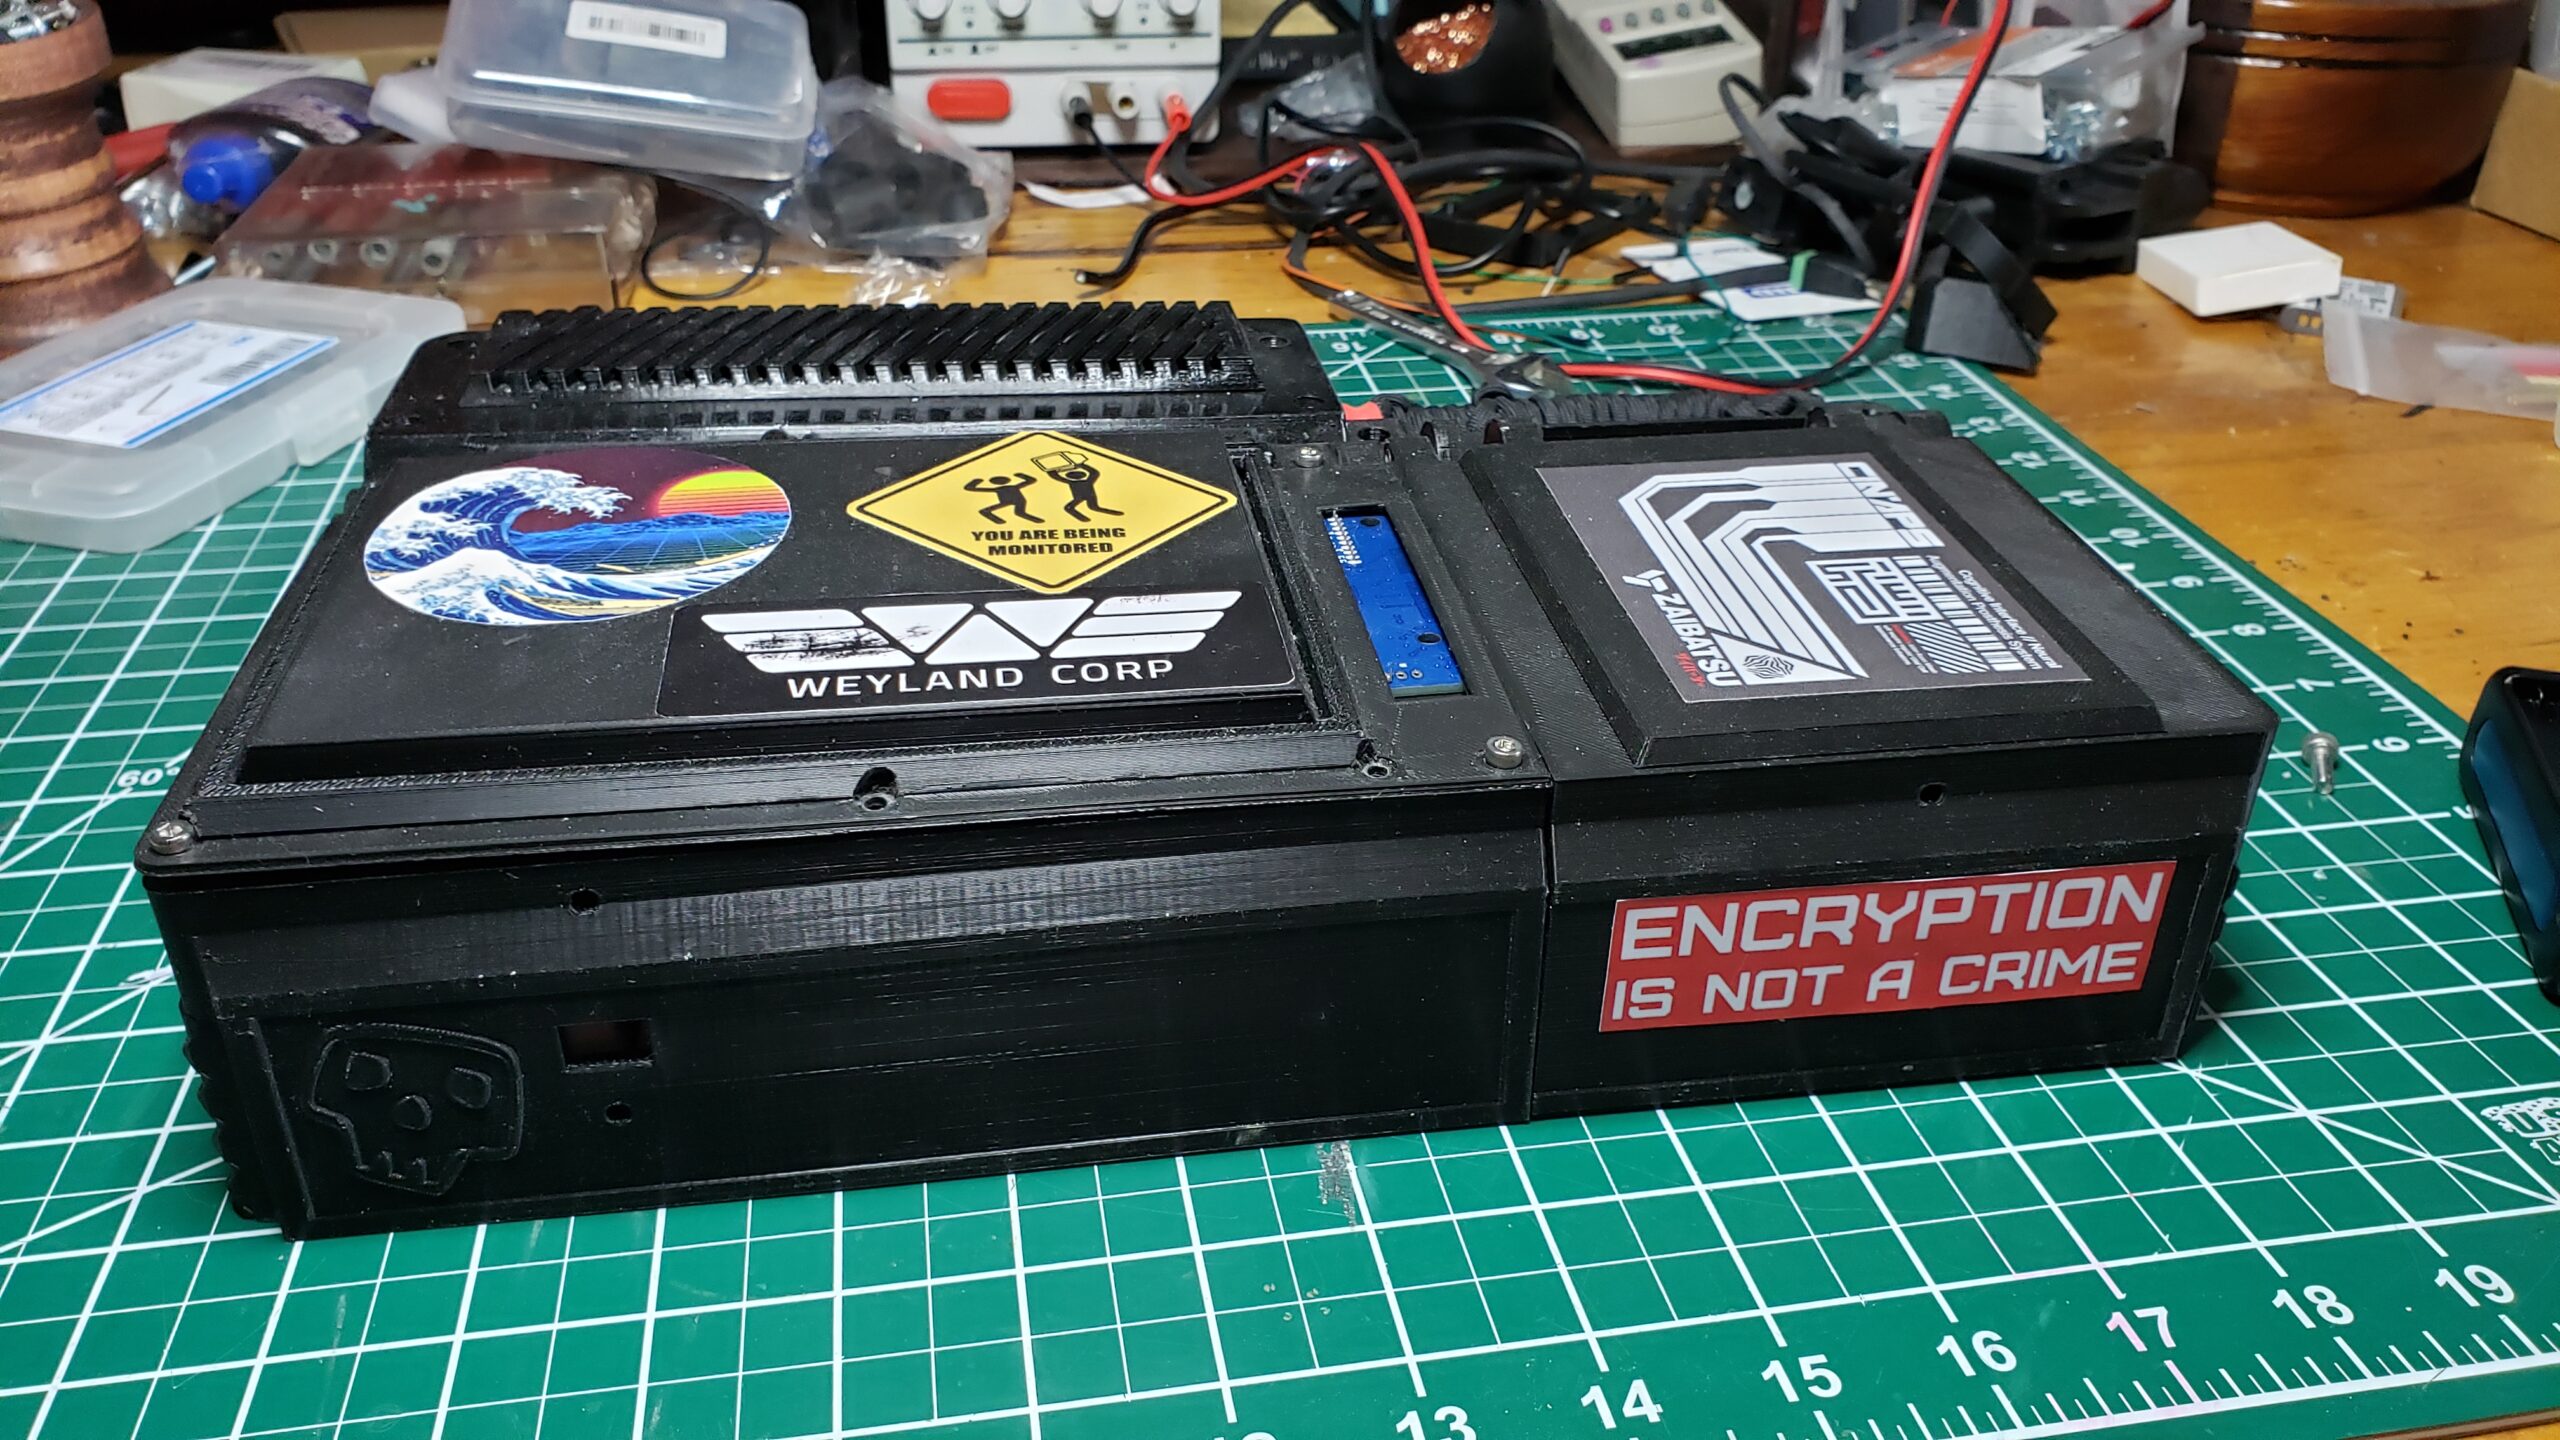
The Final Product
I love how this looks. I love knowing that I built it, and there’s no other one thats just like it.
The rear panel needs more love. The system is supposed to support a secondary Wifi interface to allow it to run Aircrack-NG and other tools without taking down the primary interface. I have the parts, but haven’t put it all together.
Finding the final location for the ‘stack’ (CPU and power board) is proving slightly problematic, as I need space for the USB connections and other wiring. Until that’s locked down, I really can’t mount the boards. I may just drill and mount them anyway to keep things from banging around.
Still need to get hte lid closures working – this can be done with a magnetic plate, but it seems a little iffy. May come up with something else.
Mouse input. Sigh. I had hoped the touch screen would work for this, but it really doesn’t. The screen is small (7″) and my finger is fat. I may explore using a stylus, but I think I’ll need some sort of trackball or thumbwheel or something.
Viewing angle – this may be the killer for me. For the lid / screen to work well, the viewing angle has to be relatively laid back. To do that, the hinge and cabling need to be very flexible, and finding that space is mighty hard. If I can’t solve the viewing angle problem, this will be likely remain a toy project, and not something I can use seriously.
Conclusions
I LOVED doing this project. It looks cool, I can say “I BUILT THAT” and I can keep tinkering and making it better. The Pi4 is enough horsepower to have fun on it, while still having decent battery life. Once I get the mobility stuff fixed up, I’ll start carting it around more.
The year was 2005. The dotcom days were over, and even though the fear of Windows NT taking over the world was fading, Linux was still considered a “hacker” OS – something not to be taken seriously. Of course, the cool kids all knew that Linux was going to take over the world. Right? Right?
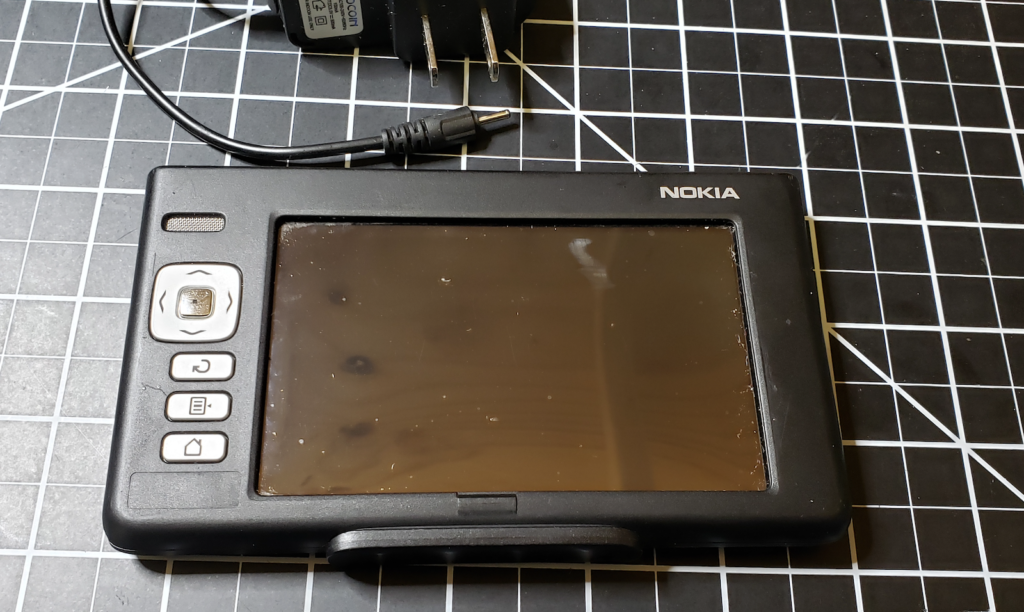
In May 2005, Nokia announced the N770 tablet. A full on tablet computer, with bluetooth, wireless, audio tools, all running Linux in a handheld configuration. While not the first portable handheld Linux device (my Sharp Zaurus SL5500 is an earlier example), the N770 grabbed my attention as something truly exciting. I wanted one in the worst way.
Nokia N770 Linux Tablet with Power Supply
Alas, the reviews of the N770 were not kind. It was slow. It had very limited memory and storage. The battery life wasn’t so hot. I still wanted one, but couldn’t bring myself to fork over the couple hundred bucks to make it happen. Not 2 years later Apple released the iPhone, and the world of handheld computing was forever changed.
On the inside, the specs are interesting, but not particularly staggering:
I’ve always wanted to tinker with the N770, and at the last VCF-East (where I picked up my copy of Wizardry), a nice fellow gave me one that he wasn’t using. I was ecstatic. The device is much as I had read – small, lightweight, in a neat little aluminum shell it can slide out of. However, there was no power supply, so I couldn’t turn it on. Nokia devices in this generation (including the phones) used a very very small barrel connector for power. I didn’t have one of these. A quick ebay search and I found a power supply, and ordered it.
Two weeks later I had my power supply, and plugged in the N770… and… nothing really happened. After a few minutes, the Nokia logo would flash, then flash again, then flash again. My N770 was busted.
FINE, sez me. I had the fever, and nothing was going to stop me. eBay again! This time I waited a few days and ended up purchasing another N770 for $40 delivered. Take that!
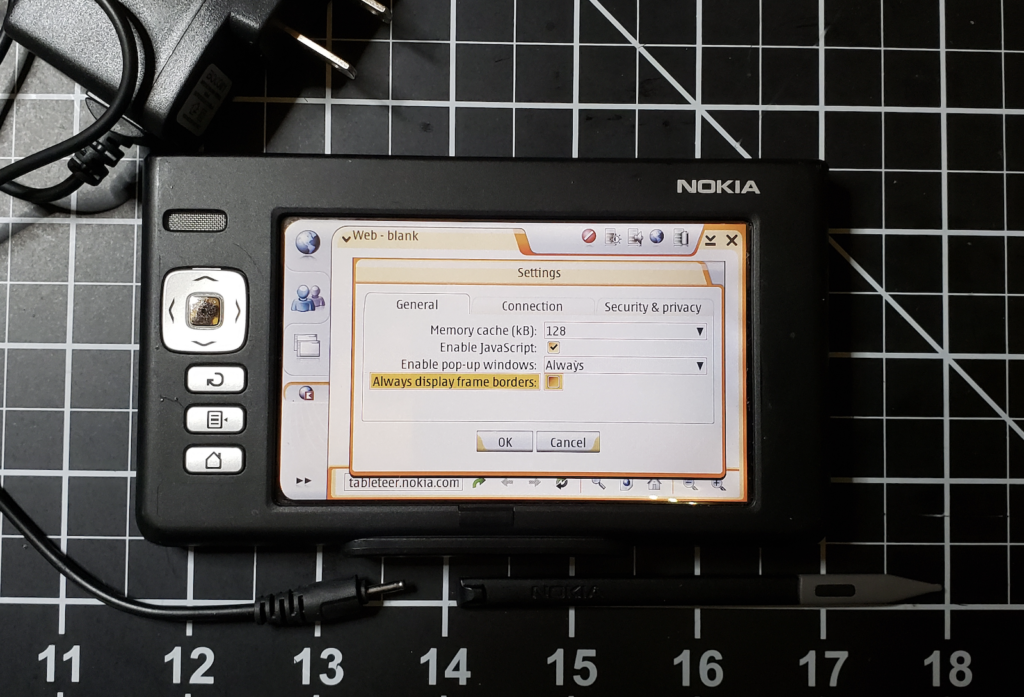
THIS one arrived with a power supply, and in fairly decent shape (no stylus though – the first one I got did have one). I plugged it in, powered it up , and yay! It worked!
Impressions
Okay, yeah. It’s slow. Connecting to wifi can take 2-3 minutes (!), and if you get the password wrong, you have to go through the process again.
Nokia N770 Linux Tablet
The interface is… confusing. I understand it’s Maemo, which is a GUI on top of the linux core, and has been updated and modified a lot since then but there’s a lot of guesswork involved between the navigation buttons, the touchscreen controls, and the buttons on the top of the unit. It really feels like they didn’t quite know what to do with a tablet. Is it all touchscreen stuff? Or are there buttons and light keys, with the touchscreen stuff being tacked on as a ‘cool’ factor?
Nonetheless, its’ a cute little toy to play with, and I love having a working one as part of my collection.
As most readers know, I’ve been working on my magic staff project for the last year and a half. I incorporated into the ‘Technomancer’ costume for Halloween and Arisia last year, and it was a big hit. I’m continuing to expand the costume, and one thing I’ve always wanted was a voice changer that would let me have a nice sepulchral voice to go with the creepy visage. My own voice from behind the mask is extremely muted, so it’s hard to carry on conversations or even talk to someone, so some external hookup was needed.
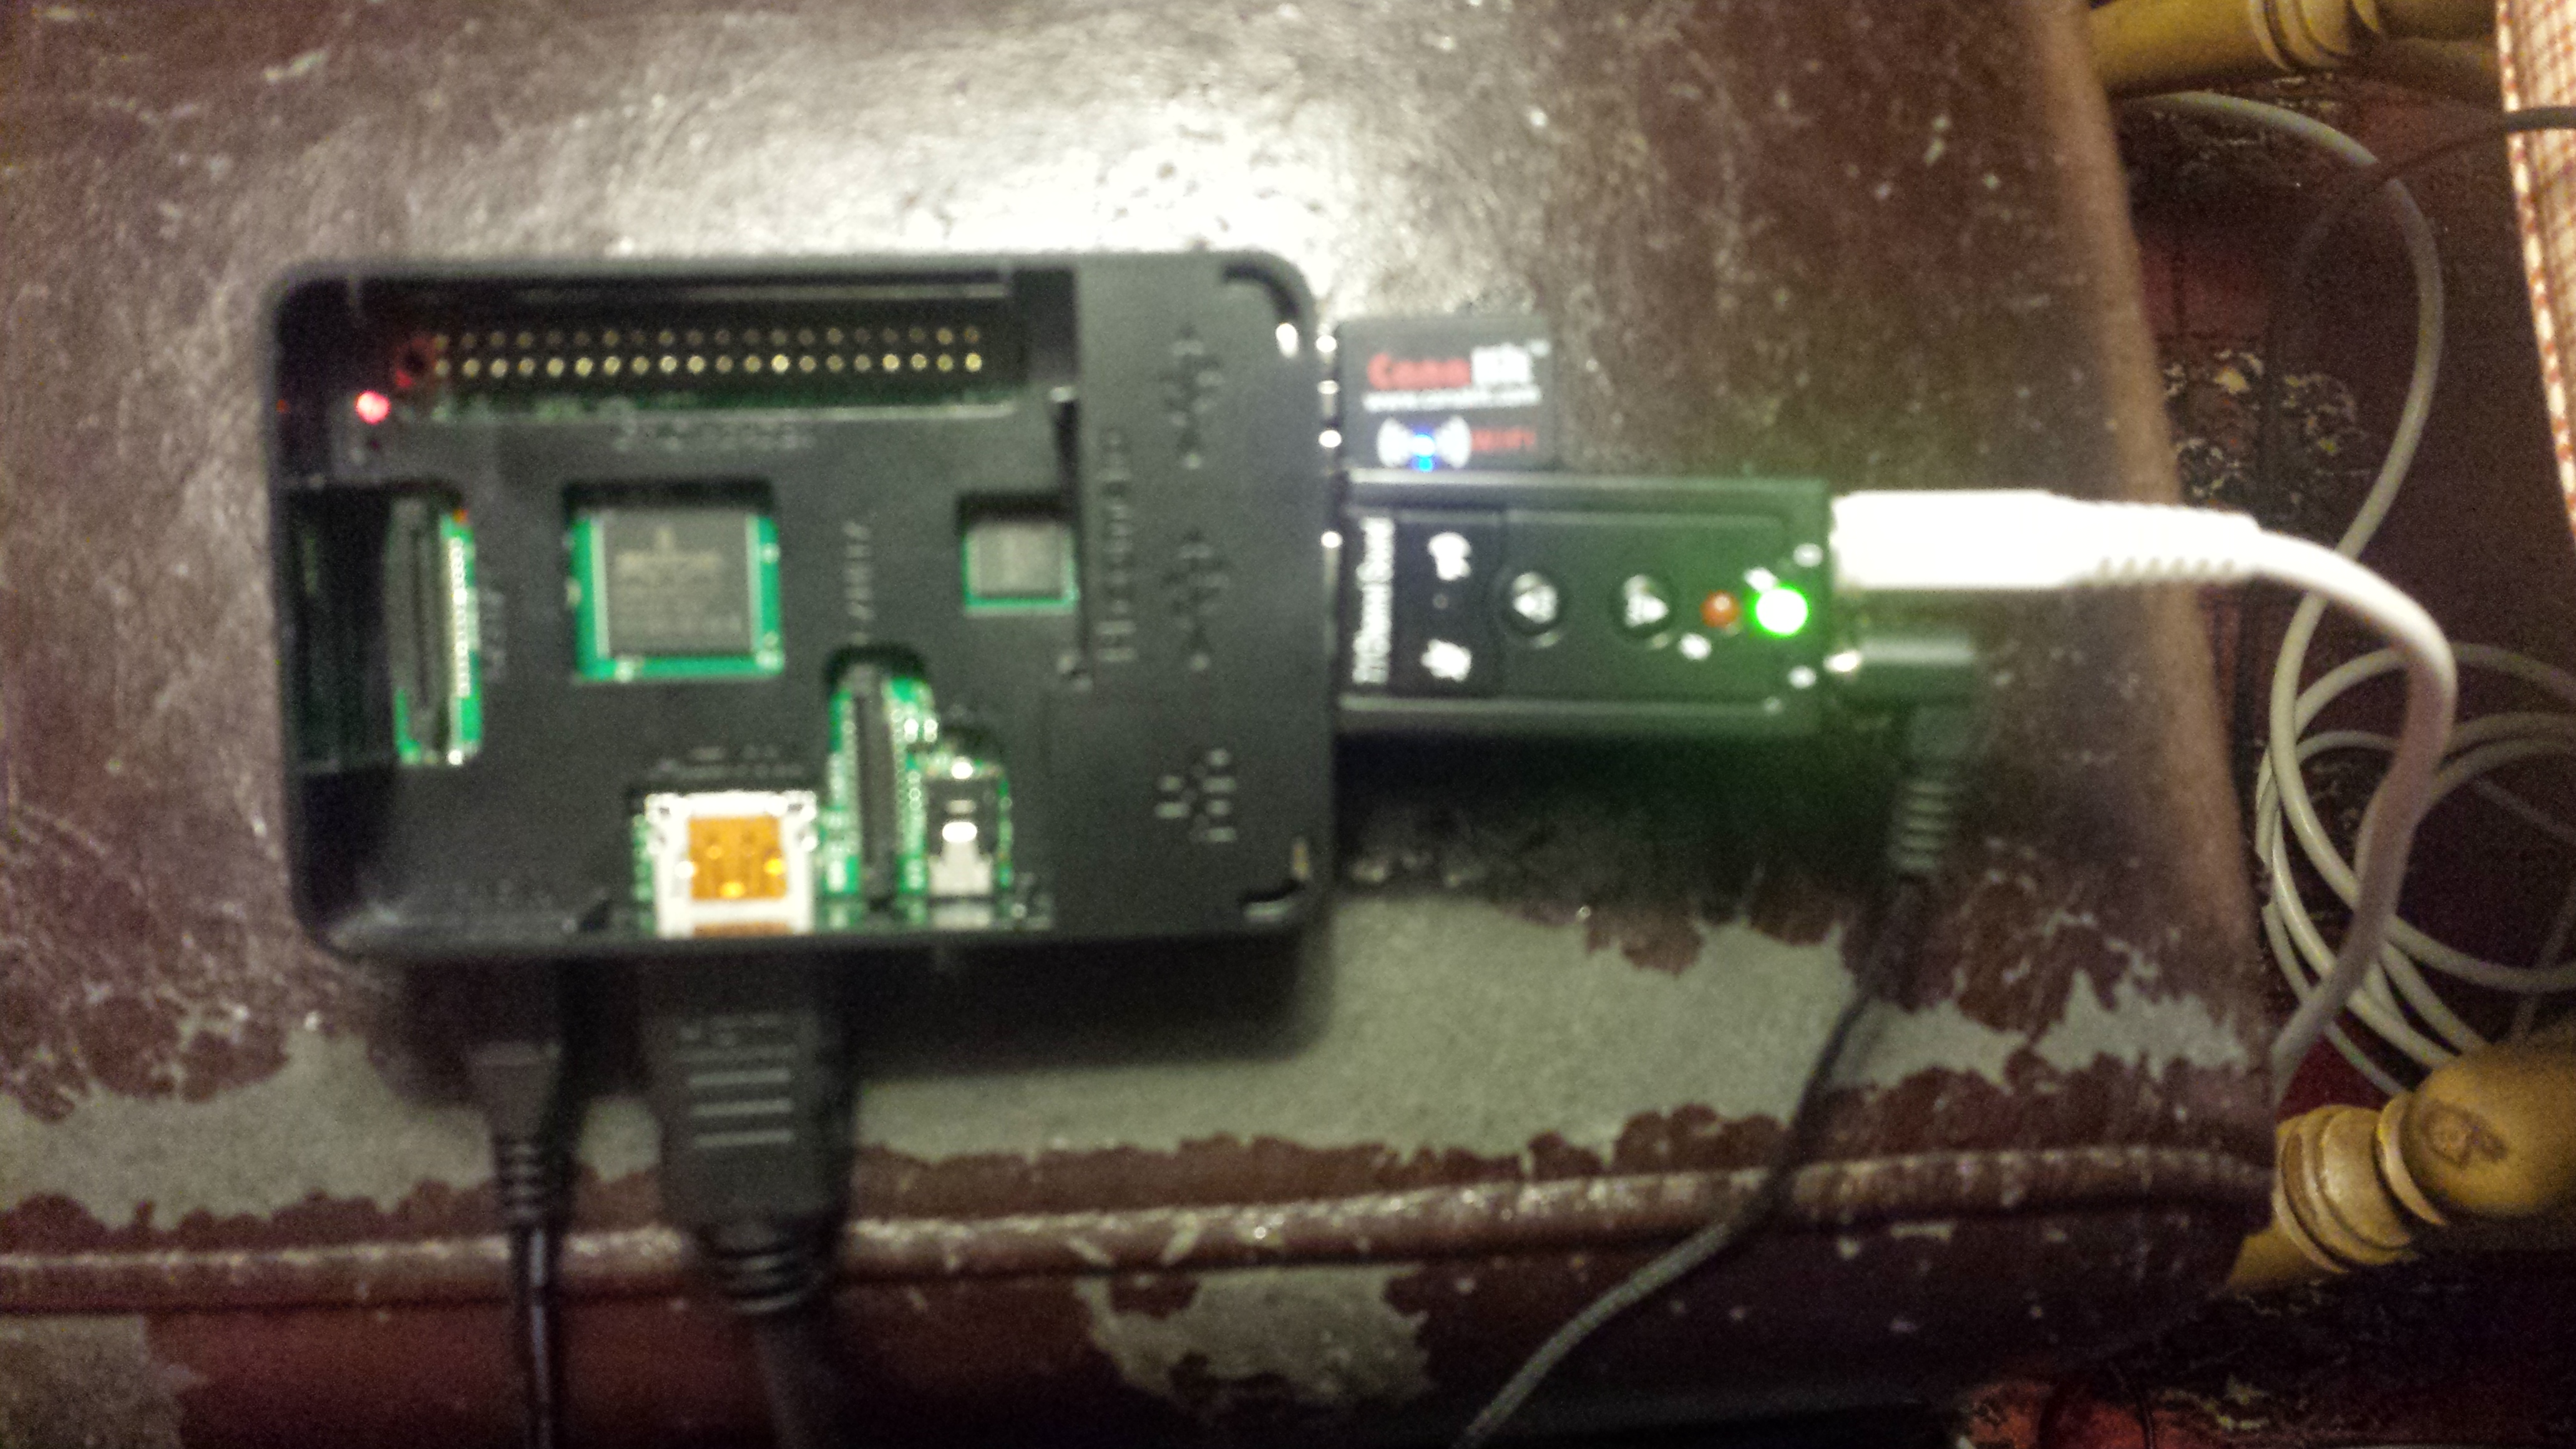
My ‘bench’ test run of the Pi with external USB sound board.
What surprised me was… no one had done this. I searched all over the web for realtime voice processing setups using a Raspberry Pi or Arduino, and while some folks had come close, no one (that I found) had put all the pieces together. So, it was time to do it!
The first component is naturally a Raspberry Pi. I used the pretty awesome CanaKit, which included lots of goodies (most importantly a good, solid case for the board, as well as a microSD card and other accessories). $69 was a great price.
Next, the Pi has onboard audio, but… well, it sucks. I needed separate mic input and outputs, and off-CPU sound processing. Fortunately, there’s huge numbers of these USB sound adapters going for less than $10 a pop. I got 2 just to be careful.
(Update 8/2022 : Since this article was written, obviously things have changed a lot. Modern Pi4’s are the current best practice.). Pi4’s also have a much better sound board, so an external USB audio stick shouldn’t be necessary.
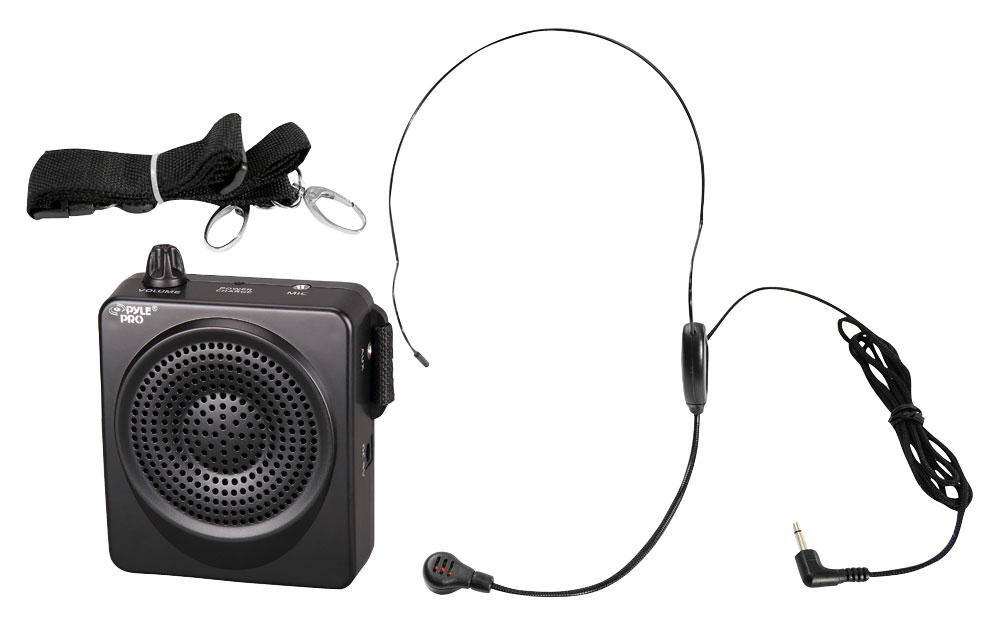
Pyle Audio portable PA
Next, I needed an amplifier. Something portable, loud, and with a remote microphone. This is one just for my setup. Obviously whatever you choose for your own project, pick whatever audio options you’d like. THe sound adapter has standard 1/8th” jacks for mic in and audio out, so just plug right in (I had a small problem with my Mic connection, in that the mic cable I used needed to be ‘out’ a quarter inch to connect properly. I used a small O-ring to keep the spacing proper). The amp I used is Pyle Pro PWMA50B ‘portable PA system’. At $29, it’s well worth it. Comes with a mic, built in rechargeable batteries, a belt mount, and, most importantly, an Auxiliary input.
Now comes the hard part. Getting the audio set up so it could handle recording and playing back in realtime required installing the ‘sox’, toolset, as well as all the alsa tools (most of ALSA comes with the Pi, but make sure they’re there). First, make sure you can play audio through the USB card to the PA. I used ‘aplay’ for this (this ALSA simple player), and a small WAV file I had lying around.
I also recommend running ‘alsamixer’ beforehand, to make sure you can see all the devices, and they’re not muted. ‘aplay -l’ and ‘arecord -l’ are handy in making sure you’re seeing everything you need.
Assuming you have working audio, now comes the fun part. Set up a sox pipe to read from the default audio device and write to the default audio device. Like this:
play "|rec -d"
If all goes well, you should be able to speak into the microphone, and have it come out the speaker. There will almost certainly be a delay of anywhere from a tenth to a half a second. There’s ways to mitigate that, but we’ll get to that in a minute.
If you have that path working, you’re 90% of the way done!
For my costume, I needed a deep voice, so I added -pitch -300 like this
play "|rec -d pitch -300"
I also had a problem with a very high pitched whine coming through the speakers, so I added a band filter to remove that (this syntax means “Remove sound centered on 1.2khz, with a bandwidth of 1.5khz on either side”) :
play "|rec -d pitch -300 band 1.2k 1.5k"
Only a little more tweaking, adding some echos, and I had the voice I wanted. The –buffer command shortens how much data is buffered for processing. This helped cut down the delay a bit, but runs the risk of buffer overruns if you talk a lot.
play "|rec --buffer 2048 -d pitch -300 echos 0.8 0.88 100 0.6 150 .5 band 1.2k 1.5k"
Here’s a sound sample of what it sounded like. Note this is before I added in the band filter, so you can hear the whine…
The last thing needed was to have the changer start up when the pi reboots. I’m planning on carrying the Pi in a pouch on my belt, powered via one of those cell phone external battery packs. I can’t log in and start the tool whenever it boots. The fix is to put the ‘play’ and other amixer commands into a simple shell script (I put it in /root/setup.sh), and using the @reboot entry that the Pi’s version of Linux supports, add this line to root’s crontab:
@reboot sh /root/setup.sh > /root/sound.log 2>&1
Rebooting now works without a monitor and keyboard attached, and the sound processor starts right up. Ready to go!
Leave a comment if you have any questions, this post will be updated as I continue work on the system…
For the Staff project, I’m going to be replacing the existing Arduino Uno R3 with a smaller, more easily embedded Arduino Nano. The Nano is a heck of a lot smaller than the Uno (makes sense – it’s meant to be permanently installed, while the Uno is a prototyping platform). I received my Nano a few weeks ago, but immediately ran into a frustrating problem… code would compile, begin to upload, and I’d get the error “stk500_recv(): programmer not responding”
The intarwebz are full of people reporting this problem, unfortunately most are not finding answers.
I went through the usual debugging problems – changing out the USB cable I was using, checking to make sure USB drivers were correct – I could still upload and use code on my Uno, but the Nano flat out refused to accept the new code (and I did check the very common problem of not selecting the correct board in the IDE).
Finally, came across a general discussion about bootloaders, and there was a comment that sometimes these boards do not reset properly. After some more research, I found some folks using various ‘reset button’ hacks to sort of nudge the board into accepting code. With a lot of trial an error, I have a procedure that seems to work pretty consistently. There’s occasional twitches, but with persistence it always loads.
Putting this one out there because I spent some time surfing various Well Known Sites and couldn’t find a complete answer.
We had a need to log whenever users logged into a production host – just a notification send to the admins saying someone was on one of the production boxes. The other requirement was to have it be low impact – didn’t need a ton of monitoring packages installed, etc.
This simply looks for some patterns within the auth.log file. The only real trick here is making a date formatted string that is ‘one minute ago’. If this script is run once a minute via a cron job, it’ll send mail within a minute of someone logging into the host.
The other script is a simple utility tool I use for most of my cron jobs called ‘mail_if_not_empty’:
 #!/bin/bash
 TMPFILE=/tmp/joboutput.$$
 TARGET=$1
 SUBJECT=$2
 cat >  $TMPFILE
 if [ -s $TMPFILE ]
 then
   mail -s $SUBJECT $TARGET < $TMPFILE
 fi
 rm $TMPFILE
Super-duper simple, it just sends mail if there's any output. This makes sure that mail will only be generated if anything interesting happens.